Project Spotlight: In House Bar Area Transforms into a Wine Room

As avid collectors and connoisseurs of wine, the owners of this Dallas home felt limited by their in-house bar set up. Consisted of a cabinet peninsula and a built in shelving unit along the back wall, the bar alcove nestled within the family room did not meet their functional needs and felt dated. The adjacent wine closet, while able to provide additional storage space, was not large enough for the homeowners’ needs and kept the bulk of their wine collection stored in a way that was hidden and out of site. Instead, they wanted their collection to be featured front and center and in ready to serve condition. With these goals in mind, the homeowners partnered with Rachel Edie of AVID Associates to design a space that would better suit their needs while we at Key Residential had the privilege of making those designs a reality.

The first key decision made by the homeowners regarding the scope of their remodel was to use transform the bar alcove into its own room that was entirely separate from the family room in which it is located. Making this change allowed the room to be designed and constructed just for its specific purpose. One of the greatest advantages in enclosing the room was the increased ability to regulate conditions in the space. In this case the primary condition to be regulated was the temperature of the room. A wine cellar cooling unit was installed so that the room could run on its own internal thermostat and be kept at a temperature ideal for the storage and serving of wine.

Adding the cooling unit did require some adjustments to the design of the room. The unit itself needed to be stored close to the room so space had to be found. As the wine room was located in an interior area on the bottom floor of the house there was not any readily available space that could be used, therefore space needed to be created in what was already a relatively small area. The answer came from looking up. With tall ceilings, there was plenty of space in the room to drop down the ceiling a few feet and create the necessary space needed for storing the unit above the room. The new cooling unit can be seen within the framed drop down ceiling in the photo above.

The final step necessary for the addition of the wine room cooling unit was to fully enclose the room. Despite becoming its own separate room it was important to the homeowners that the space still felt like part of the family room. Further, showcasing their wine collection in a visible way was a priority of the remodel. Therefore glass was used to fill in the open spaces between the peninsula cabinets (which were kept from the original bar setup, albeit with a few adjustments) and the now lowered ceiling. The glass would allow clear line of site into the room and not impede its connection with the family room, but the half inch thickness ensured that the cooling power of the room’s thermostat would be contained. A glass door, with dual swinging hinges, in between the end of the cabinets and the wall allows easy access in and out of the room.

The new wine room features several amenities designed to capitalize on wine storage and presentation. To provide additional wine storage, five floor to ceiling wine racks line the back wall of the room. Each rack has an individual LED light above it in order to better illuminate and draw attention to the many unique bottles that the homeowners have collected. New ChillKat quartz countertop was installed on top of the existing bar cabinets. The interior walls of the room as well as the exterior facing parts of the bar cabinet and new drop down ceiling feature a stone façade. The remodeled room fully captures the wants and needs of the homeowners and provides them with a stylish and functional way to indulge in their wine collection.

2016 Winter Home Maintenance Checklist

It may feel like winter has already started where you live well before now, but today marks the official start of that cold weather season. The start of a new season brings with it the perfect opportunity to address a few maintenance and upkeep items around the house. Take a look below for eight things we think should be on your list to get done around the house this winter.


Restock Emergency Supplies

Even in Texas where our winters tend to be on the milder side, inclement weather can hit with little warning. Preparing early can help you avoid the trouble of fighting off the crowds at the store right before bad weather hits. Stock up on things like nonperishable foods, bottled water, flashlights, batteries, blankets, and anything else that would make your life a bit easier if you were suddenly stranded at home due to bad weather.

Maintenance Washer and Dryer

The first basic rule of dryer maintenance is to clean out the lint trap after each use. A highly flammable substance, a buildup of lint can quickly lead to disaster. But keeping both your dryer and washer in prime working order requires a bit more than that. For the dryer lint can also build up in the ducts behind the machine and they should be cleaned at least once a year. The water lines for a washer should be inspected as well as they will deteriorate and crack over time.

Declutter the House

Winter is a good time to do some general around the house decluttering. Chances are you’ll spend more time inside your house during the winter months than any other season. As such you’ll have a better idea of what things you actually use and what things are just gathering dust. Make sure to include a closet clean out as well. If you find any clothes that weren’t worn over the past year then plan to donate or get rid of them. Chances are if you didn’t wear it this year you won’t wear it next year.

Organize Your Home Office

The end of the year is an ideal time to get your home office in order. Any filing that has been stacking up should be organized and stored away in an easy to access location so you’re ready come tax season. And if the home office is also the place where kids work on their home work then the winter holidays are a great time to have them organize their things so that they are ready to go when school is back in session.

Plan Major Home Projects for the Next Year

Whether you are ready for it or not, the New Year is almost here. If you’re 2017 includes any major home remodeling or maintenance projects this is the time to start planning and getting ready for them. Most home projects that require hiring a professional will require time on the front end for planning and scheduling. Work out your own schedule for when you want to get things done throughout the year and start contacting companies early.

Deep Clean the Kitchen

With the holiday season upon us, it is likely that the kitchen will be seeing heavier use than normal so it could use a little extra care when it’s all said and done. Once all the big holiday meals and parties are over take the time to do a deep clean of the kitchen to get it put back in order and start the New Year off right. Don’t forget to include the pantry in your cleaning. This is a good time to go through it and clean out anything that has expired or won’t be used.

Break Out the Warm, Comfy Bedding

It might make getting out of bed in the morning a bit harder, but winter is the time to snuggle up under the covers at night to escape the cold and stay warm. Plus, waking up in the middle of the night because you’re too cold is never an enjoyable experience. Save yourself from that trouble by layering on the blankets for your bed.  Just make sure to have a robe or jacket handy in the morning when you have to leave the cocoon of warmth.

Stock up on Firewood

Curling up beside a roaring fire when the weather turns cold is a quintessential winter activity. Prepare early by stocking up on firewood now so that whenever the cold weather or feeling for a warm fire hits you will be ready. If you didn’t have your chimney cleaned already this year now would also be a good time to get that done so that only intended fires are created.

Behind the Scenes of a Dallas Addition: From Drywall to Flooring

It's time for another update on this ongoing Dallas addition project that includes an enclosed family room, open air patio, and new swimming pool. Our last update ended with the behind the walls mechanical work, such as plumbing and electrical, that needed to be done before the walls could be enclosed. We’ll pick back up there for this update

Insulation and Drywall

With all the detail work behind the walls completed, the next step is to insulate and hang drywall. We used spray foam insulation for this project versus the more traditional fiberglass insulation. As the name implies, insulation works to isolate the home from the outdoors and limits the passage of things like air temperature and sound. Once the insulation was completed the drywall could be hung. The new family room includes a few built in features, such as a bookcase and slightly extended fireplace façade, which are created during the drywall phase of the project.
Trim

With drywall complete, installing trim was the next step. Baseboard and window and door trim was installed along with a wooden beam running the length of the room across the ceiling. Crown molding, typically used in more formal settings, was not included in this room. In a way, trim is like the last step in creating the canvas for the room. The bare bones of the room are finished and the room itself is functional, but it does not have any of the pretty finishes, such as paint and flooring.

Painting

With the walls up and trim installed, painting is next on the task list. The homeowners chose a neutral color palette for the walls in order to allow other details throughout the room to shine. Neutral colors are very on trend, but luckily if trends change repainting a room is one of the more cost effective ways to keep up with what is popular. The back of the built in bookcase, for example, is painted a rich blue that will complement the tile that will be eventually installed around the fireplace

Flooring

The function of the room was an important factor in determining the best type of flooring to use. The room’s close proximity to the future outdoor deck and pool as well as the homeowners’ intention to use the room as a transition between the indoors and outdoors meant that a hard surface floor would be the best option. The homeowners decided to use tile as it would be easy to clean up any dirt that made its way indoors and stand up best to any water tracked in from the pool.
What's Next

At this point in the project most of the behind the scenes and grunt work is done. That leaves us mostly with just the finishes and finer details to complete. Our next update will focus more on the design choices and their execution.
 

Behind the Scenes of a Dallas Addition Blog Series

Part One: From Site Prep to Framing

Part Two: From Framing to Mechanicals

Part Three: From Drywall to Flooring

Part Four: From Finishing Touches to Completion

Six Memorable Kitchen Remodels

October just over halfway over, so we thought it was time to take a look back on a few kitchen remodels as we continue to celebrate Kitchen and Bath Month. Scroll through the photos and read more about what made each project unique. For more photos from these projects or kitchens in general be sure to check out the kitchen photo gallery here on our website or our project photo galleries on Houzz.

With rustic country charm, this kitchen is a showstopper. It features custom designed cabinetry that was hand painted and distressed in order to give it the rustic look. The center island doubles as work table and eating area. Reclaimed barnwood floors and wooden beams on the ceiling help complete the look. A fireplace and small sitting area completes the cozy, farmhouse feel in the room.

This contemporary style kitchen is located in an uptown Dallas high rise condo, allowing the homeowner’s to enjoy spectacular view of the downtown skyline while cooking. Designed by Poggenpohl, the kitchen incorporates on trend white cabinets and stainless steel appliances (including an induction Cooktop).

Another white kitchen, this one, located in an historical home, features a more traditional style meant to honor the home’s history. The kitchen features custom designed white cabinets with quartzite countertops. Incorporated throughout the room are many elements original to the house, including the windows, crown molding, and wood floors in the breakfast room.

From the clean, sharp lines, to the minimalist design, to the dark and metallic colors used throughout, this kitchen exudes modernity. The room features dark wood cabinets, Absolute Black marble countertops, polished concrete floors, and an appliance garage. Accent LED lighting helps give this already modern room even more of an edge.

This kitchen, part of an entire outdoor living addition, does not lack in function despite being outside. Avid cooks, the homeowners wanted a full functioning outdoor kitchen. Among the appliances included are a refrigerator, ice maker, dishwasher, a grill with a side burner, and a wood fire pizza oven. Adjacent to the kitchen area is a full size dining table for the family to gather around.
One of the most important aspects of this kitchen remodel for the homeowners was taking advantage of the spectacular backyard view. Large picture windows frame one end of this kitchen, allowing natural light to illuminate the space and give it a large feel. The kitchen itself features a mixture of wood and white painted cabinets, a double oven, , microwave and warming drawer, a double drawer dishwasher, and a built in coffee station.

Six Memorable Master Bathroom Remodels

October is Kitchen and Bath Month. To celebrate we thought it would be fun to take a look back at some of our past kitchen and bath remodels and builds and some of their unique features. We’re kicking it off with bathrooms this week. Stay tuned later this month to take a look back at some of the kitchens we’ve done.

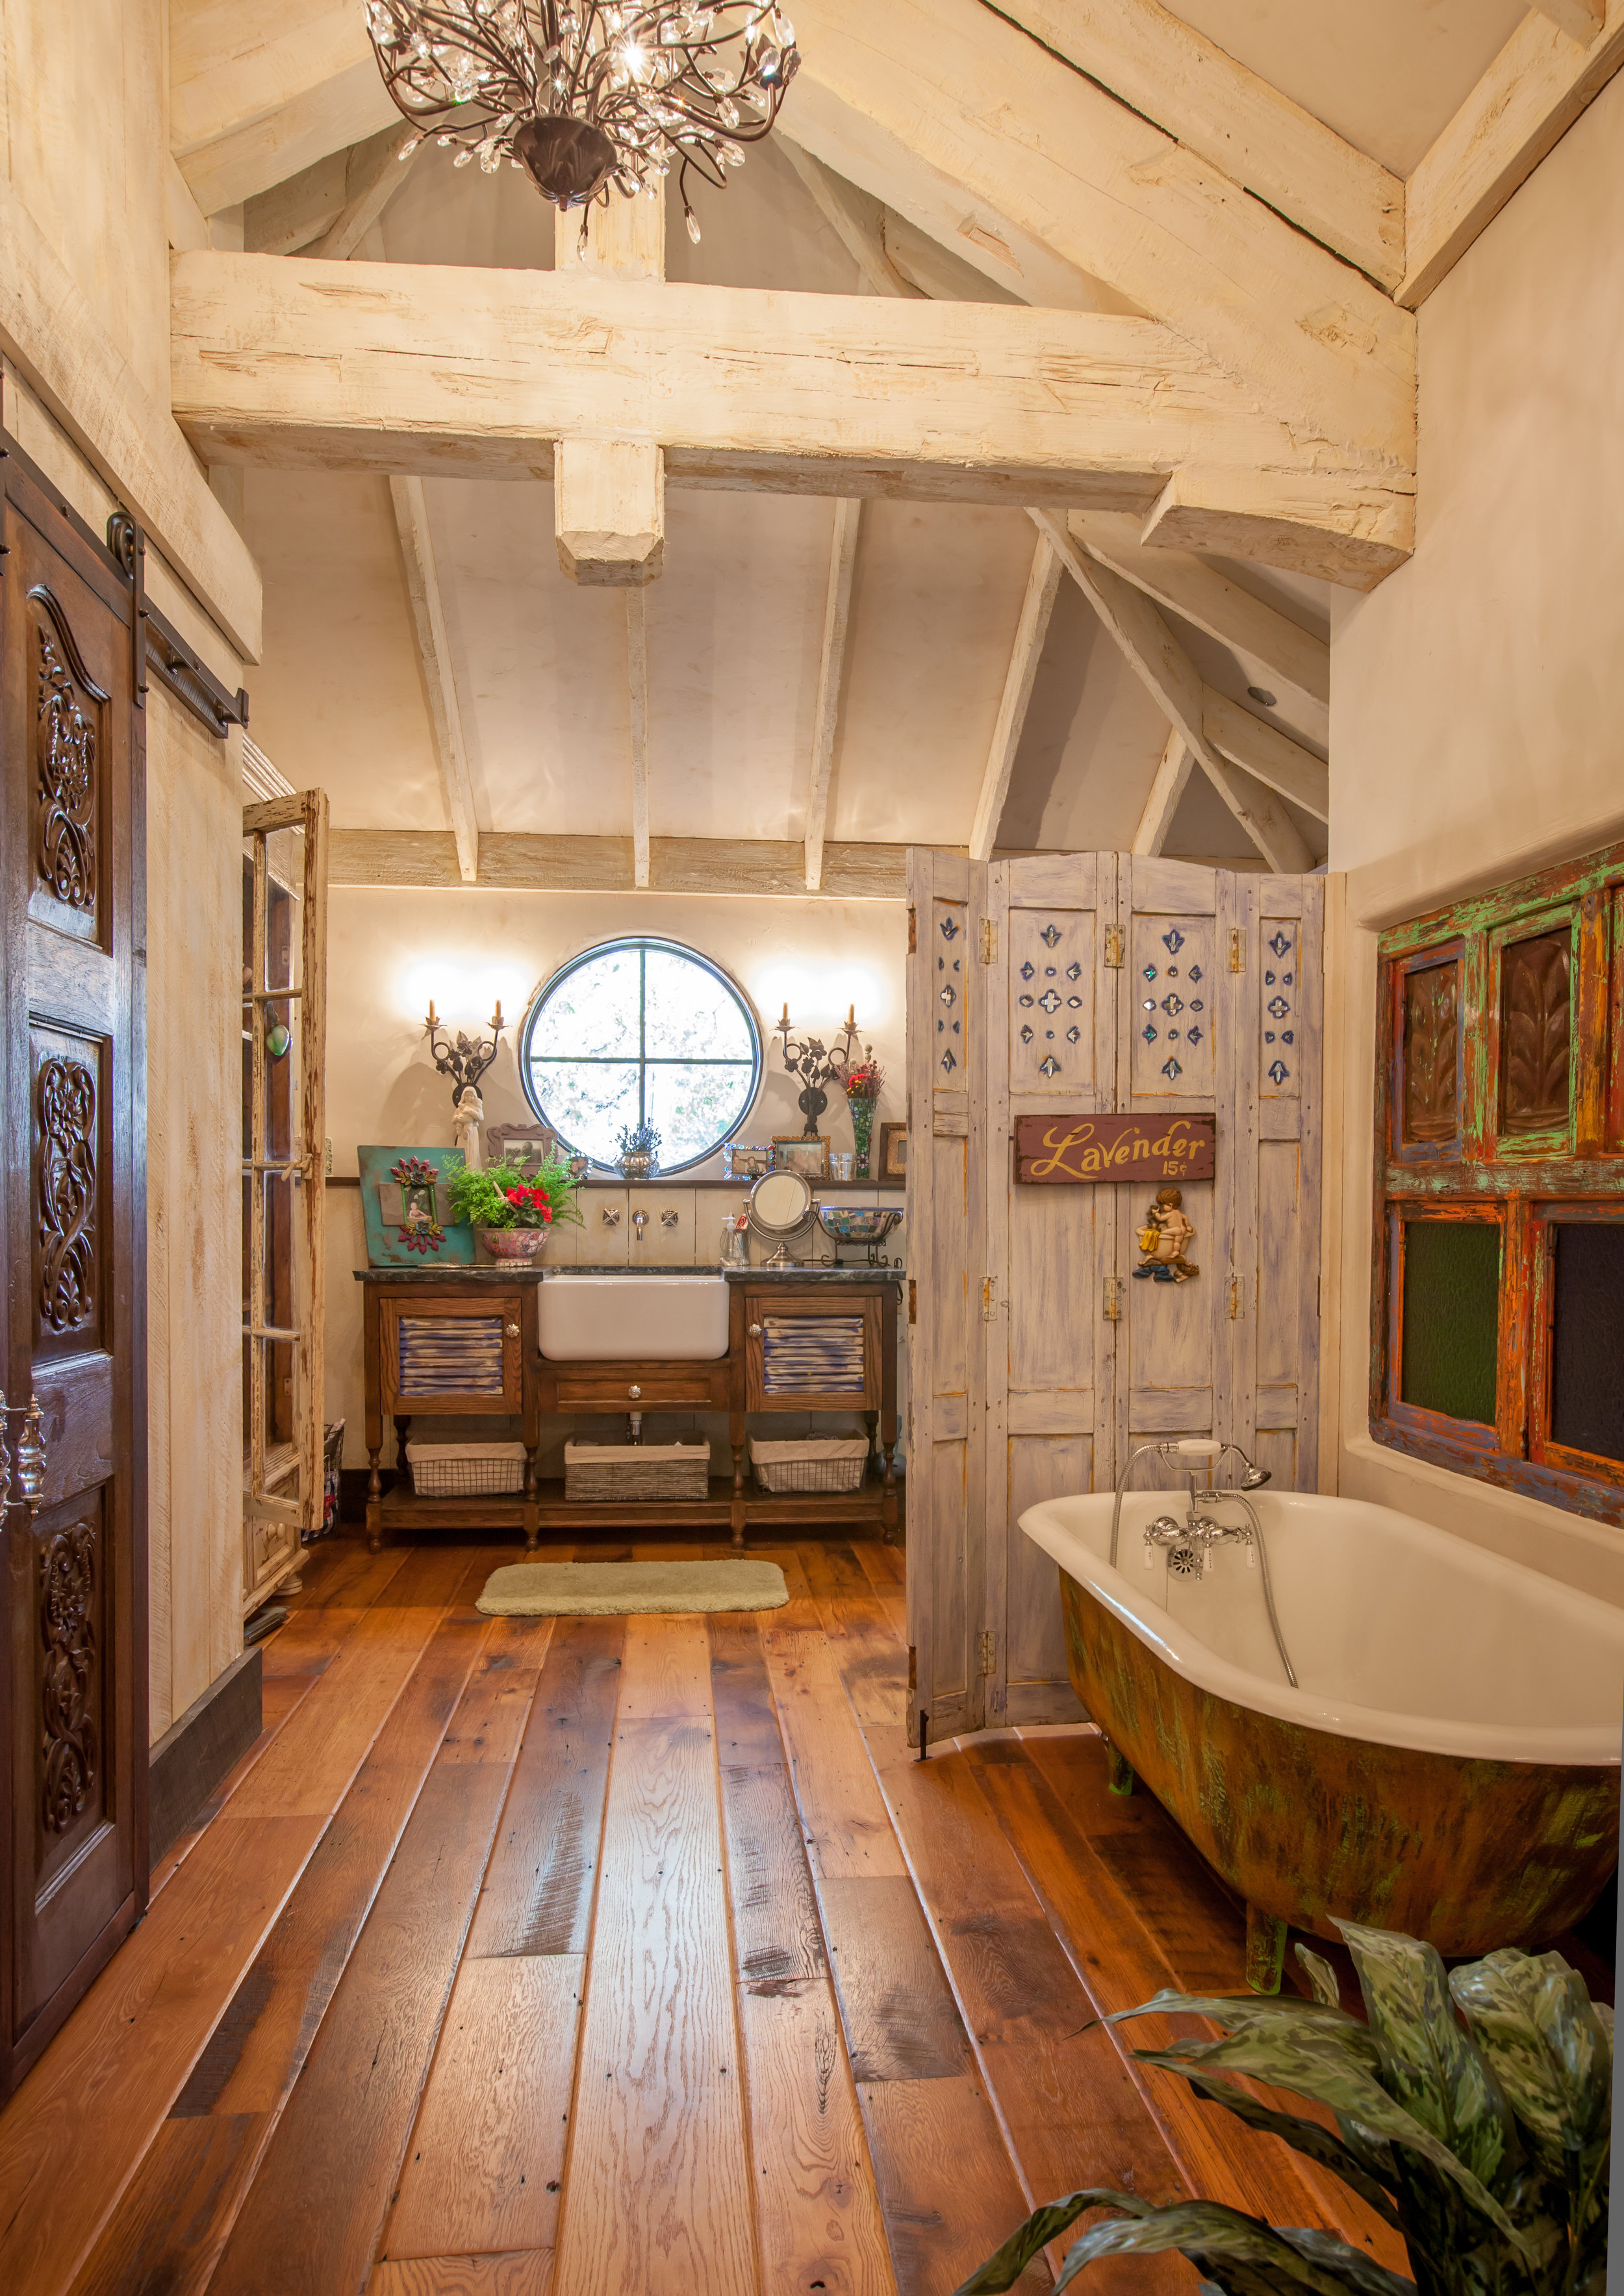
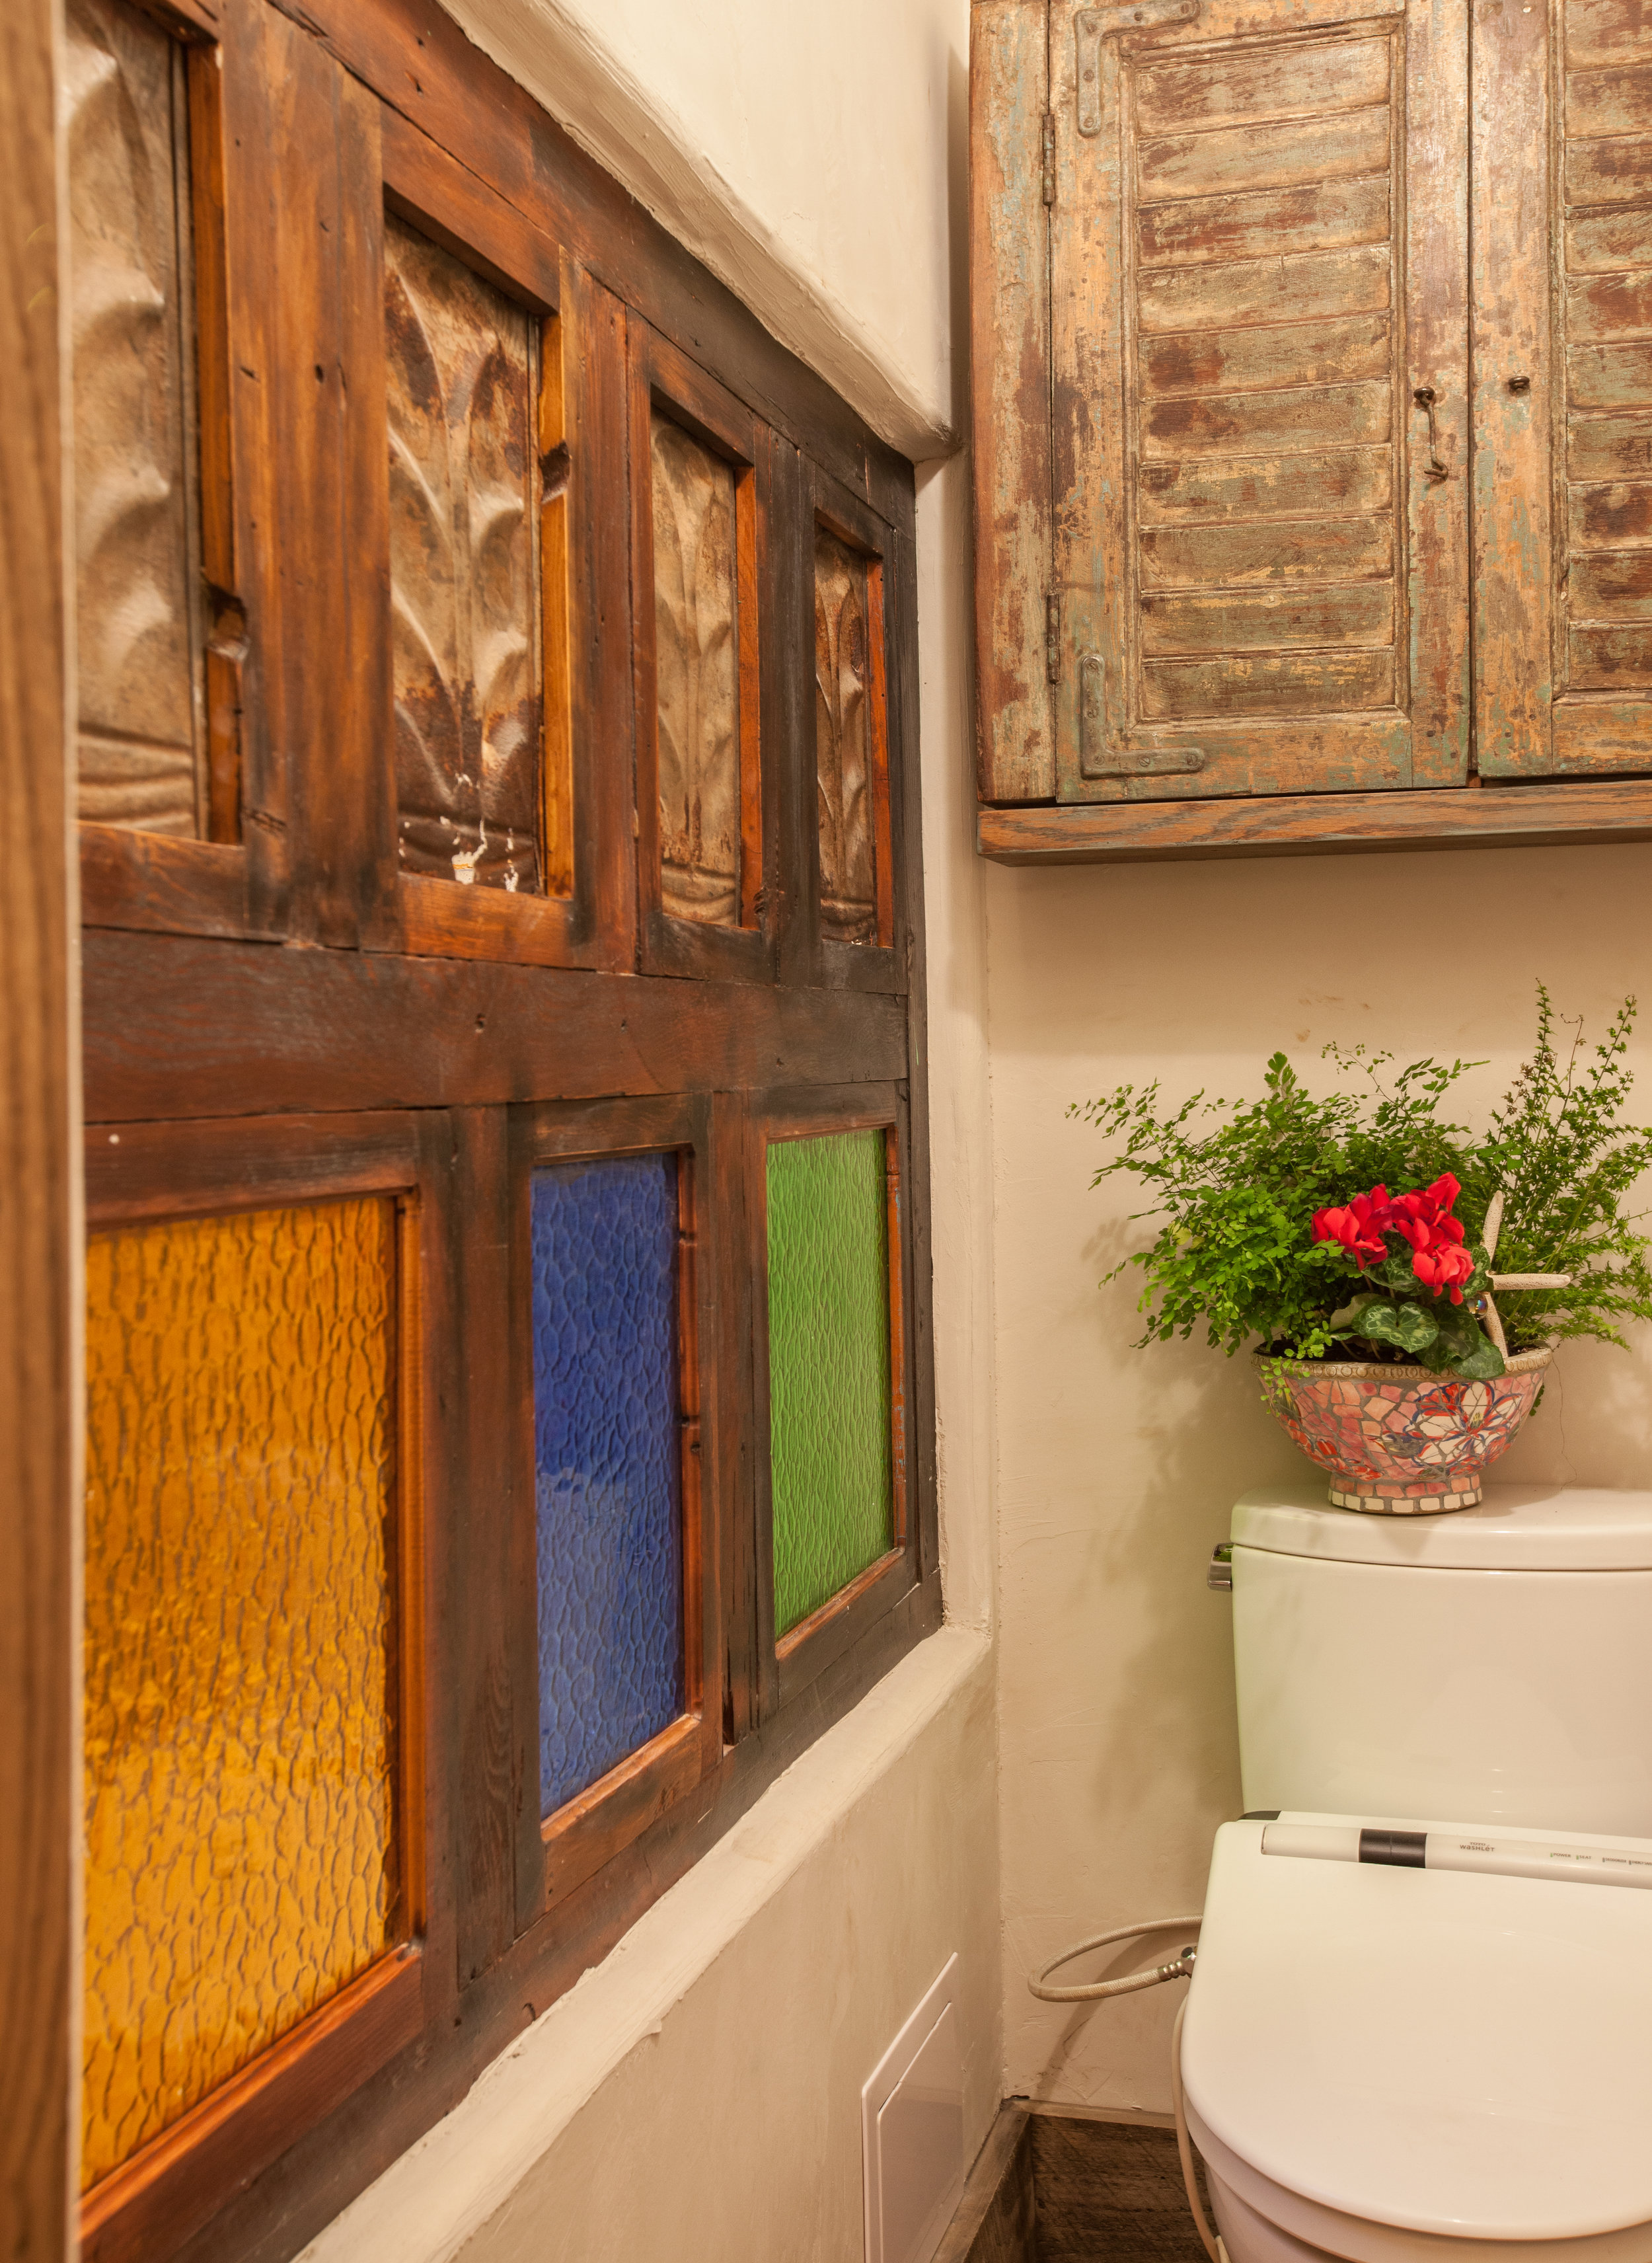
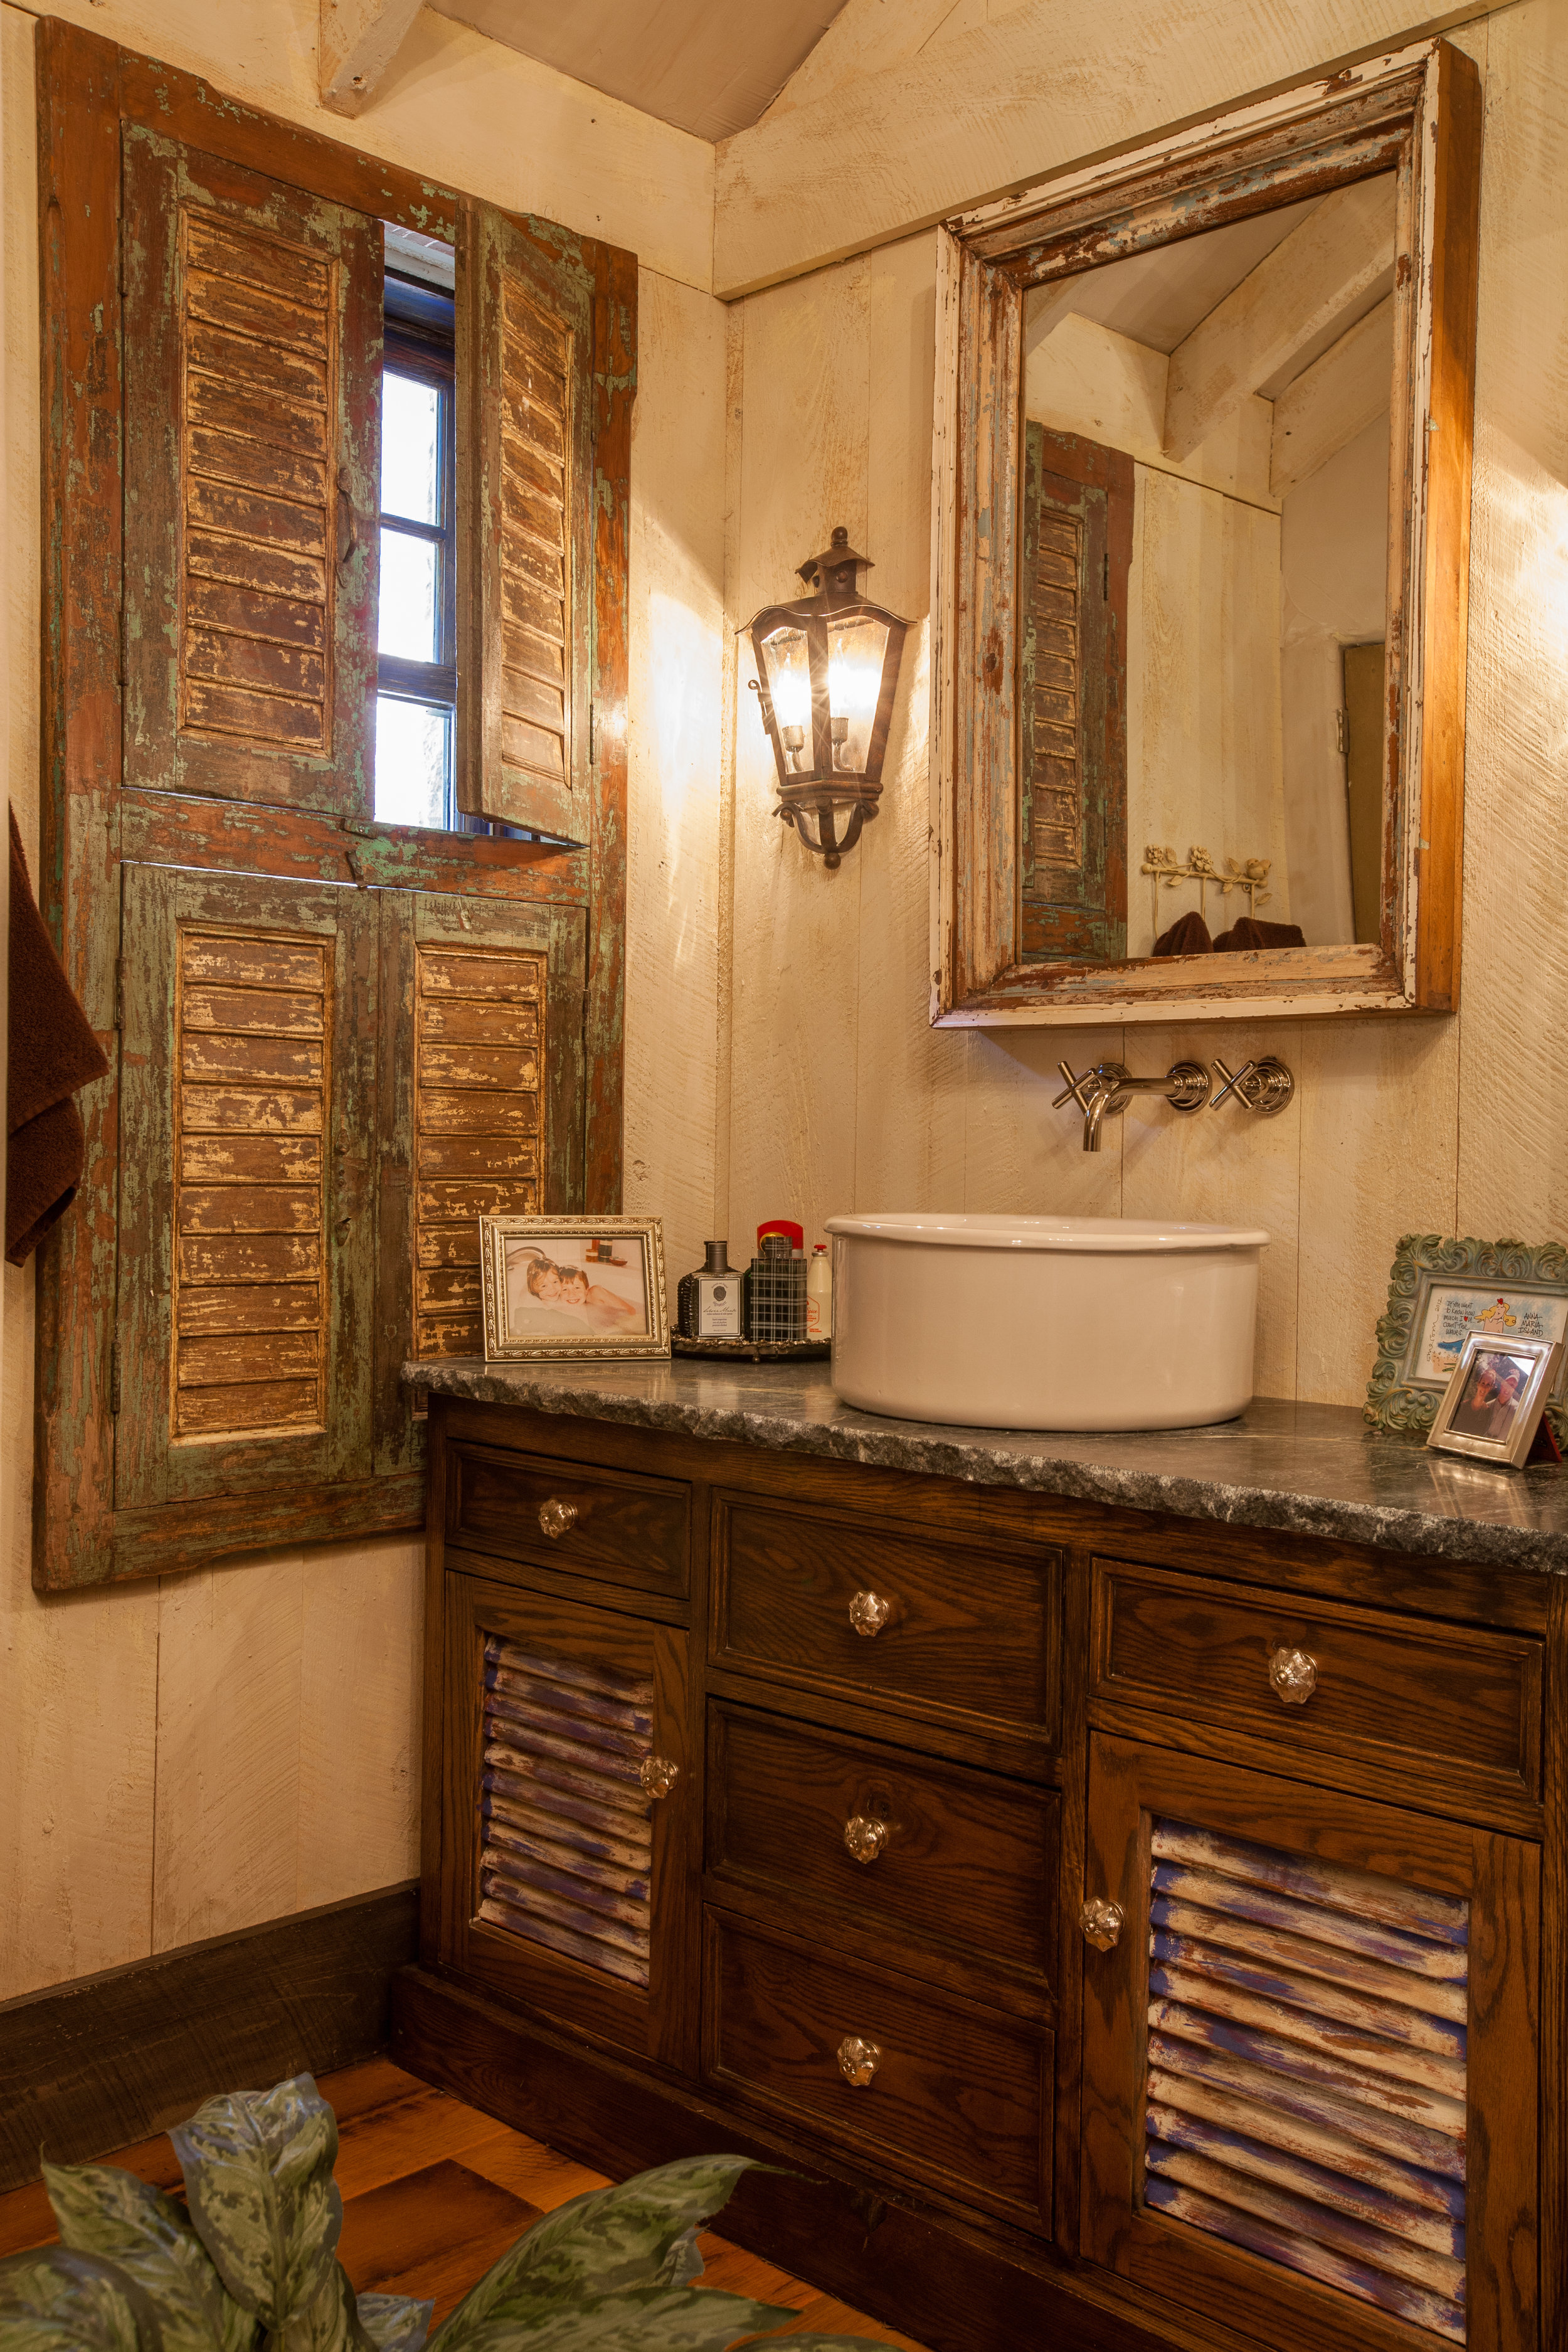
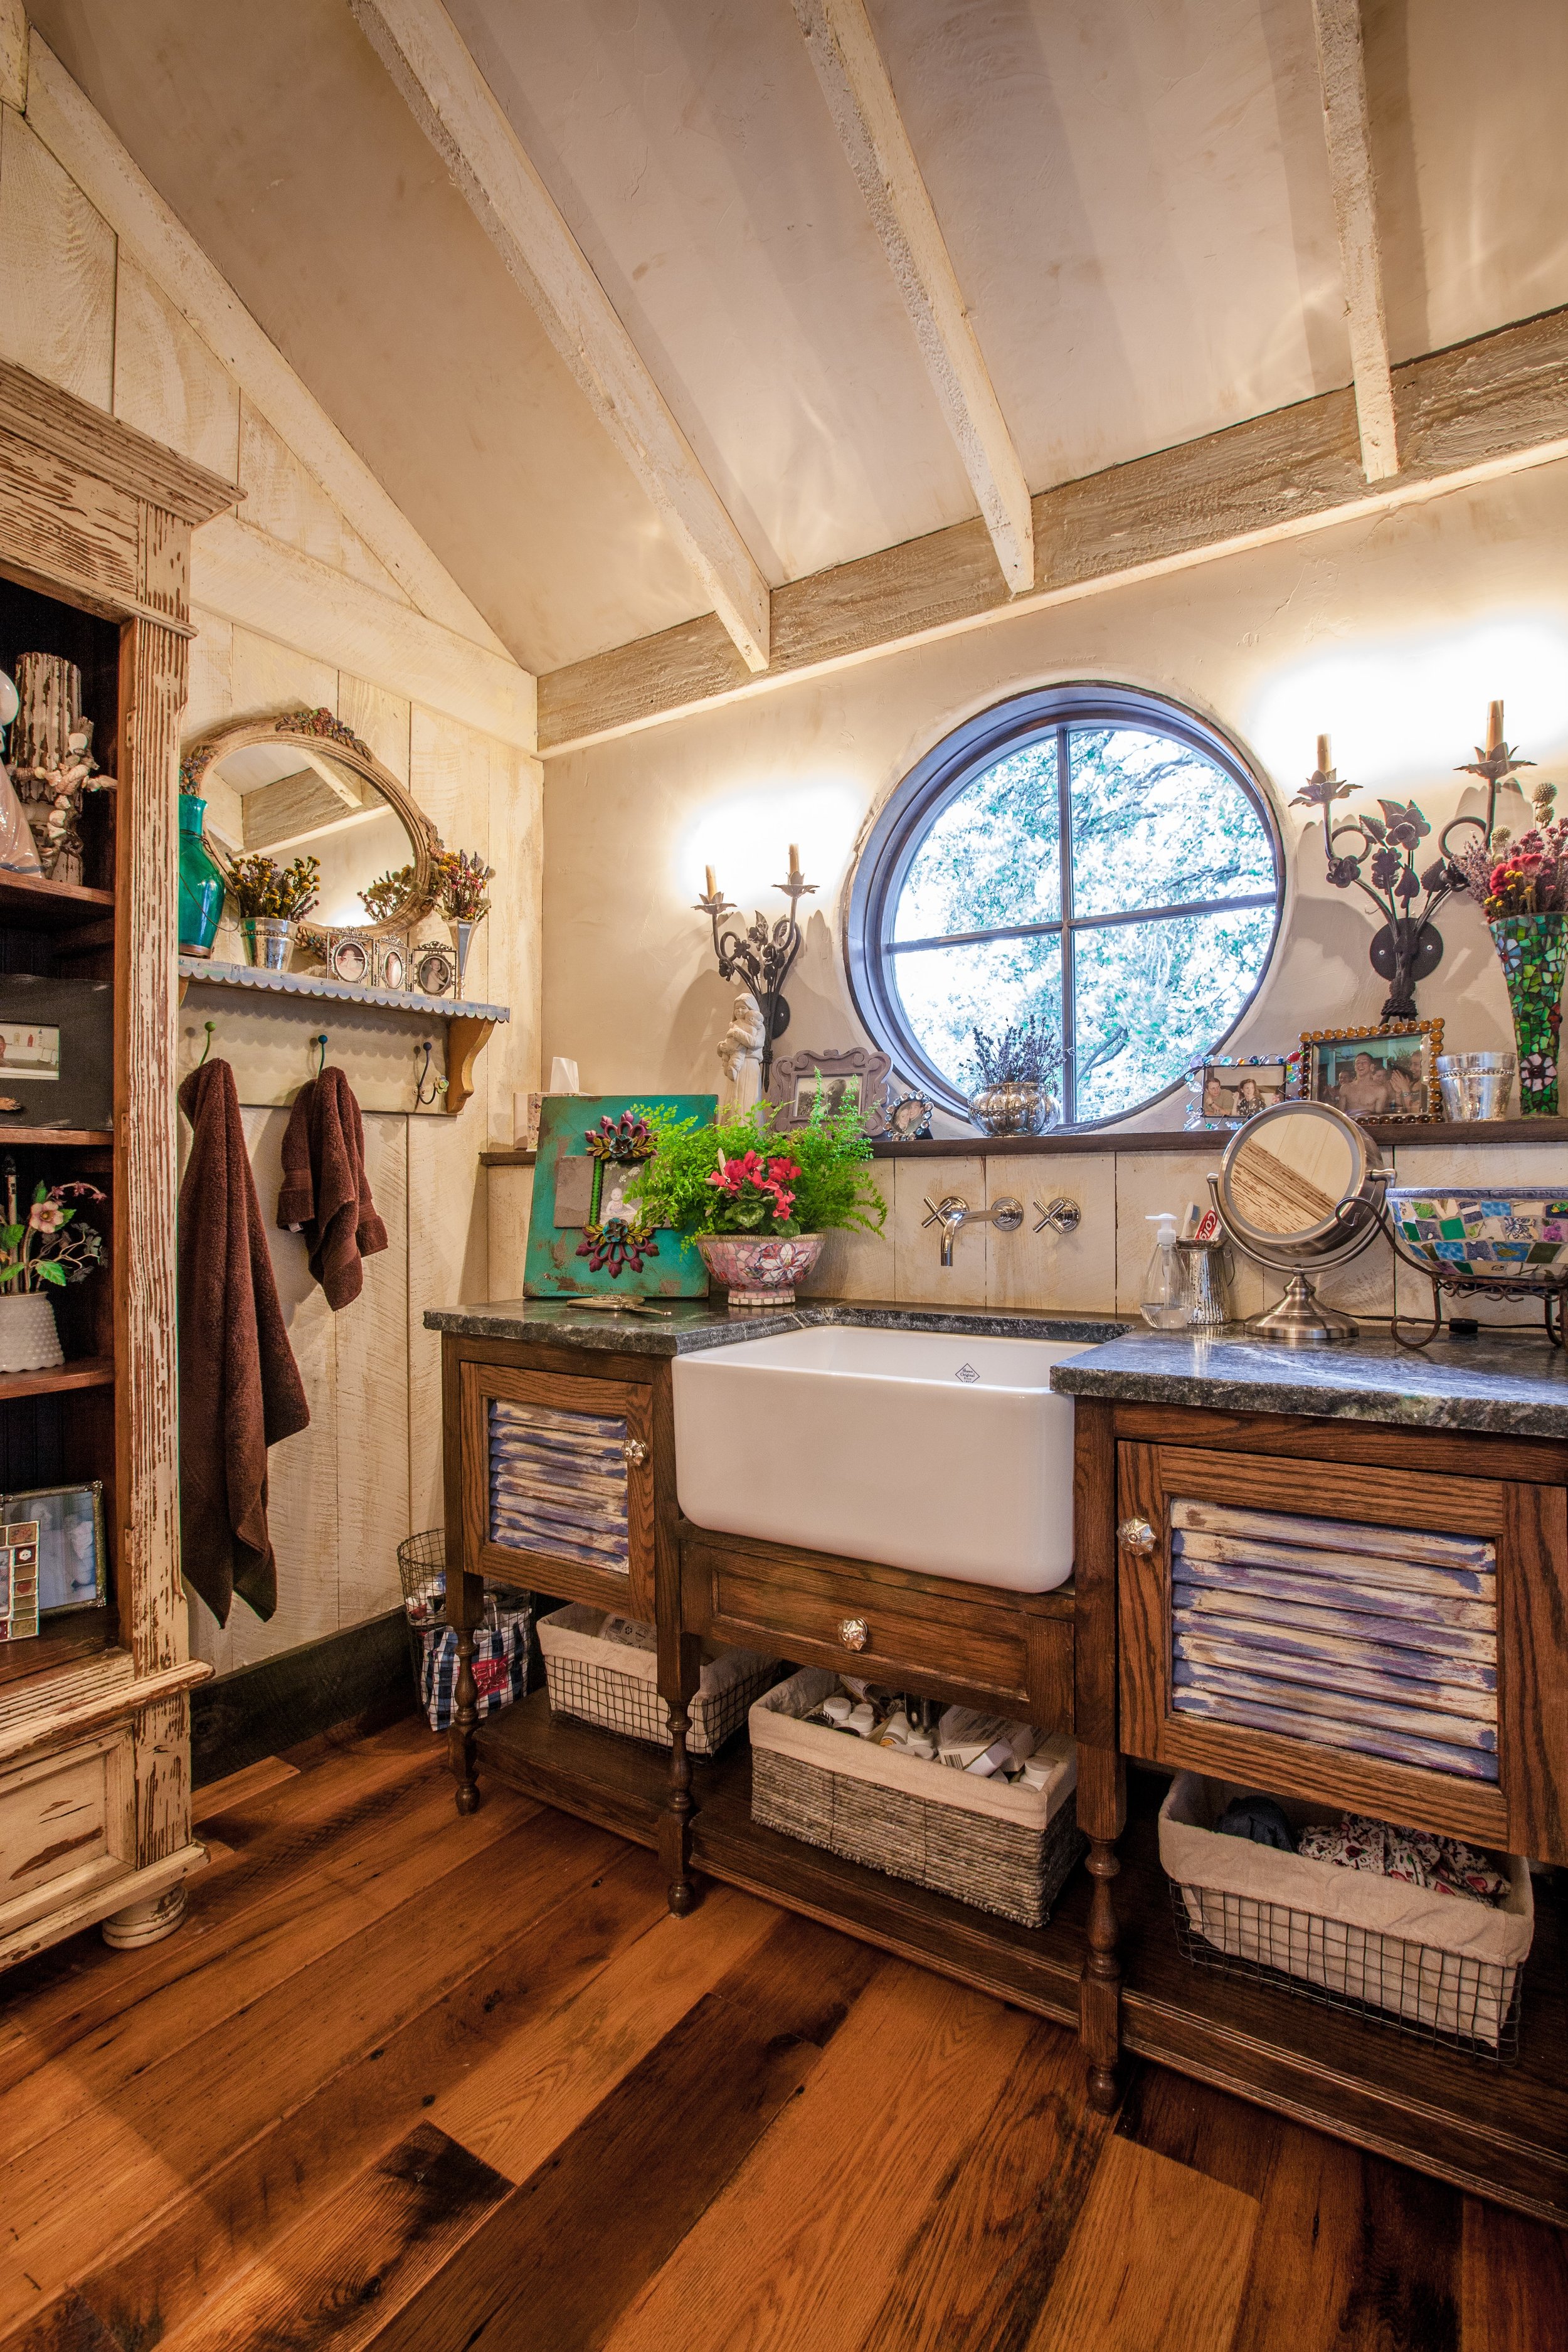
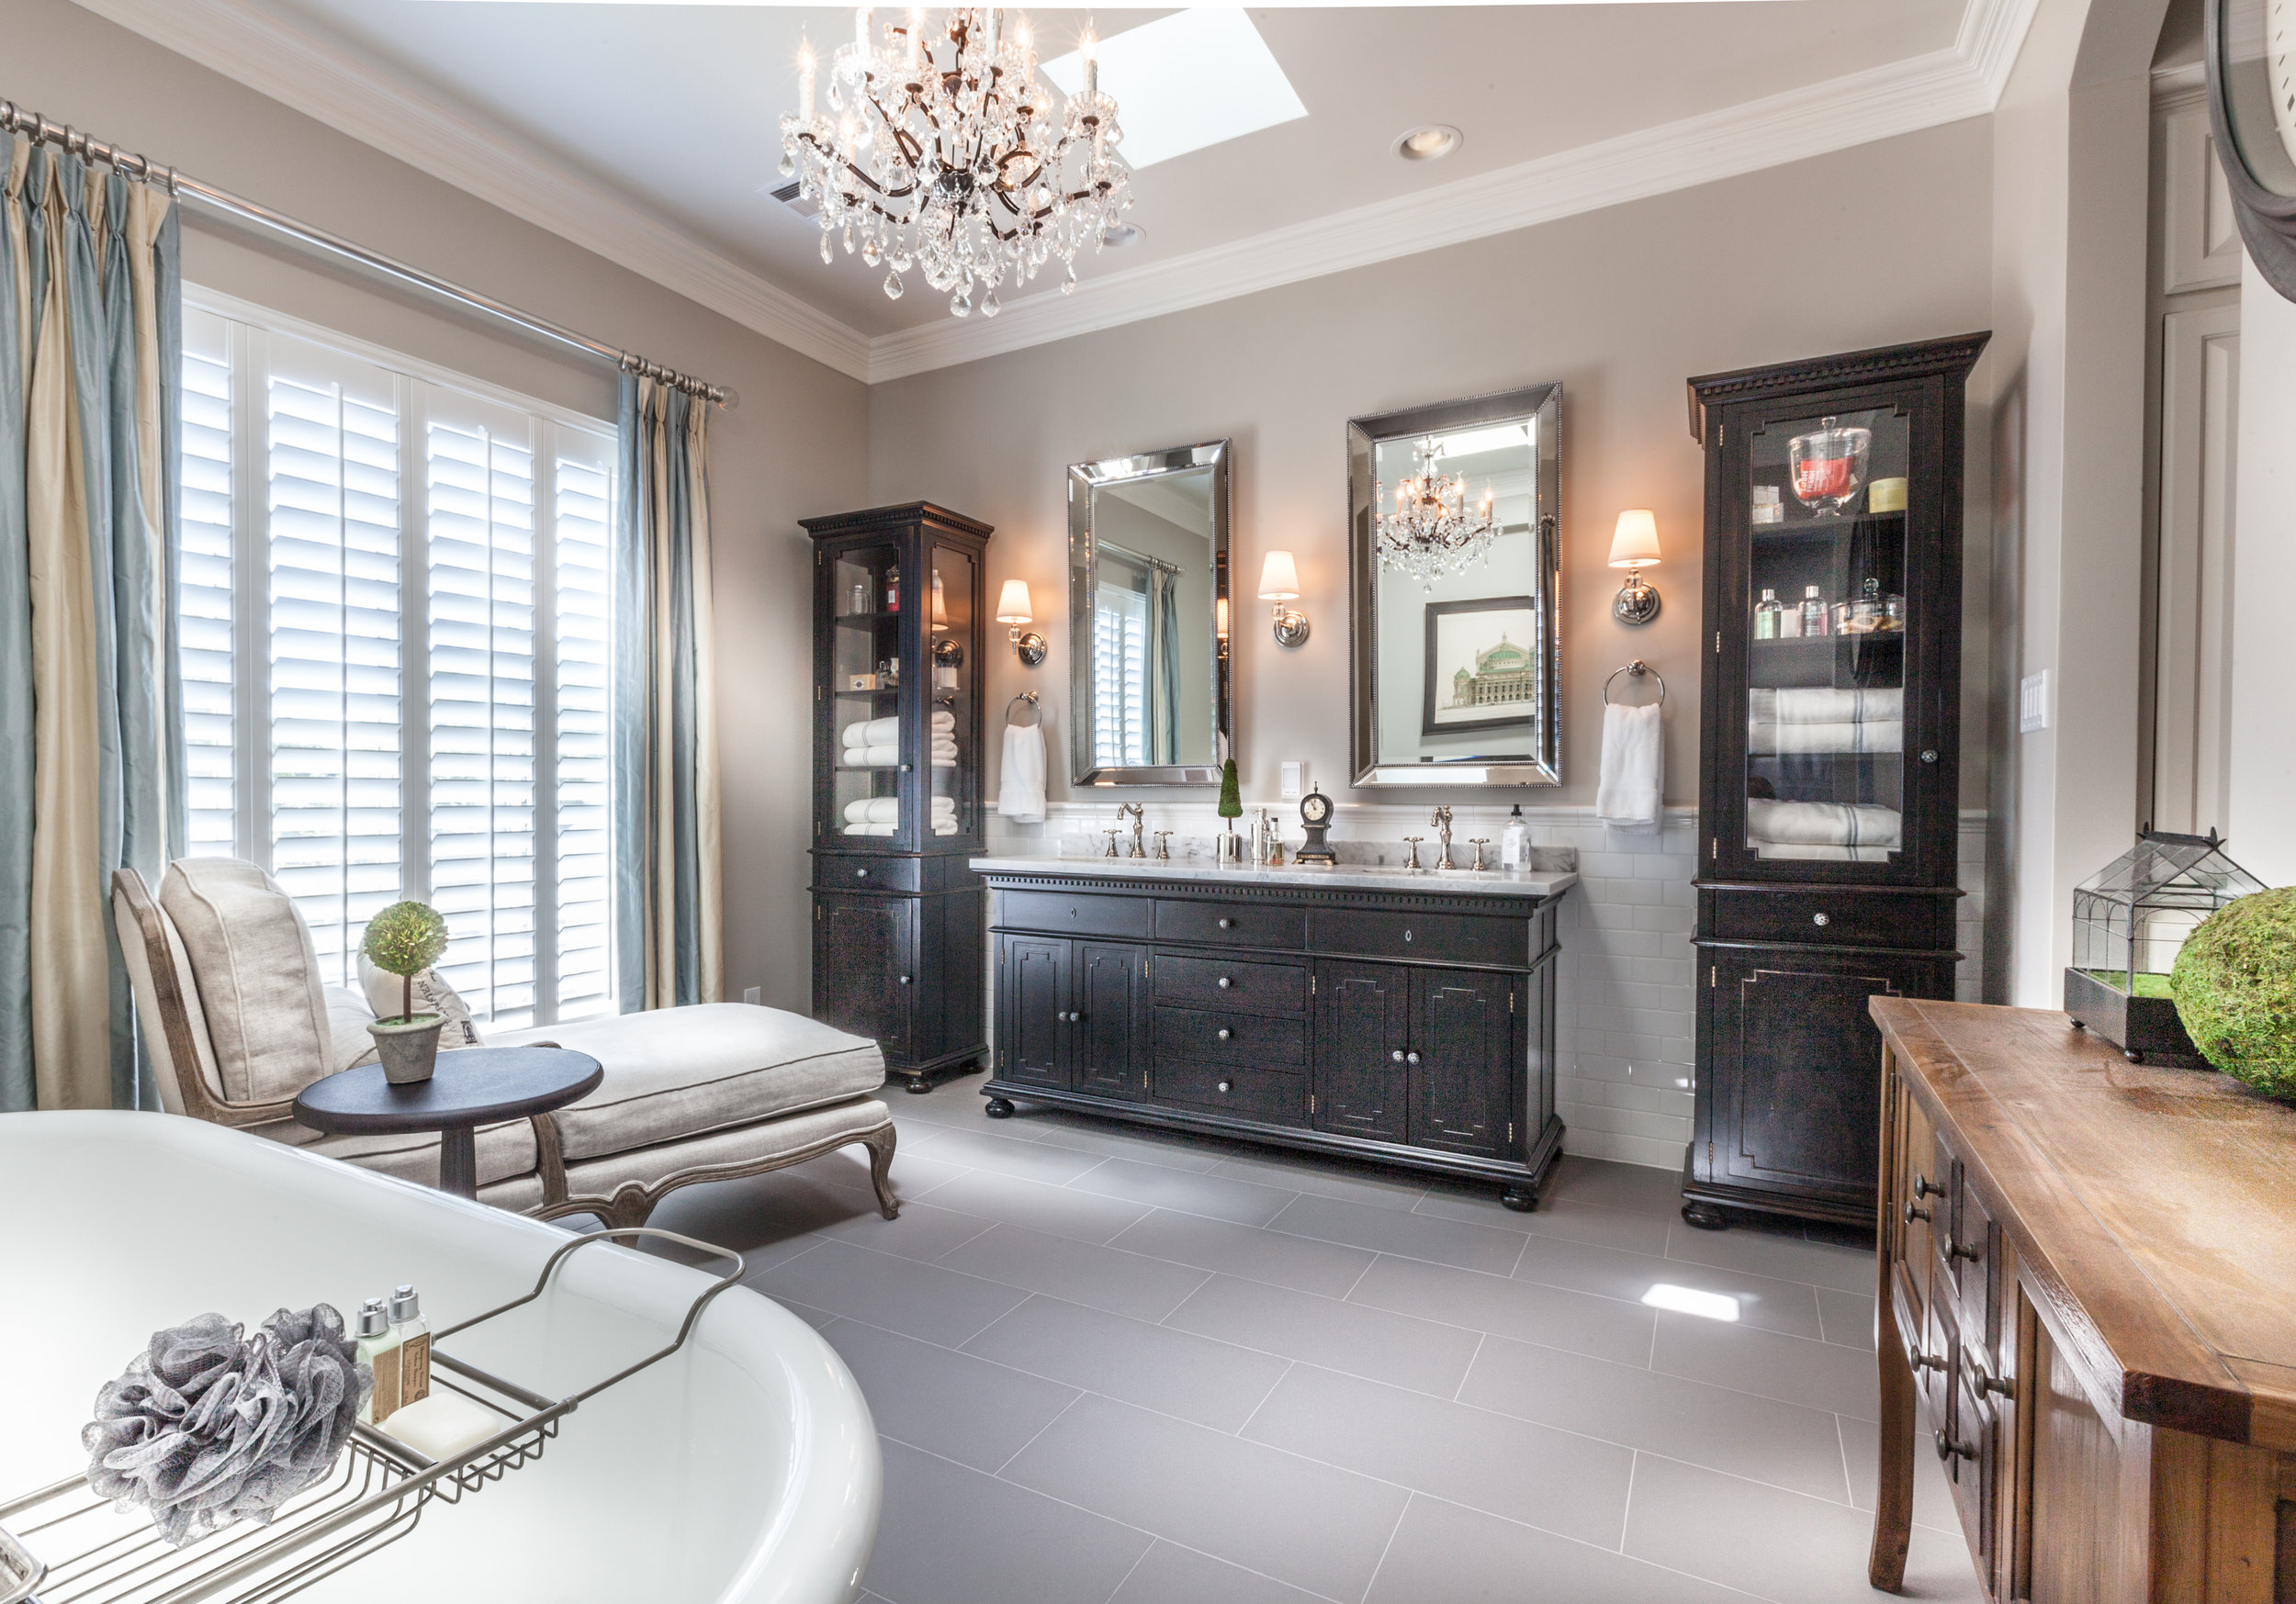
This farmhouse bath is full of both style and charm. A mix of custom designed pieces and flea market finds help to create a truly unique bathroom. The centerpiece of the bathroom, the claw foot metal tub, was salvaged by the homeowners. Special reactive paints were used to create more of a rust look. Custom designed vanities

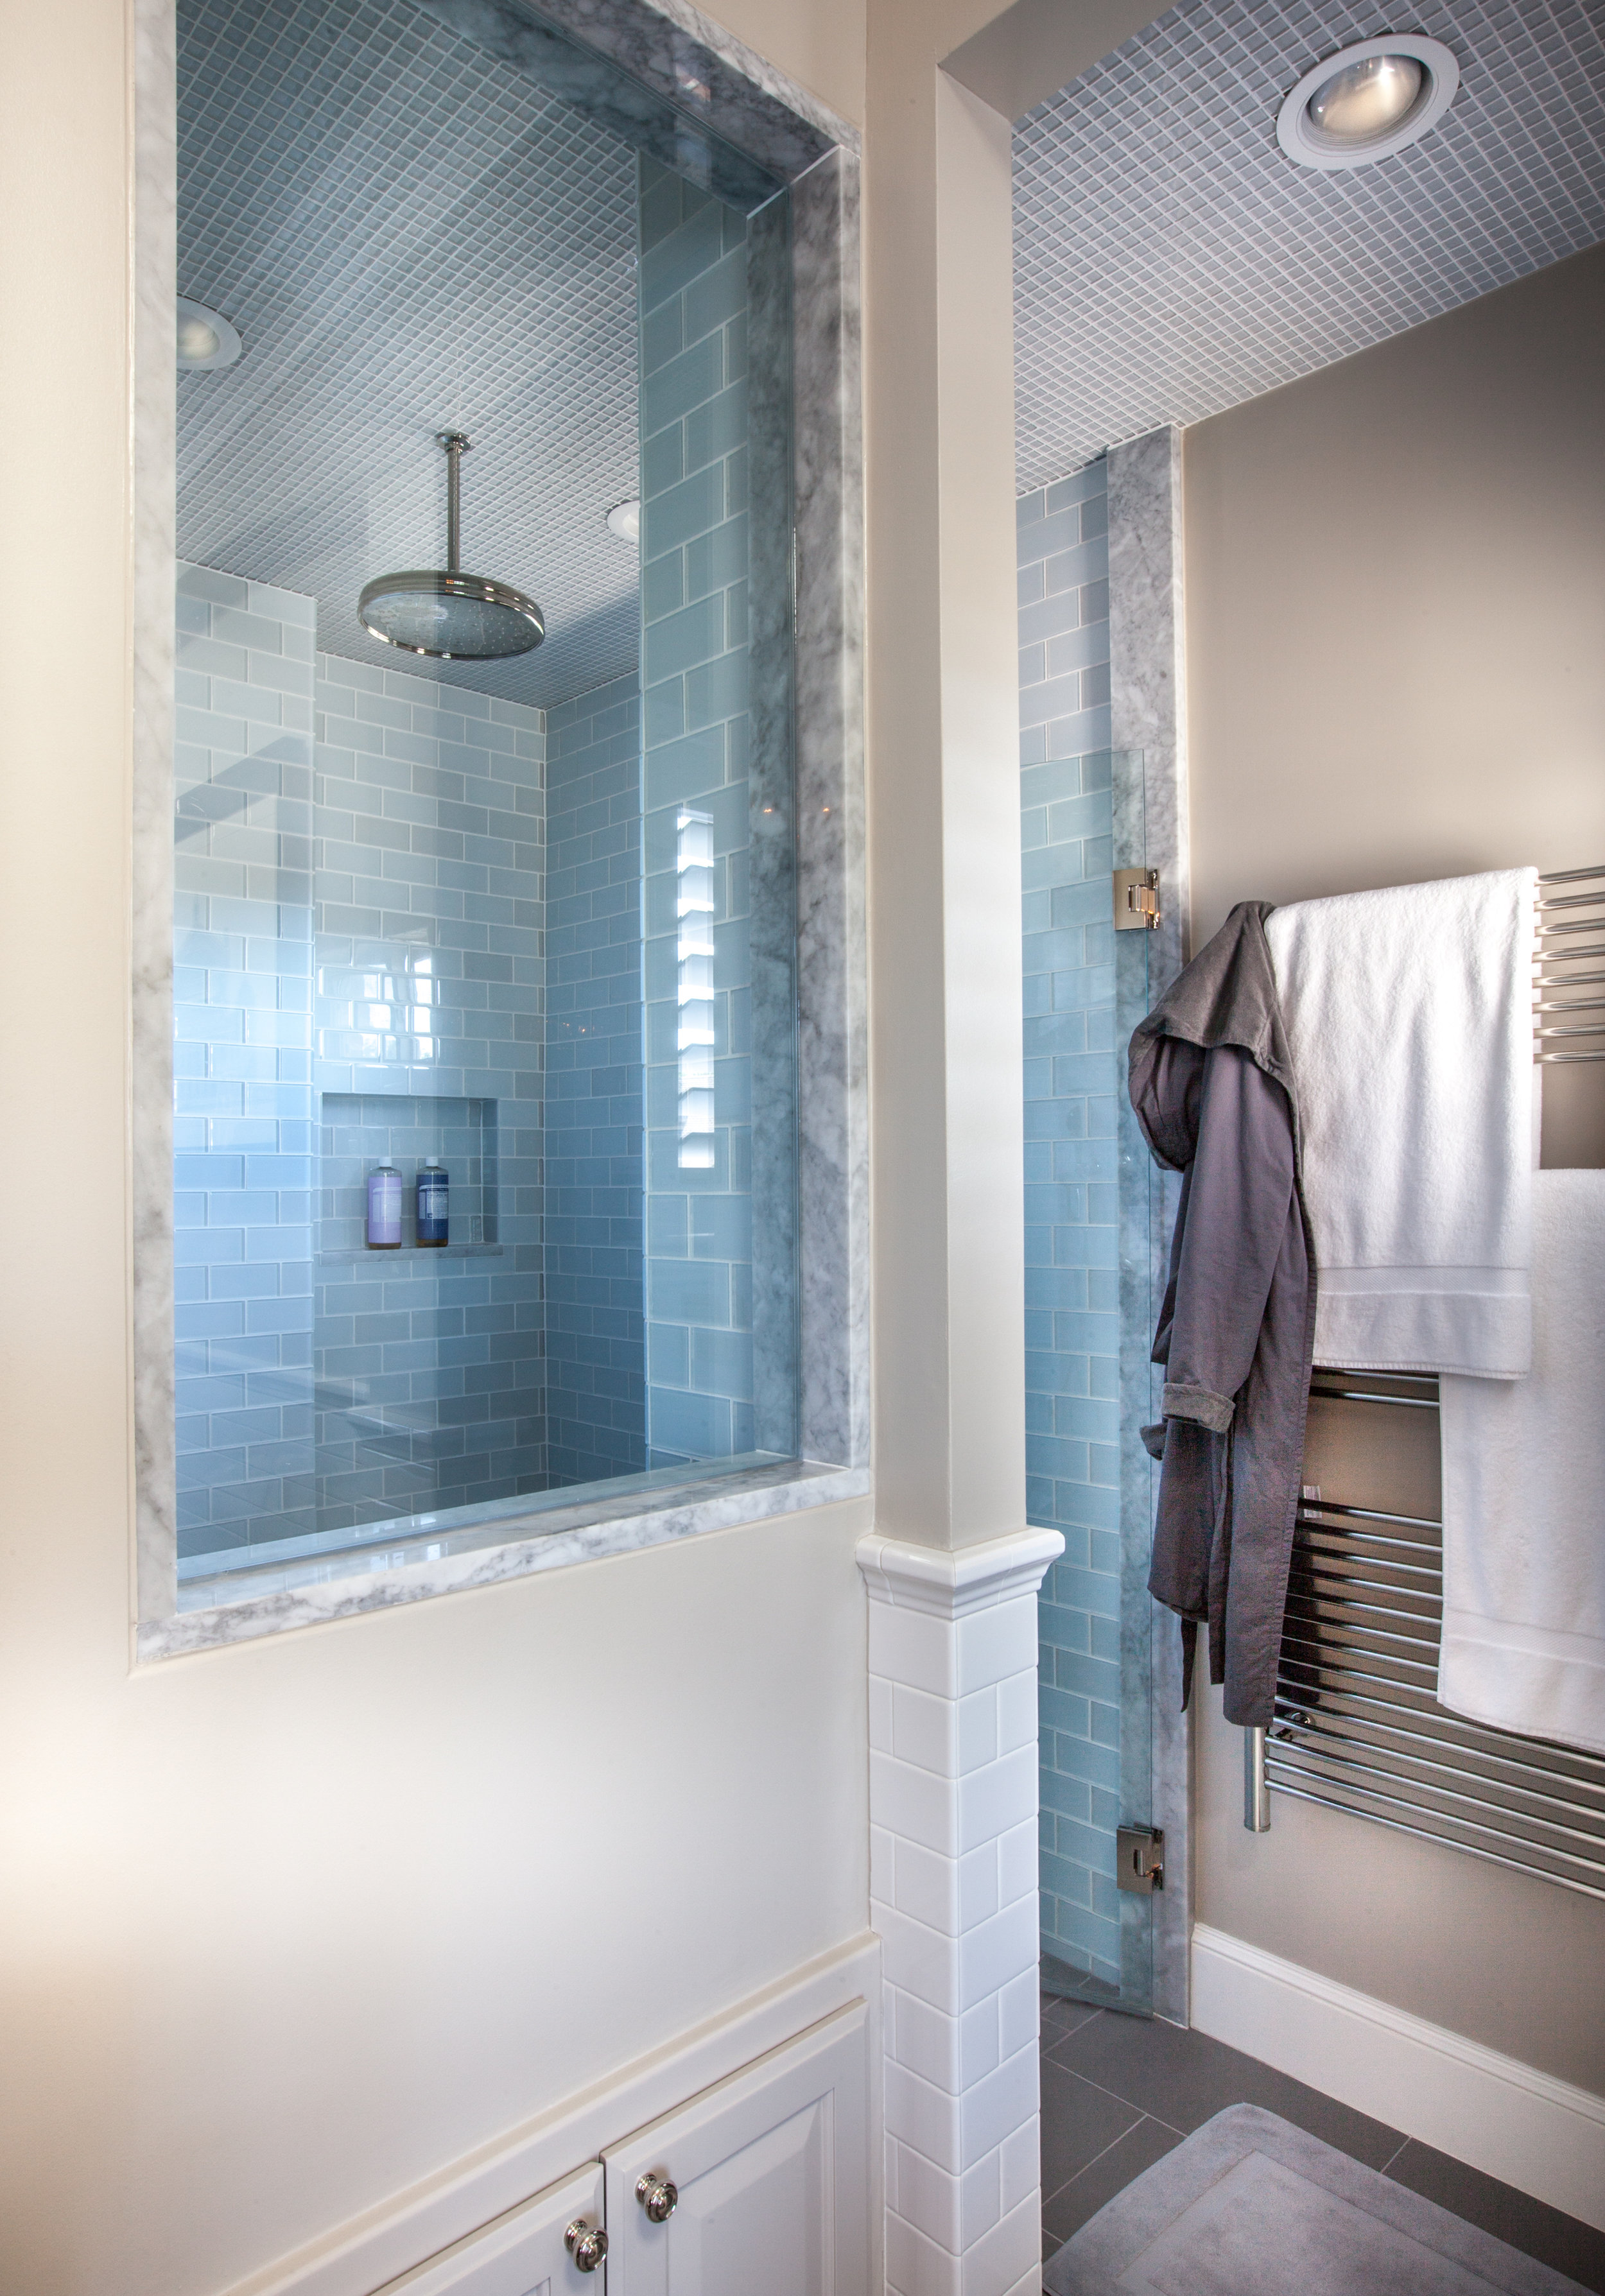
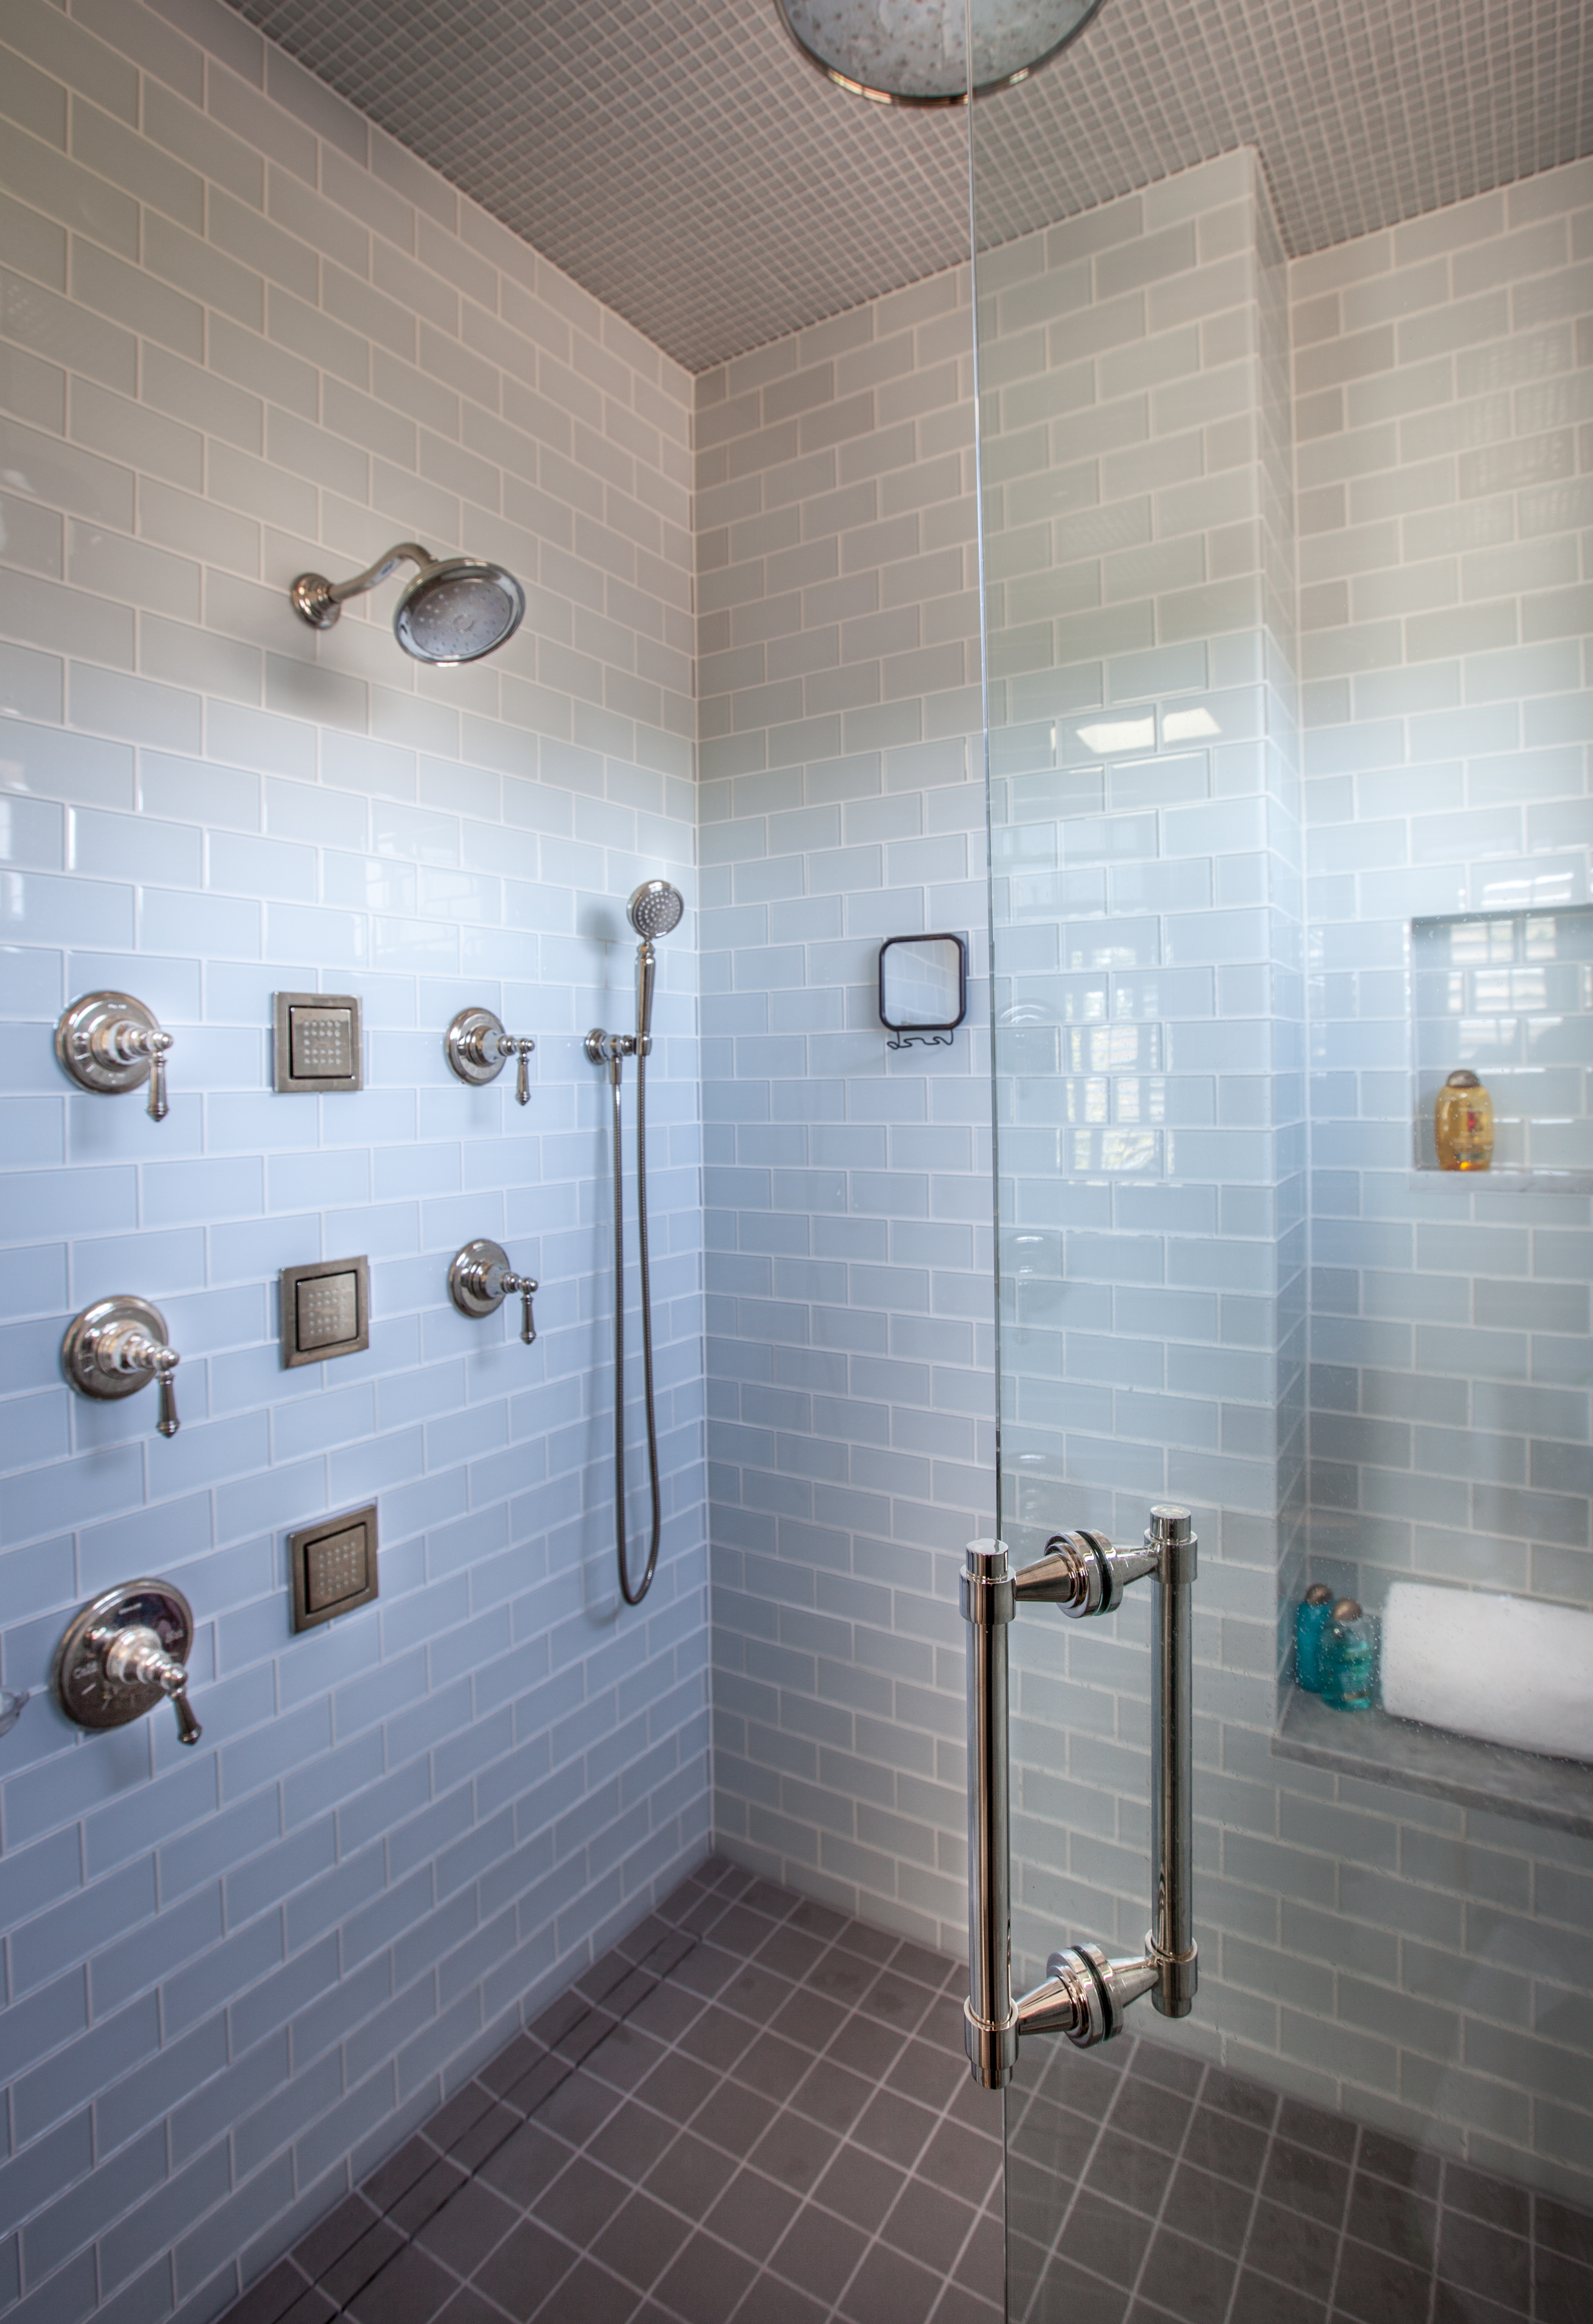
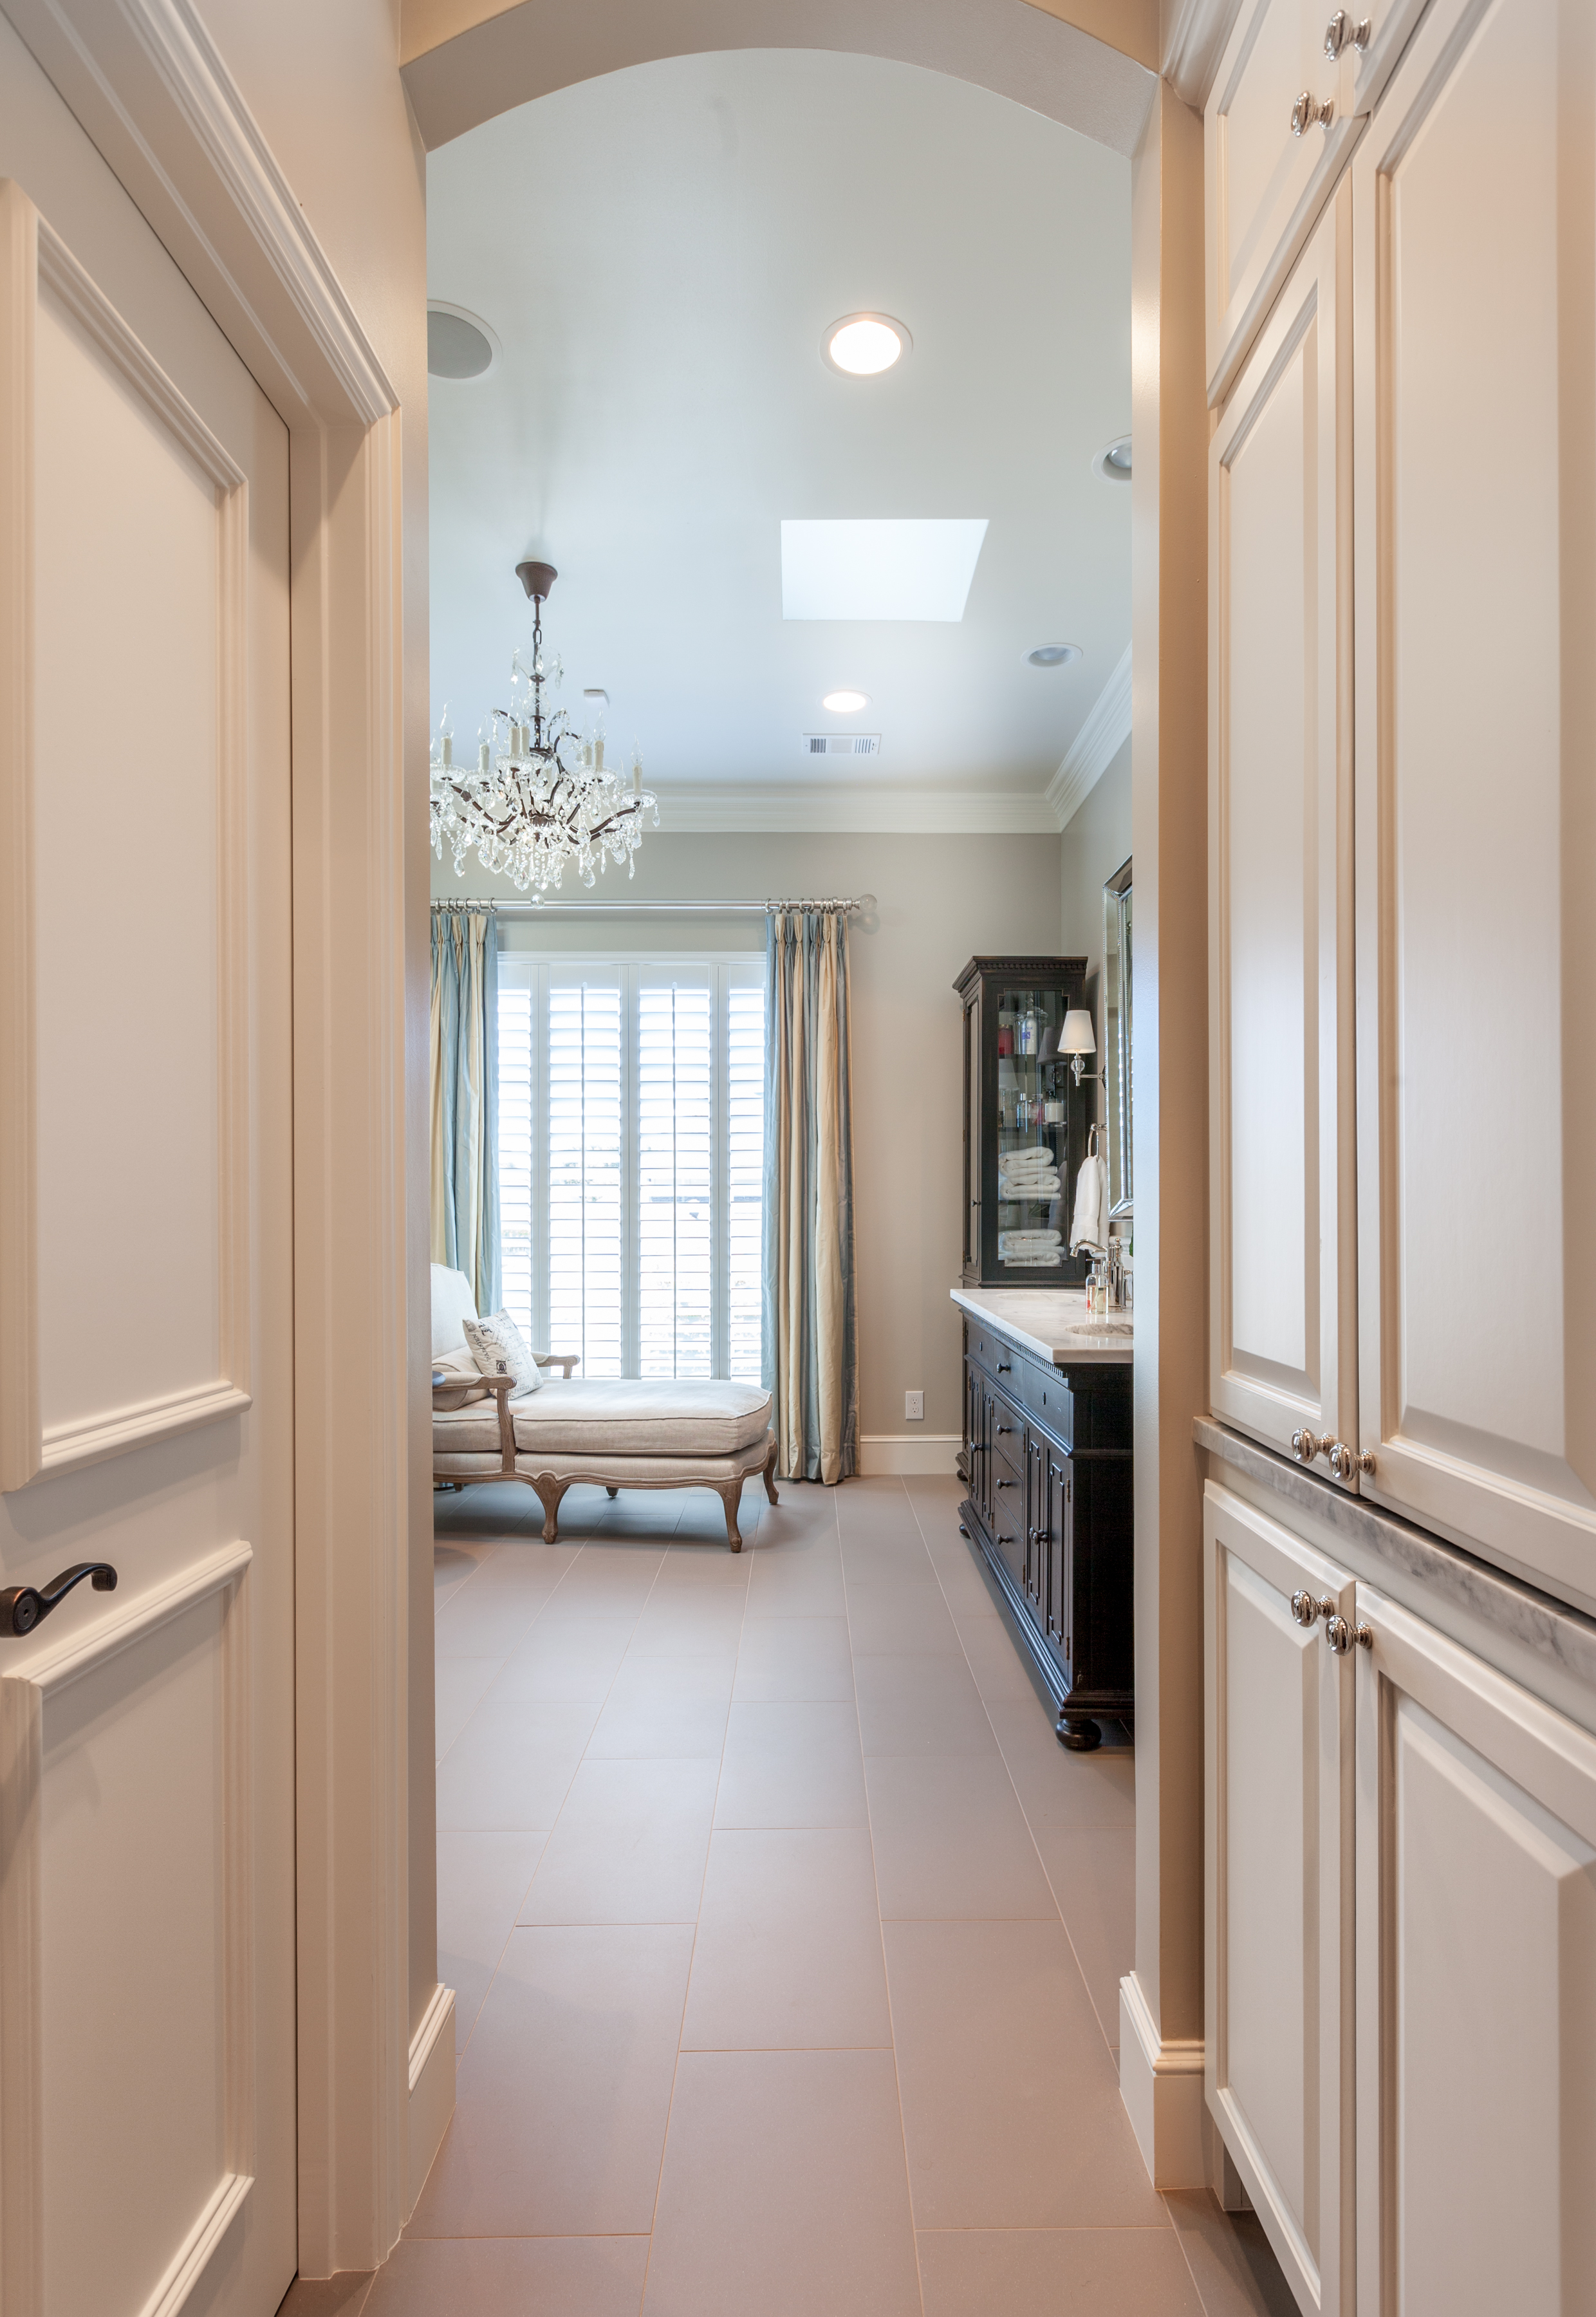
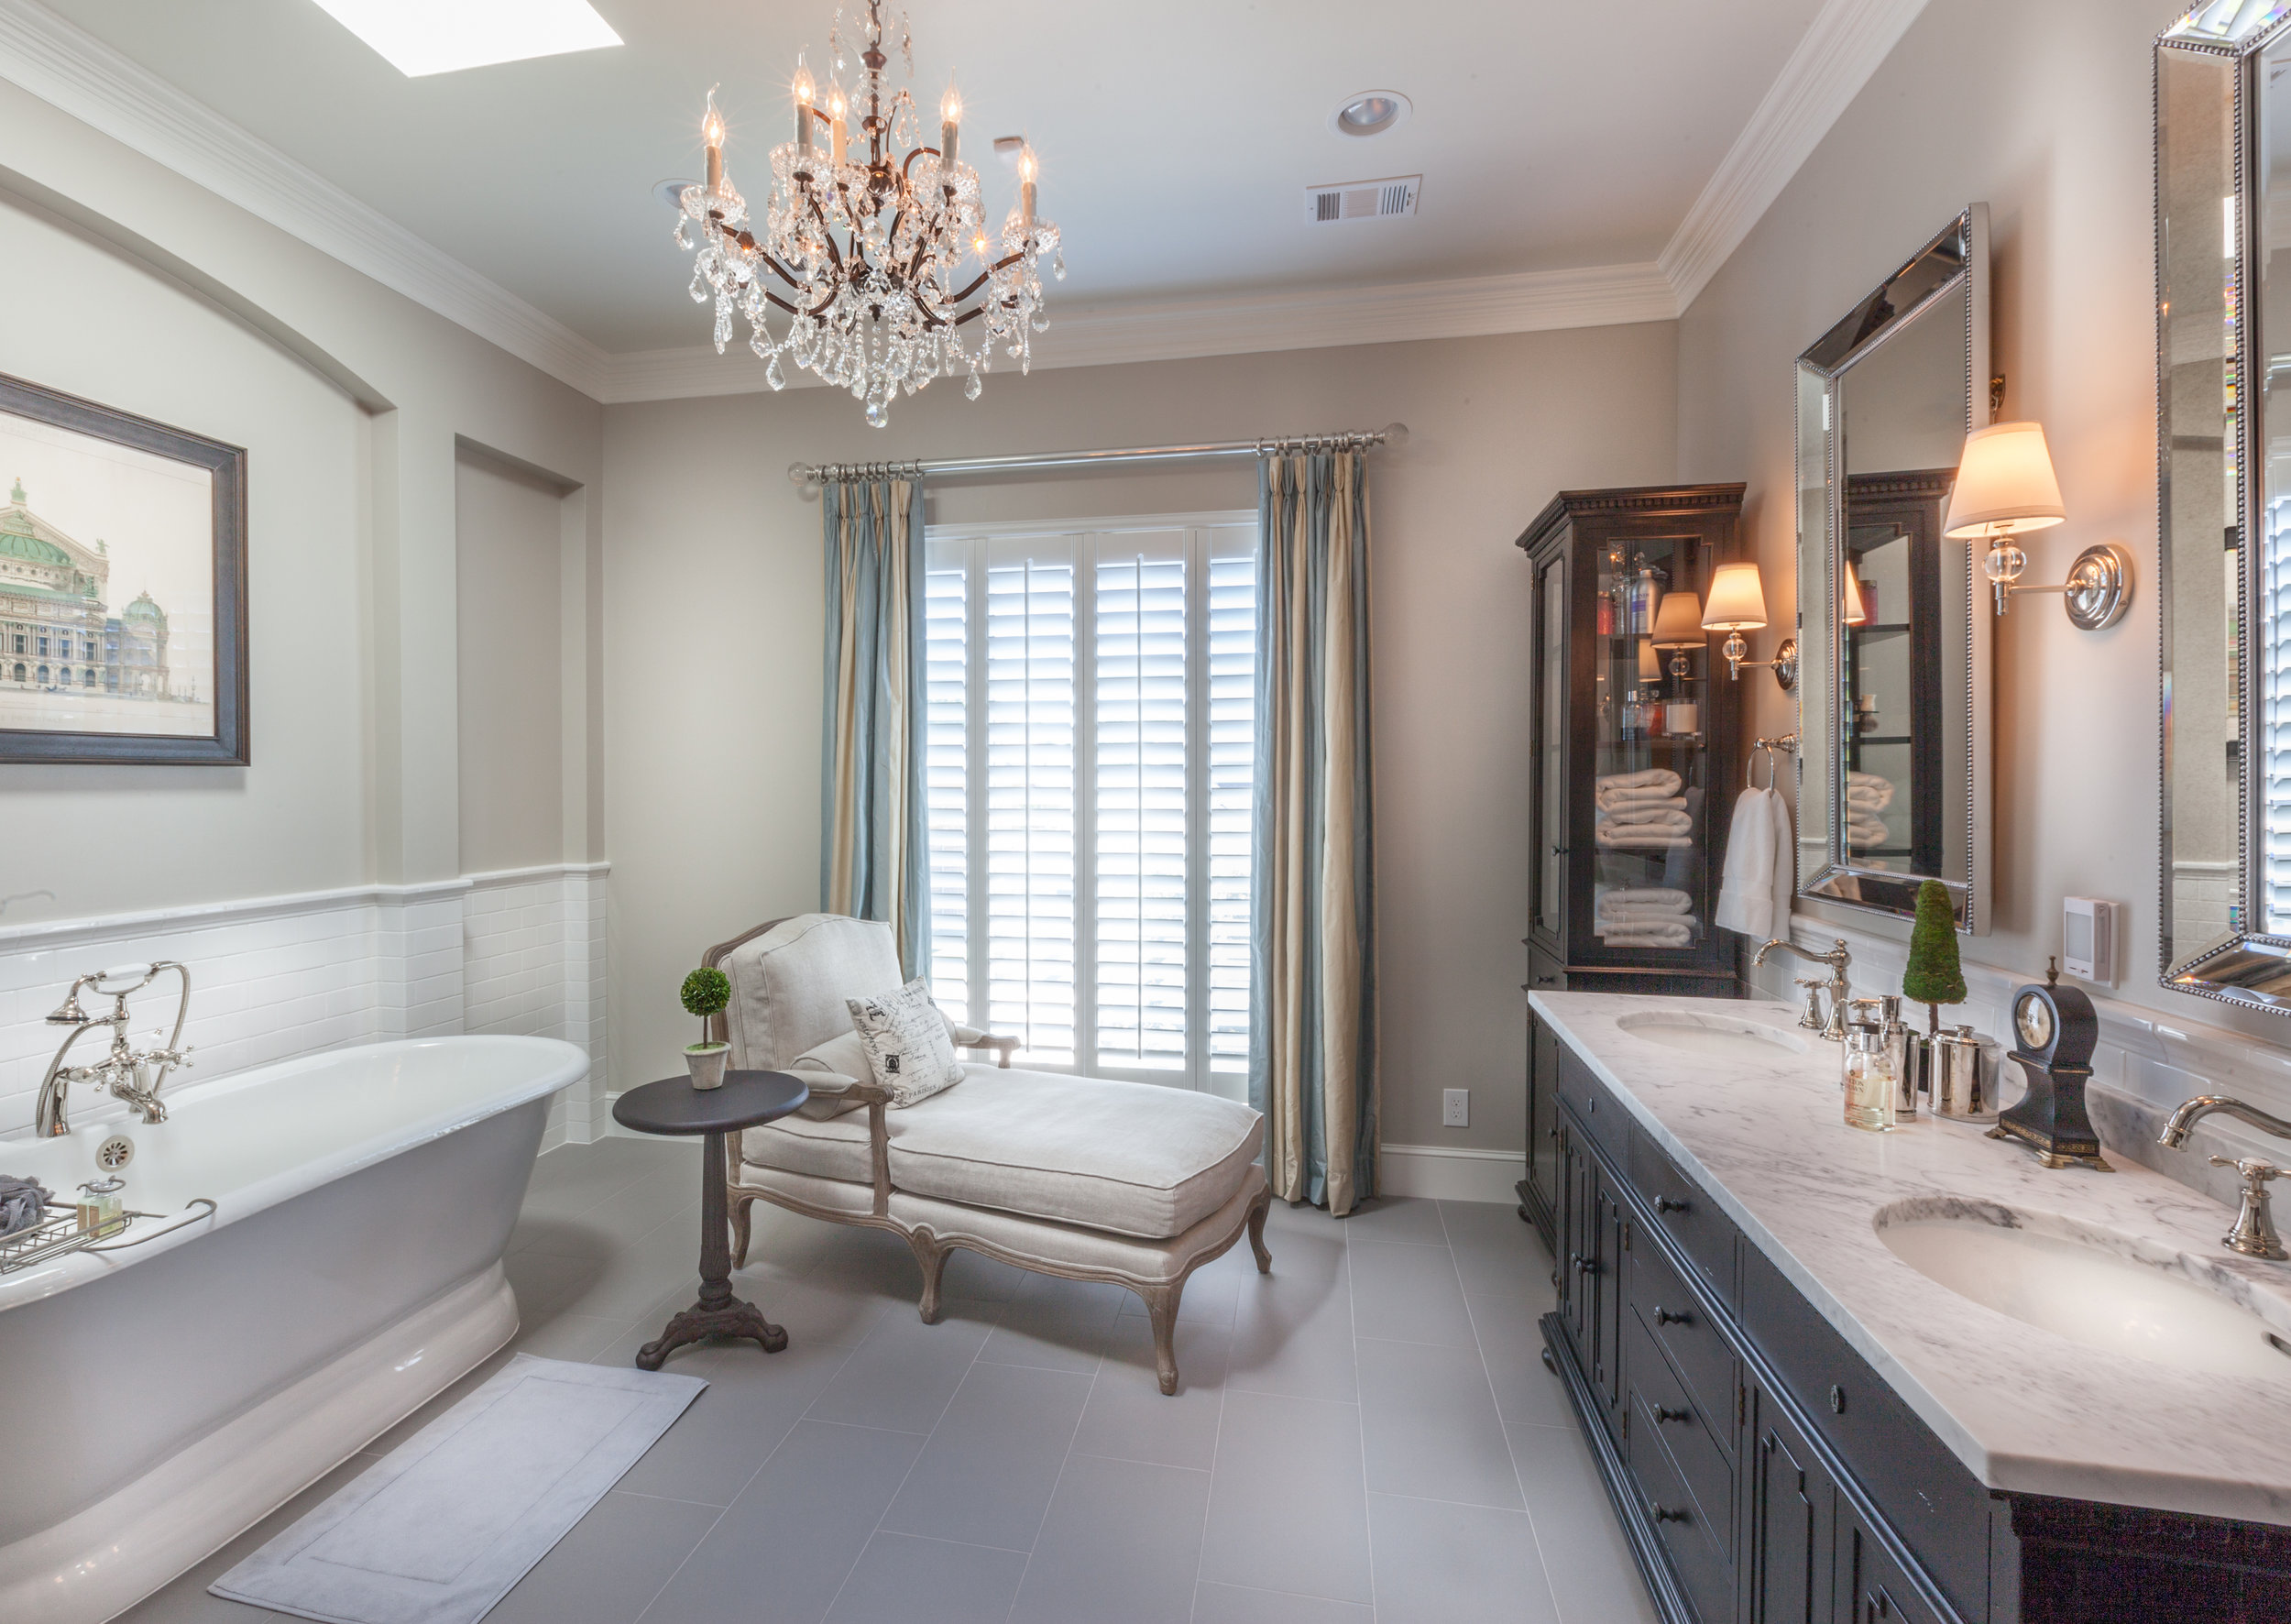
Wanting a more luxurious master bath with more space than currently available, this master bath project was both a remodel and addition. The back wall of the room was bumped out to create the additional space desired by the homeowners and allowed for the spa like feel and look to the room. The expanded walk in shower features body jets, both a rain head and hand held shower head, built in bench and soap niche, and a towel warming rack.

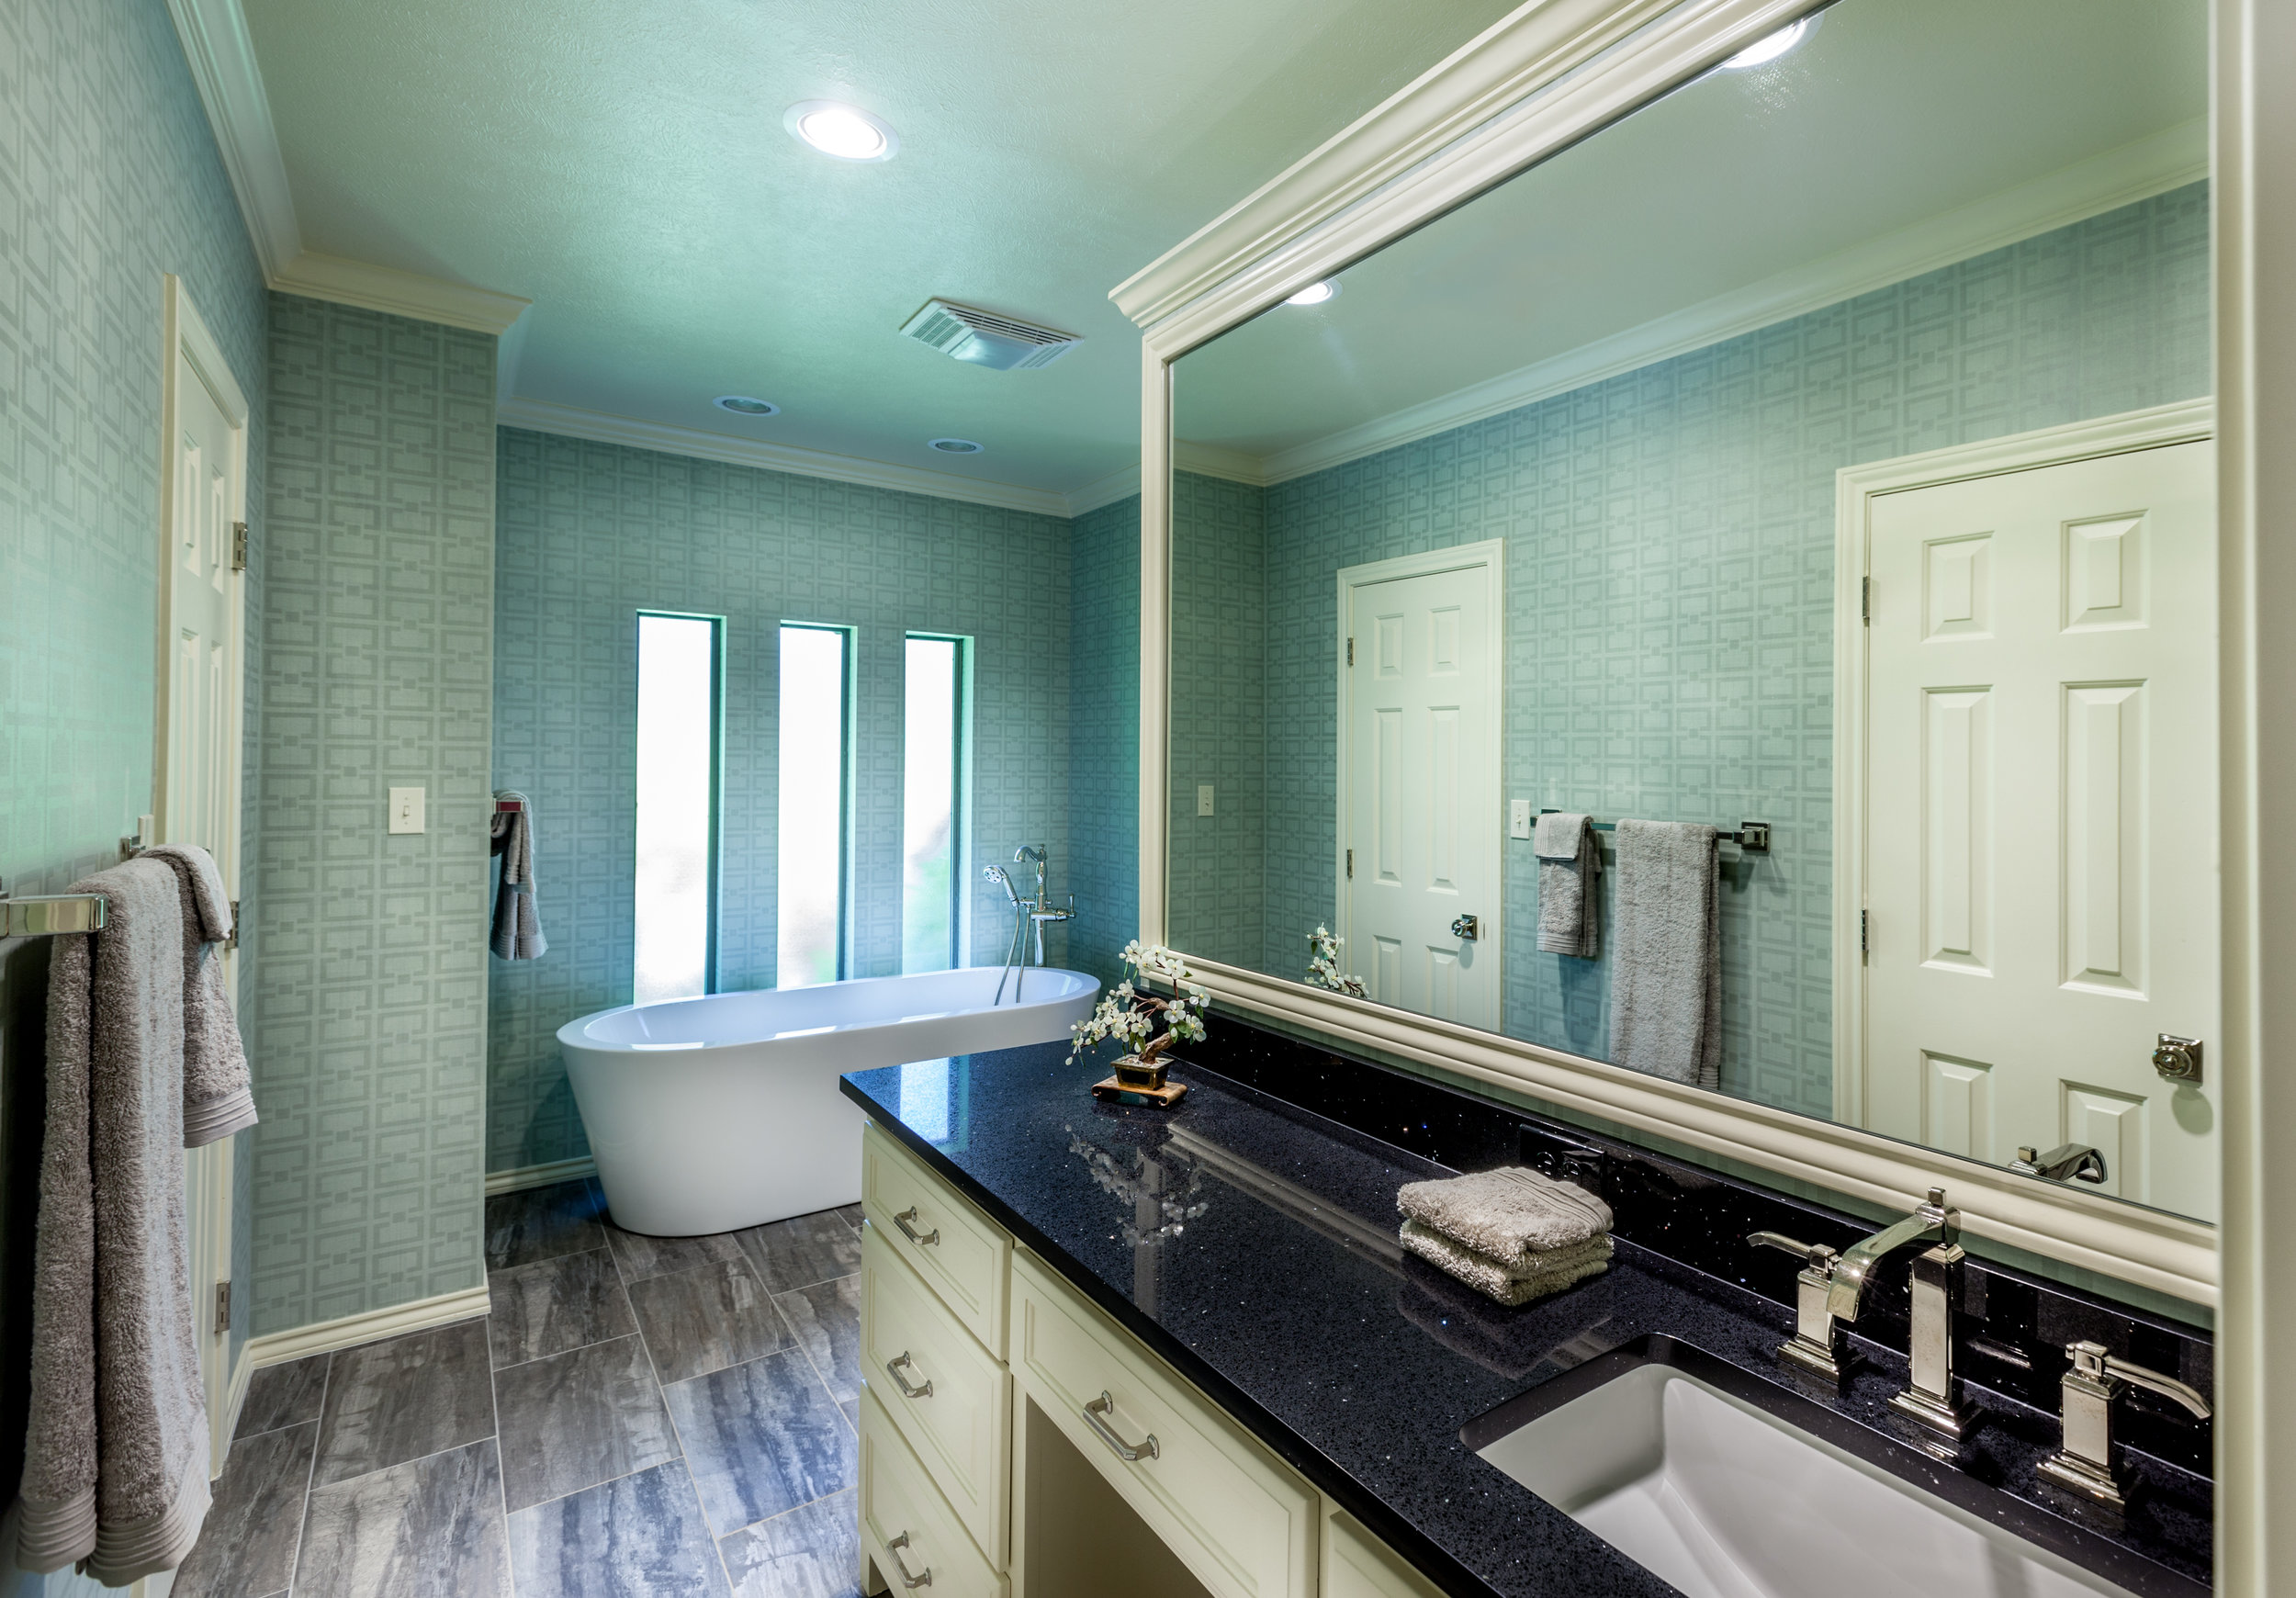
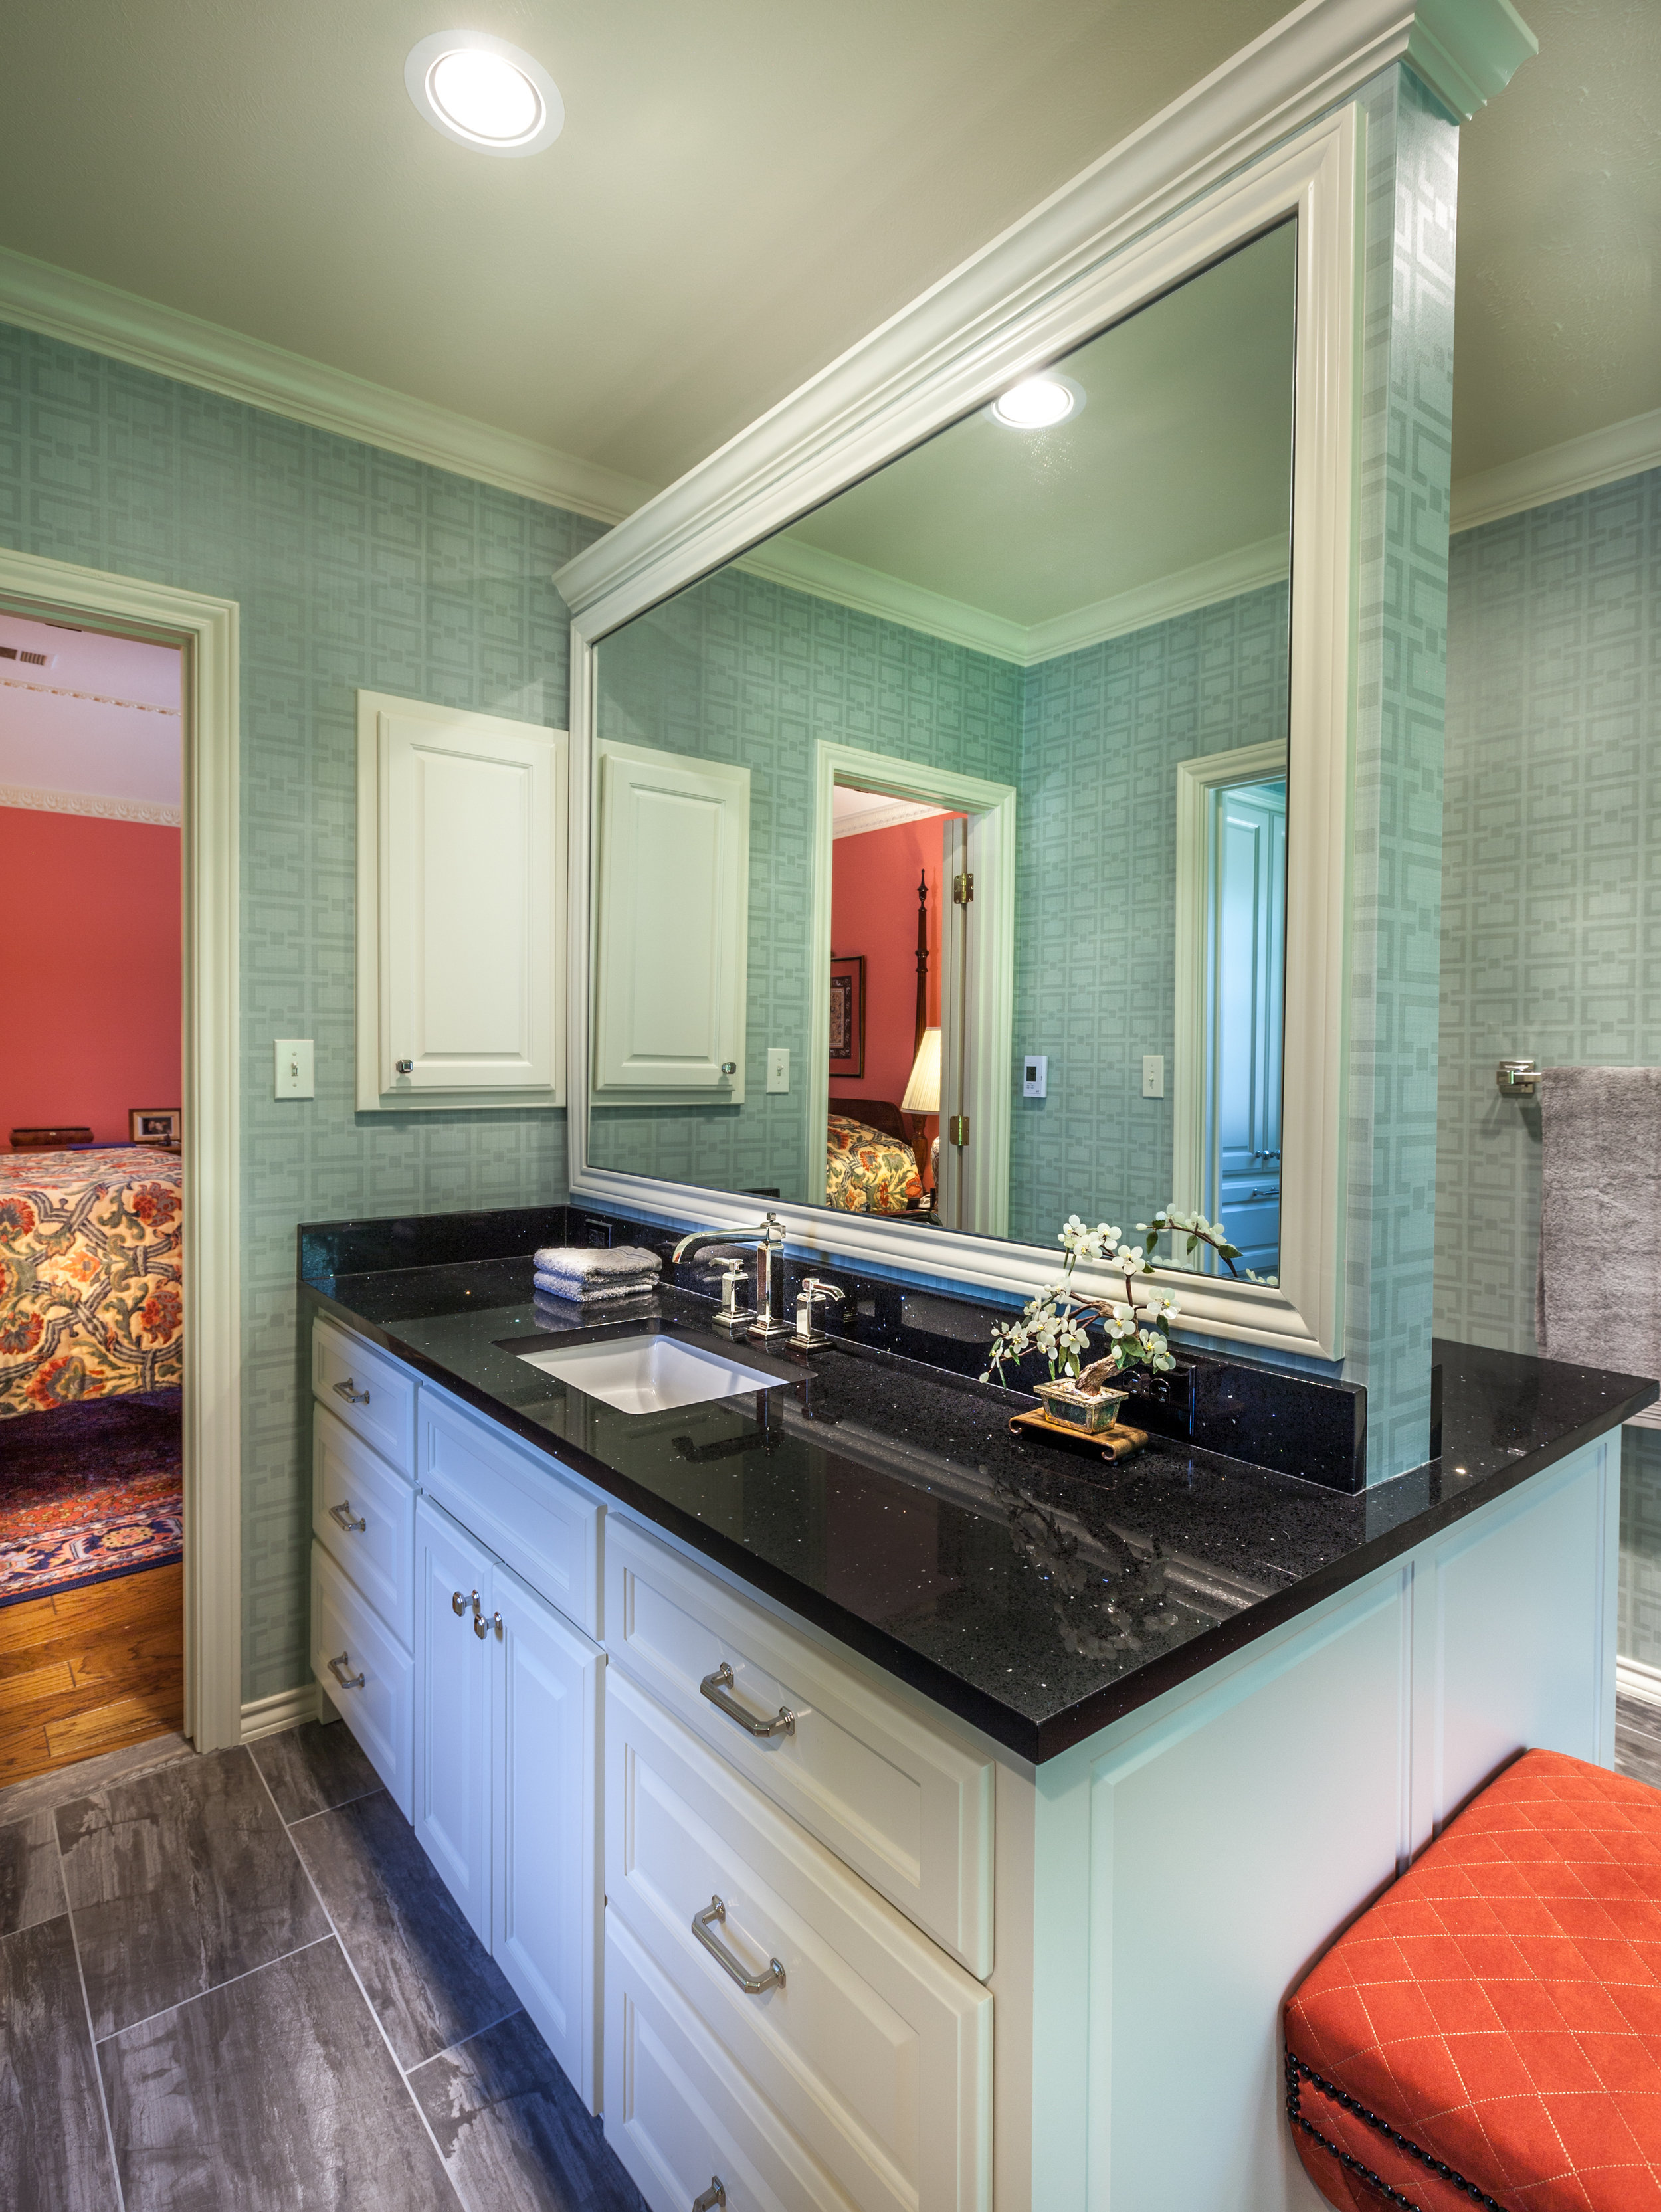
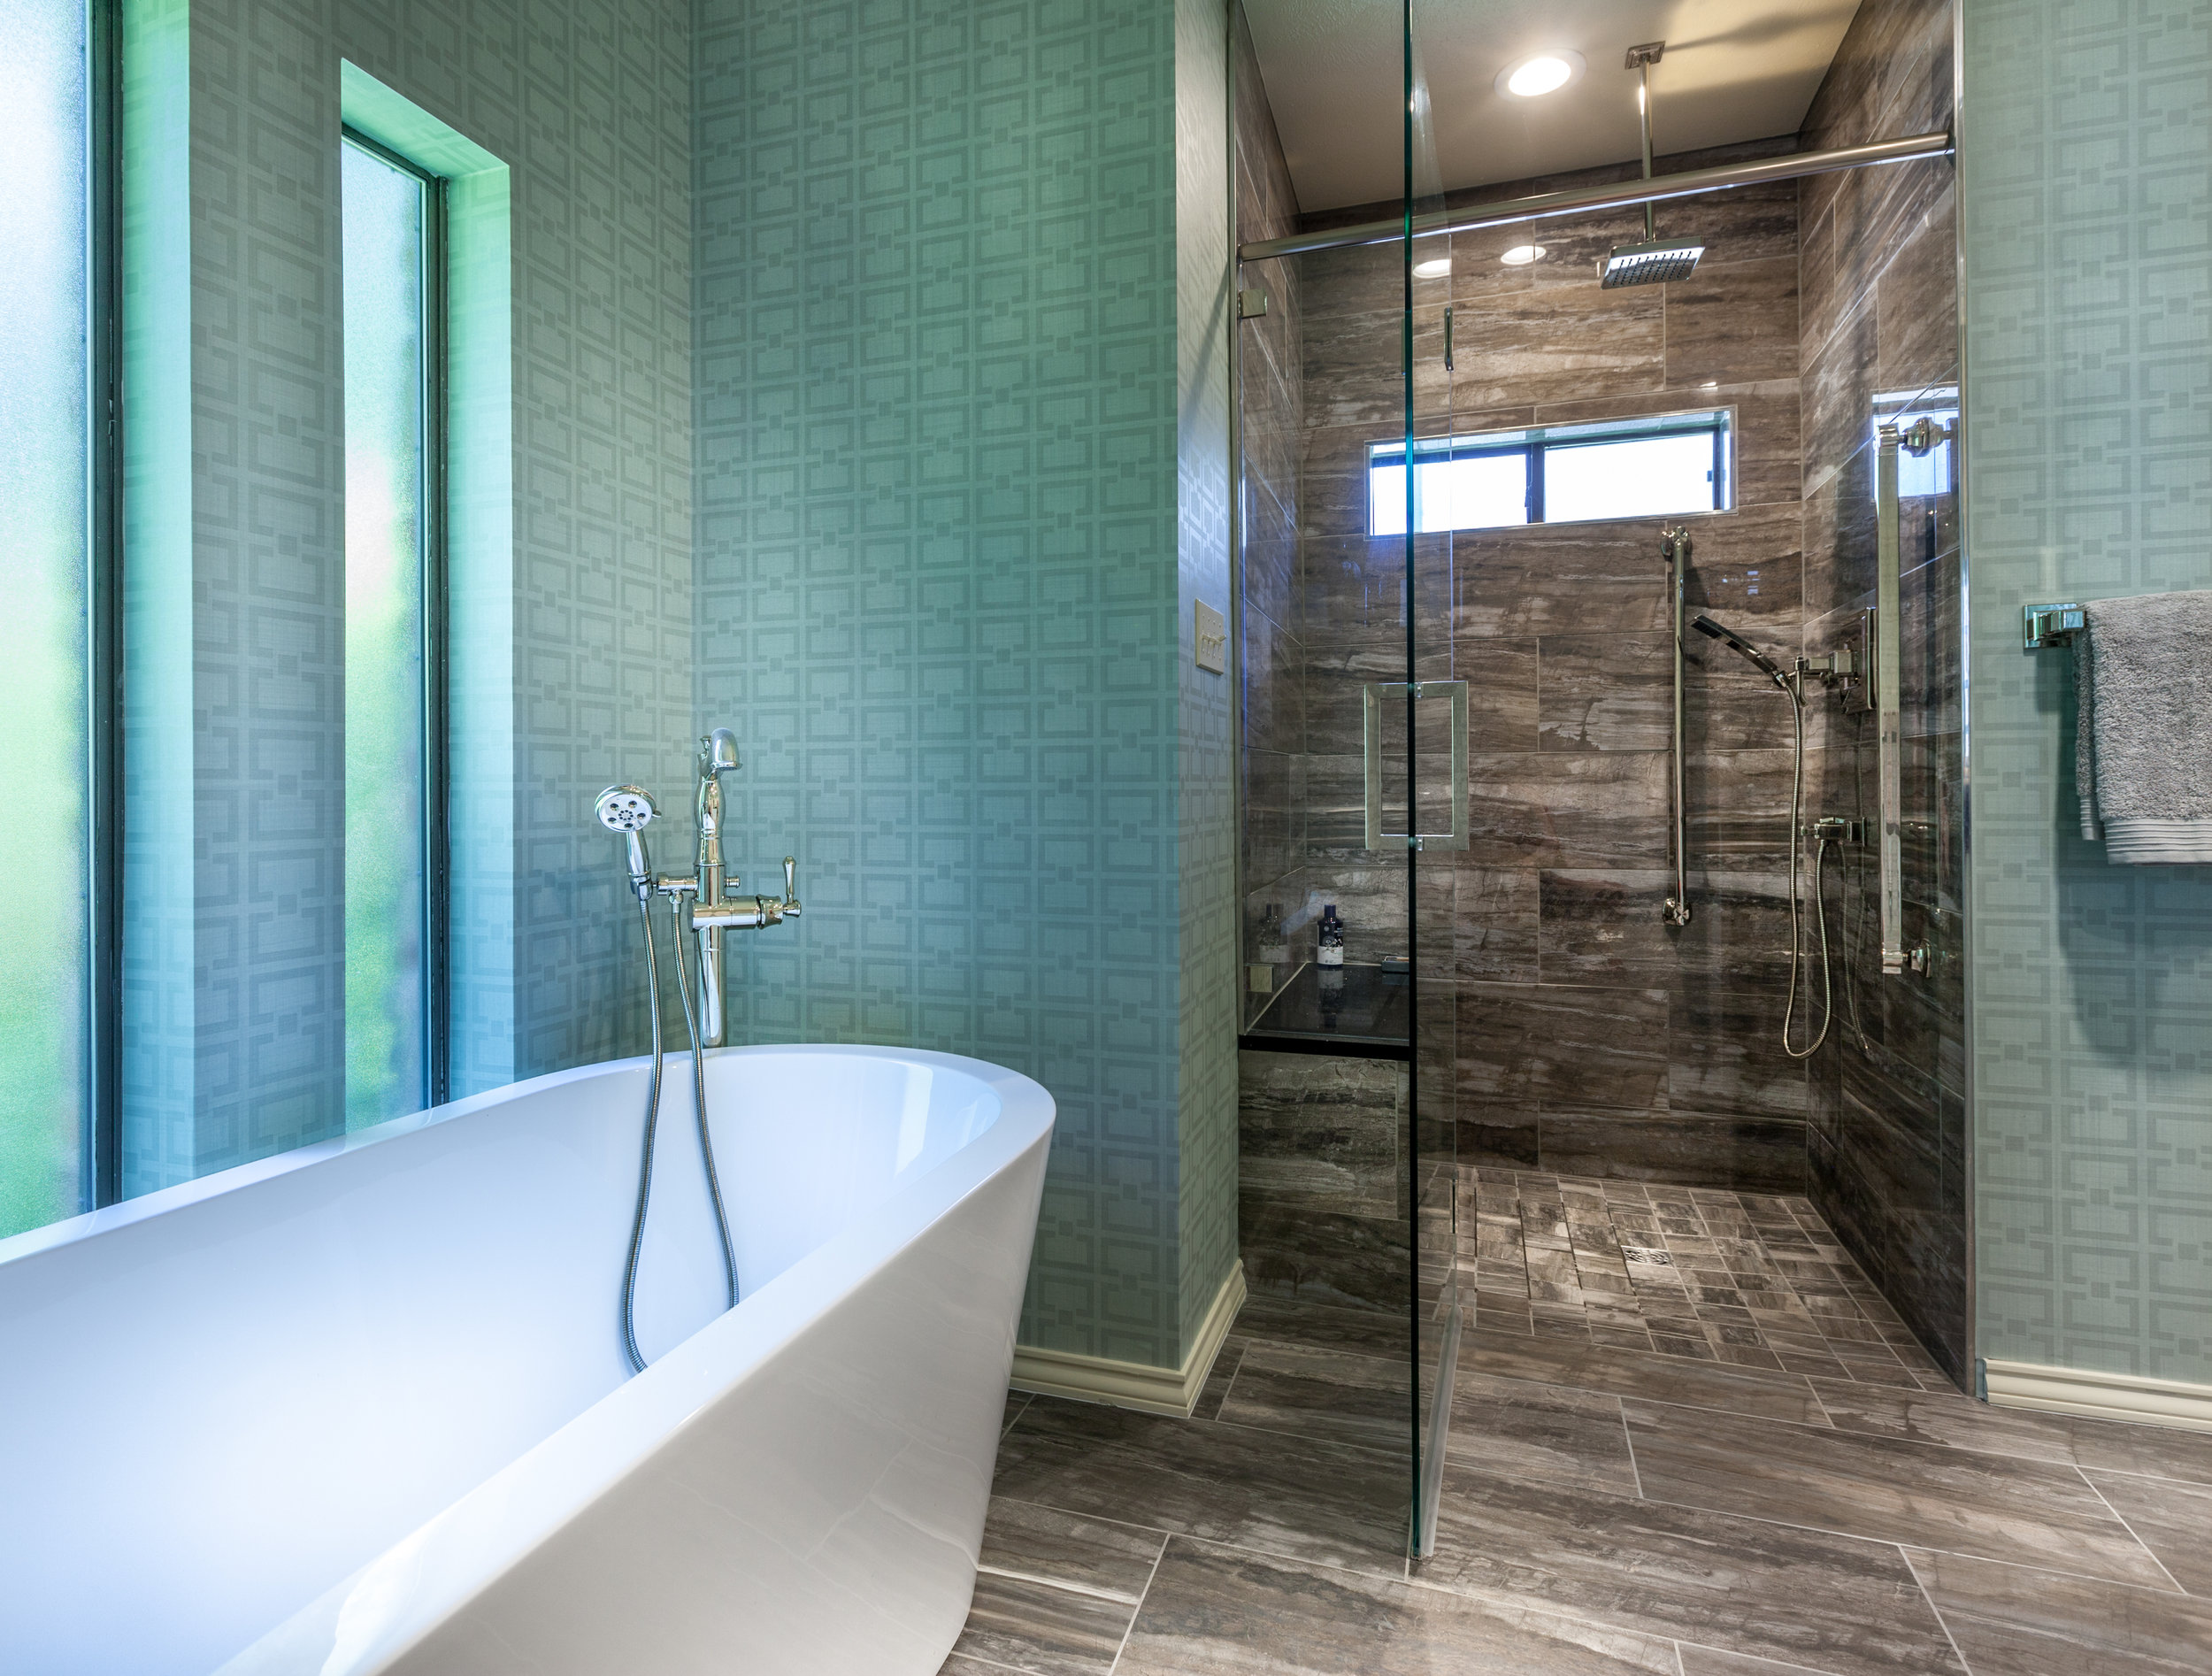
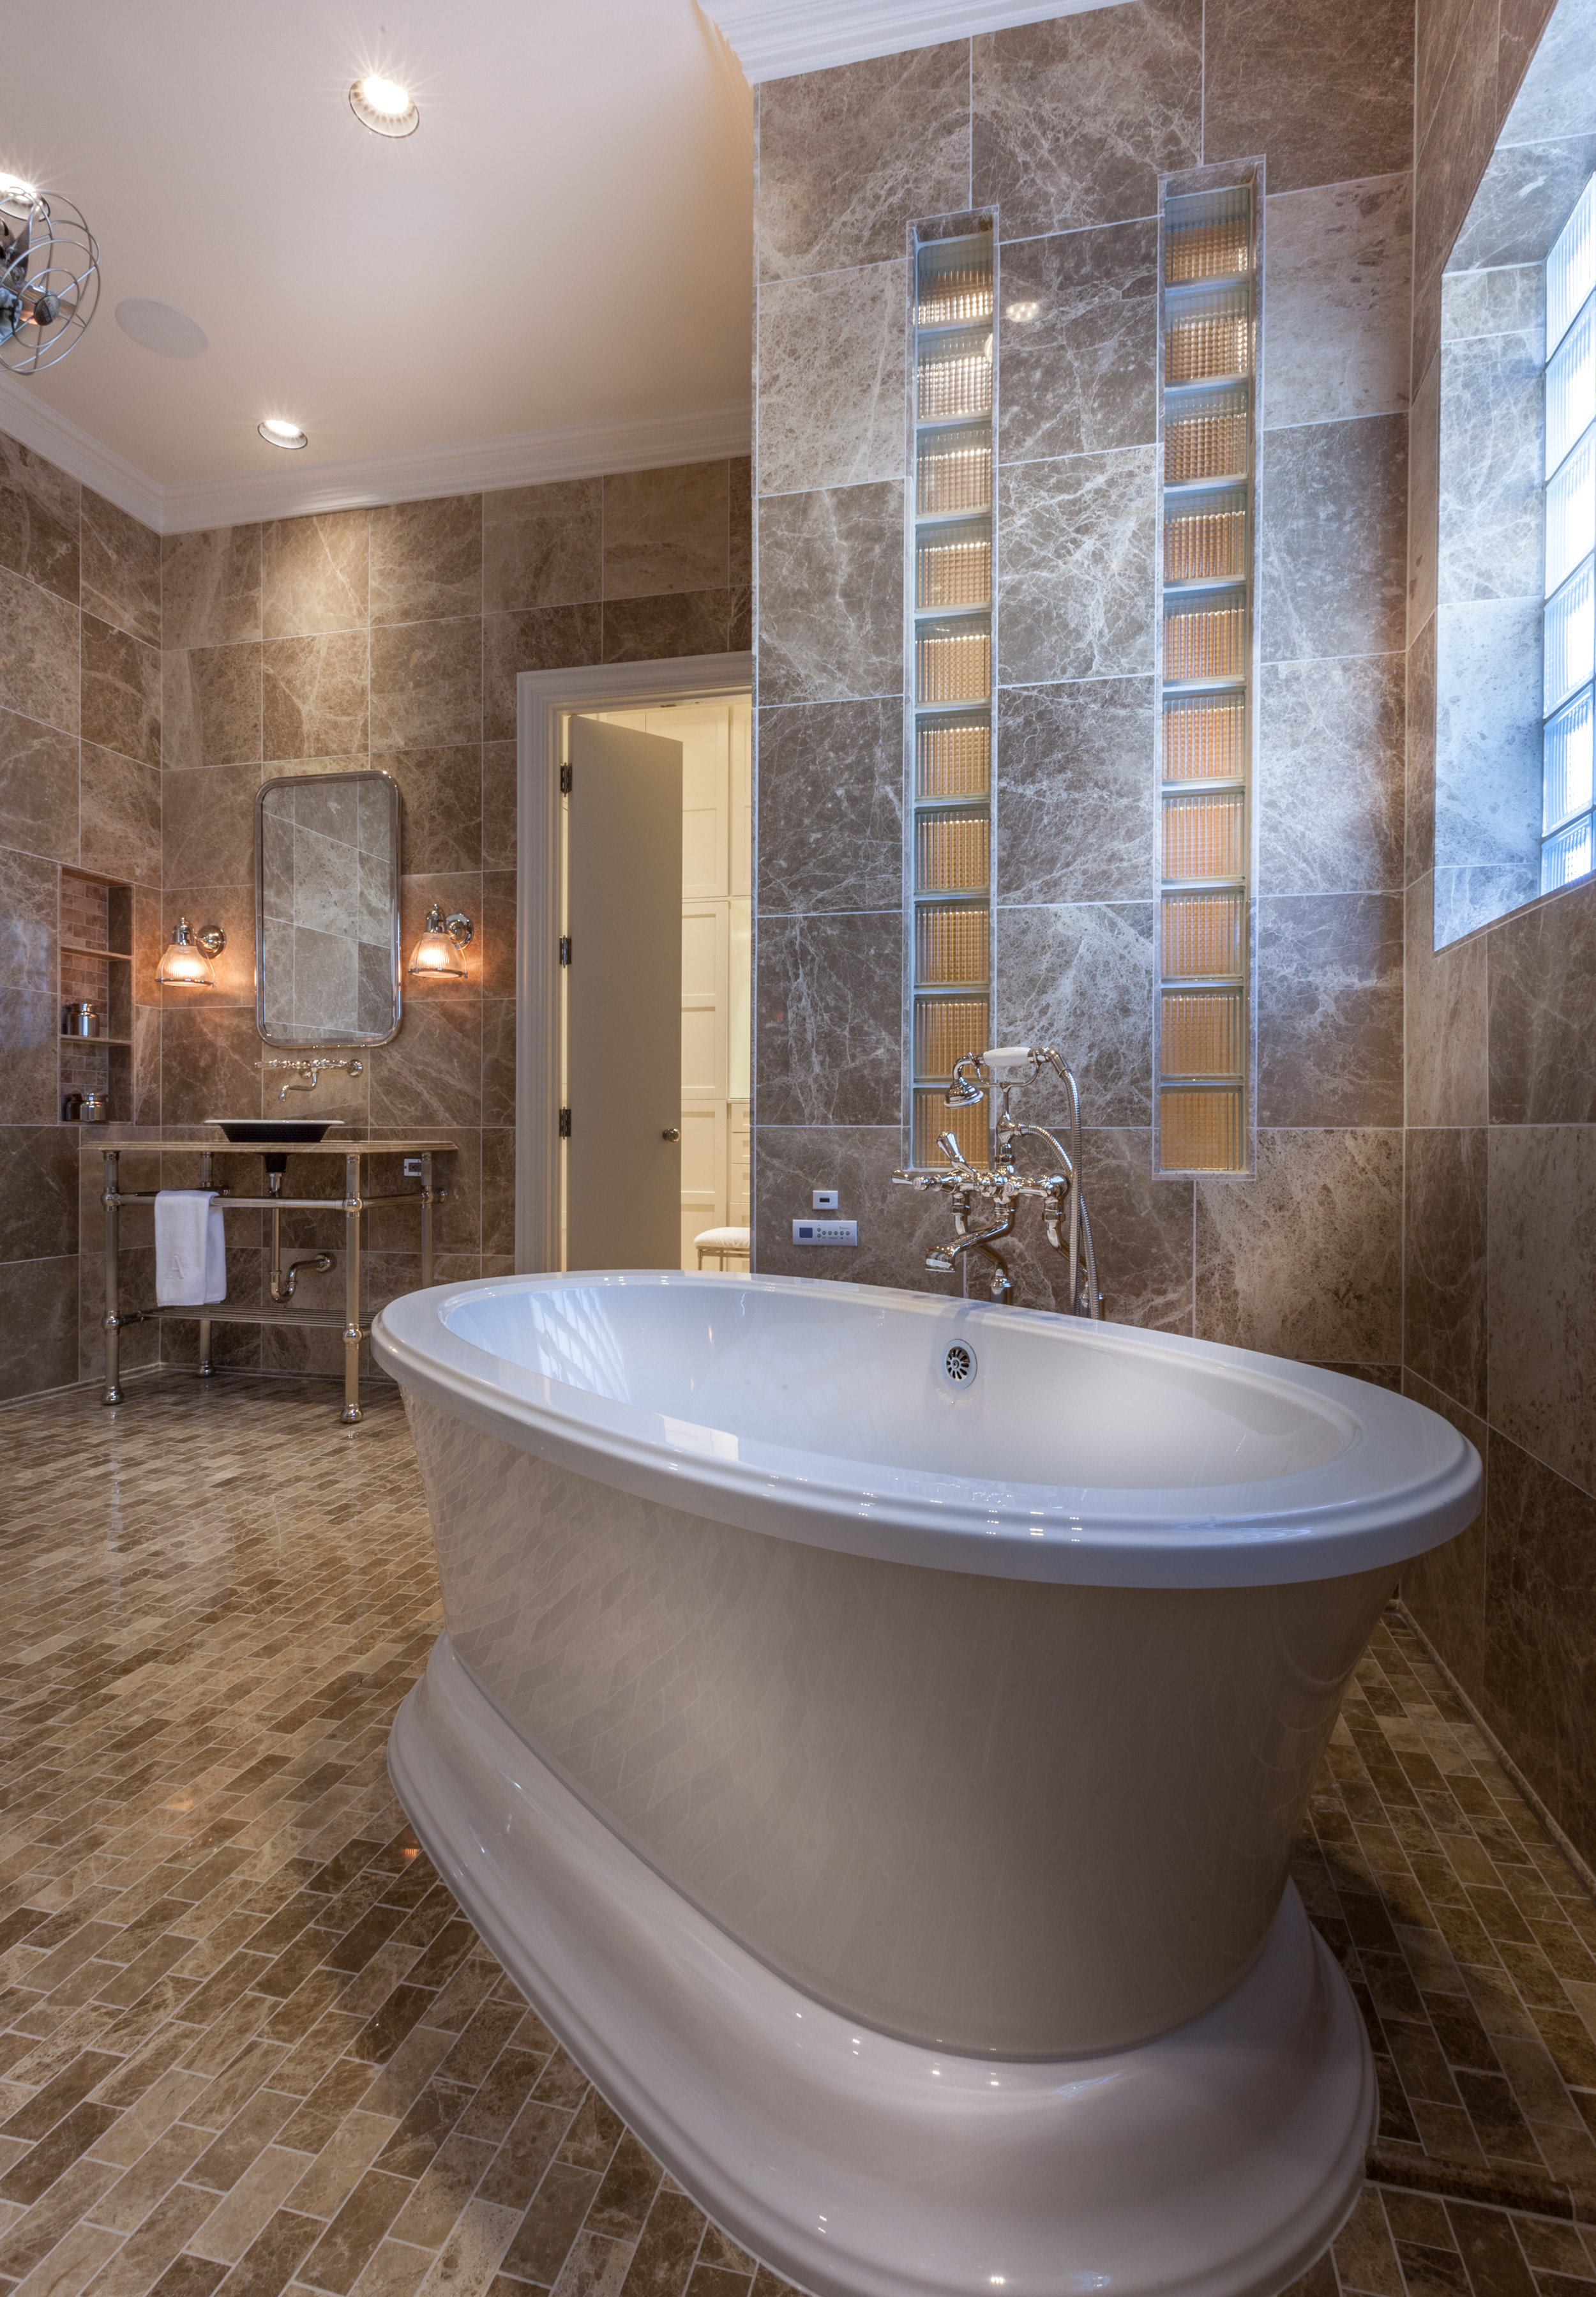
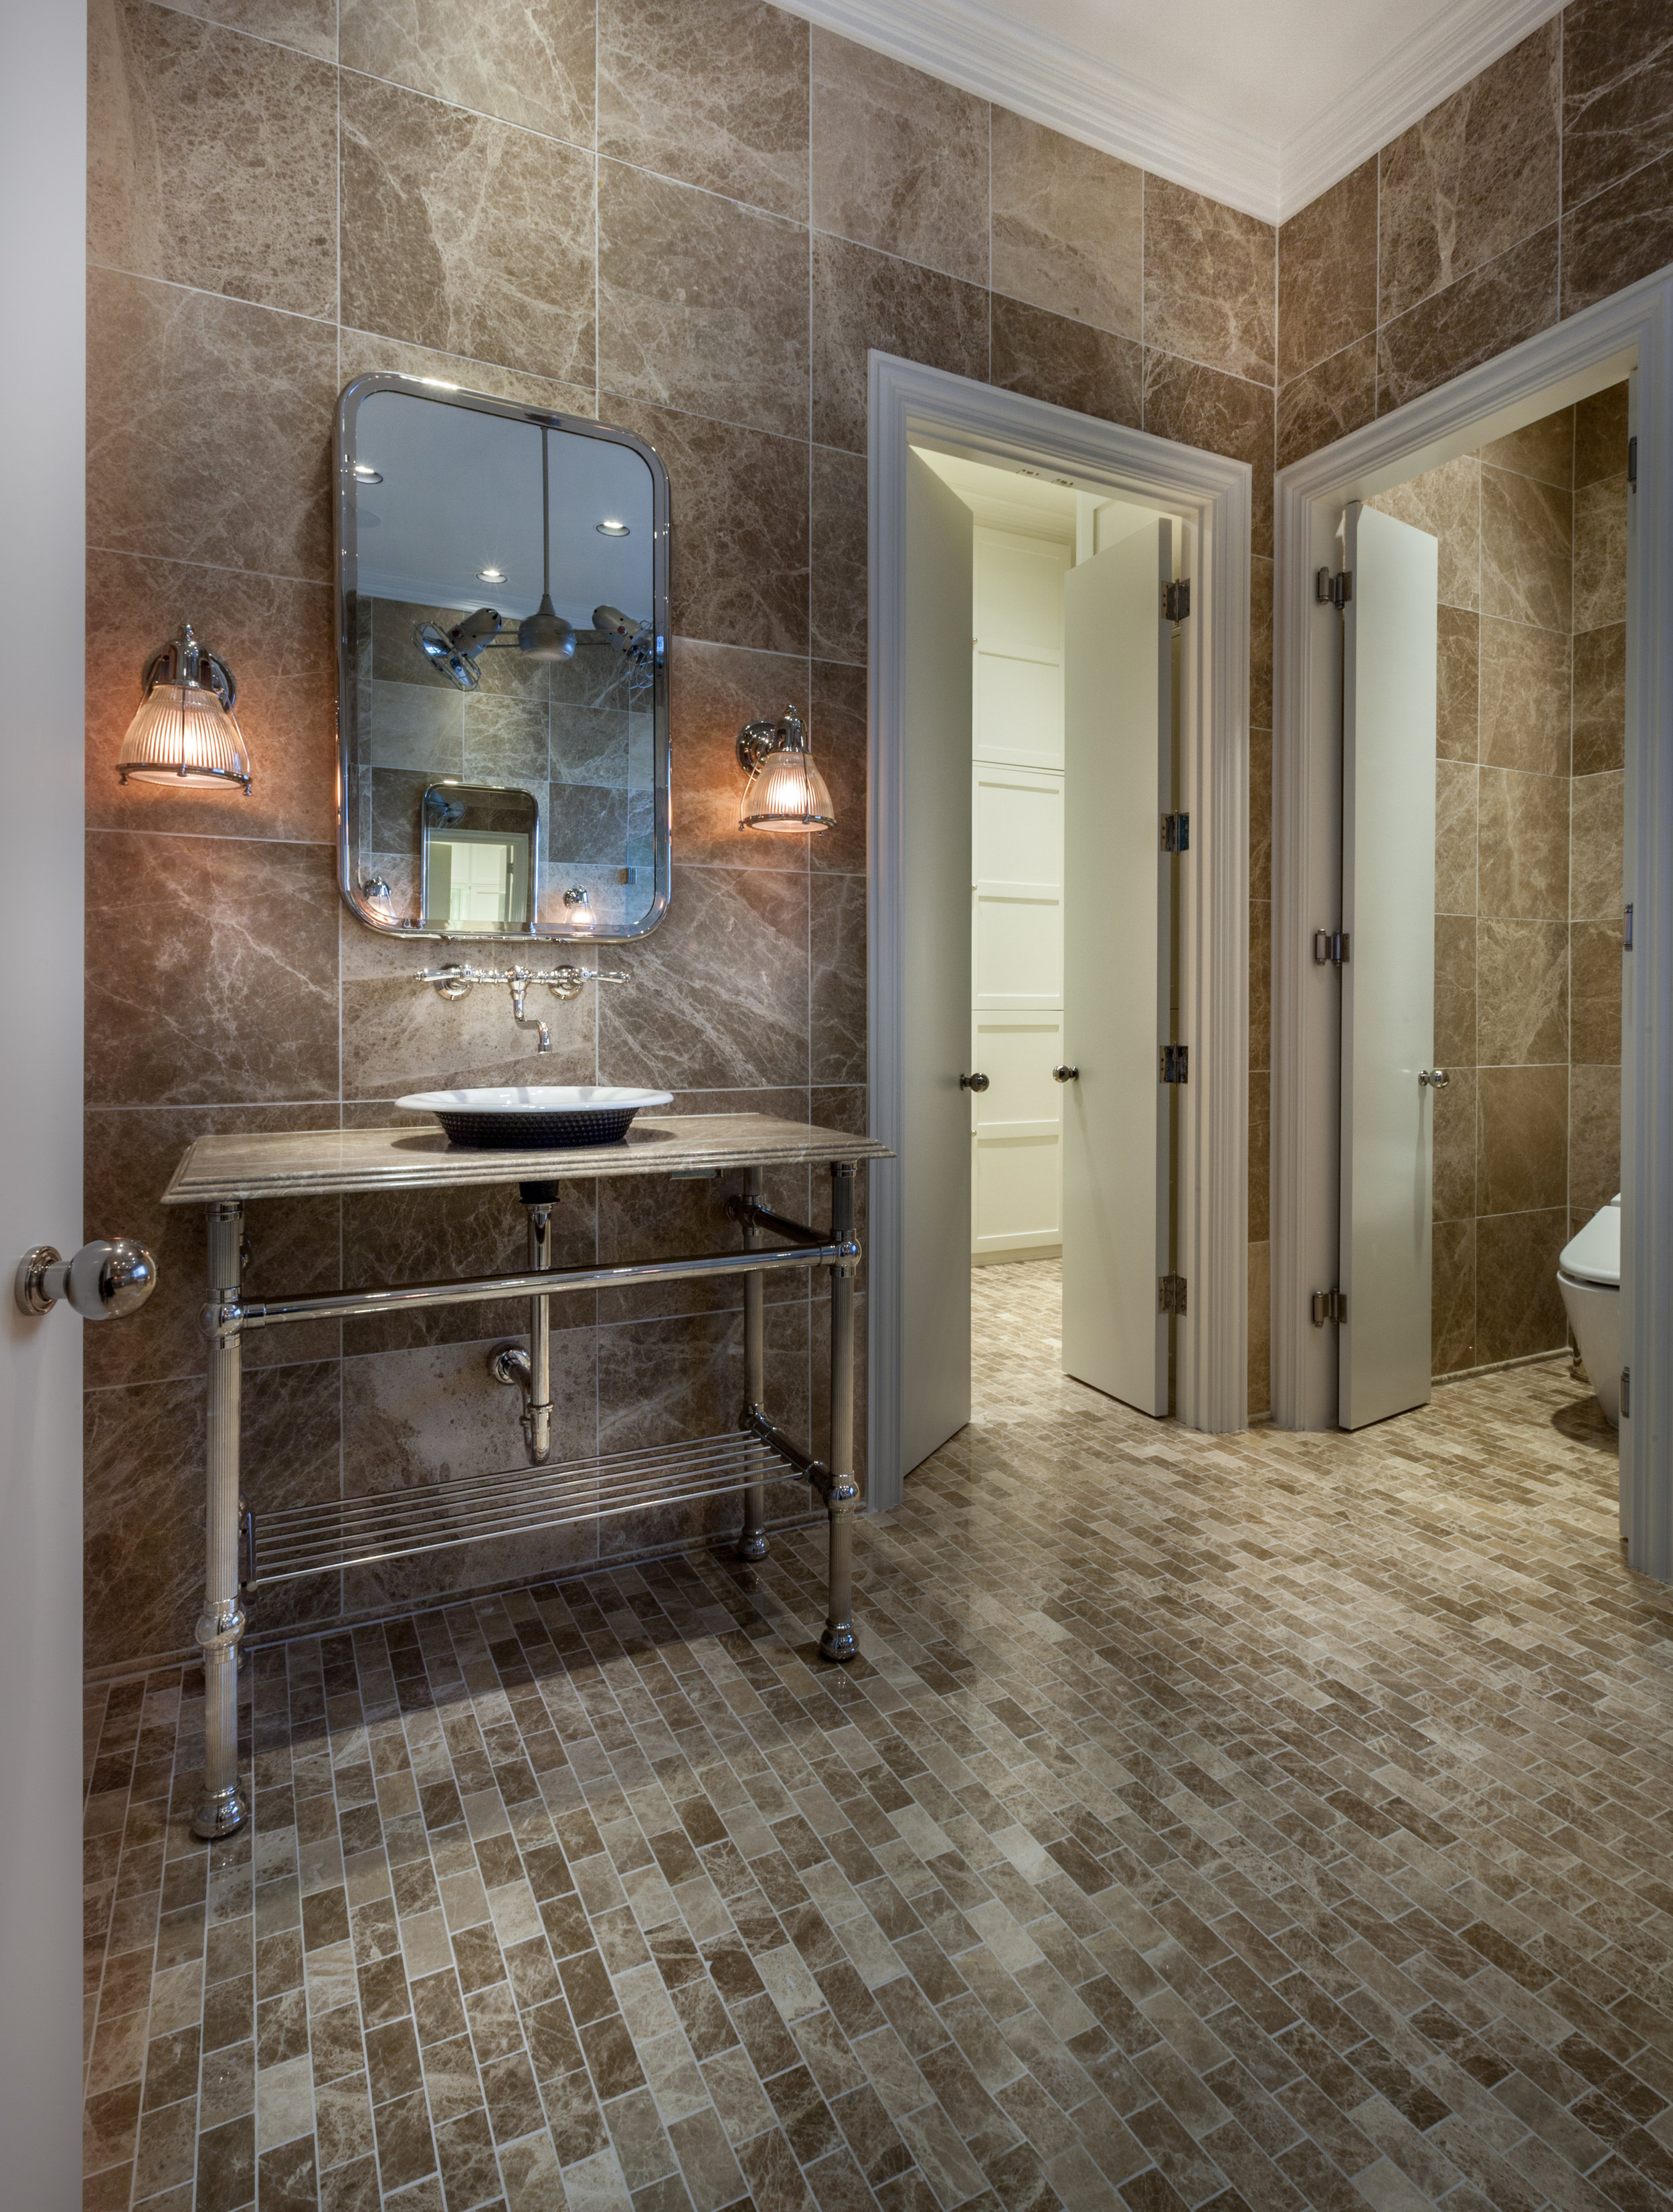
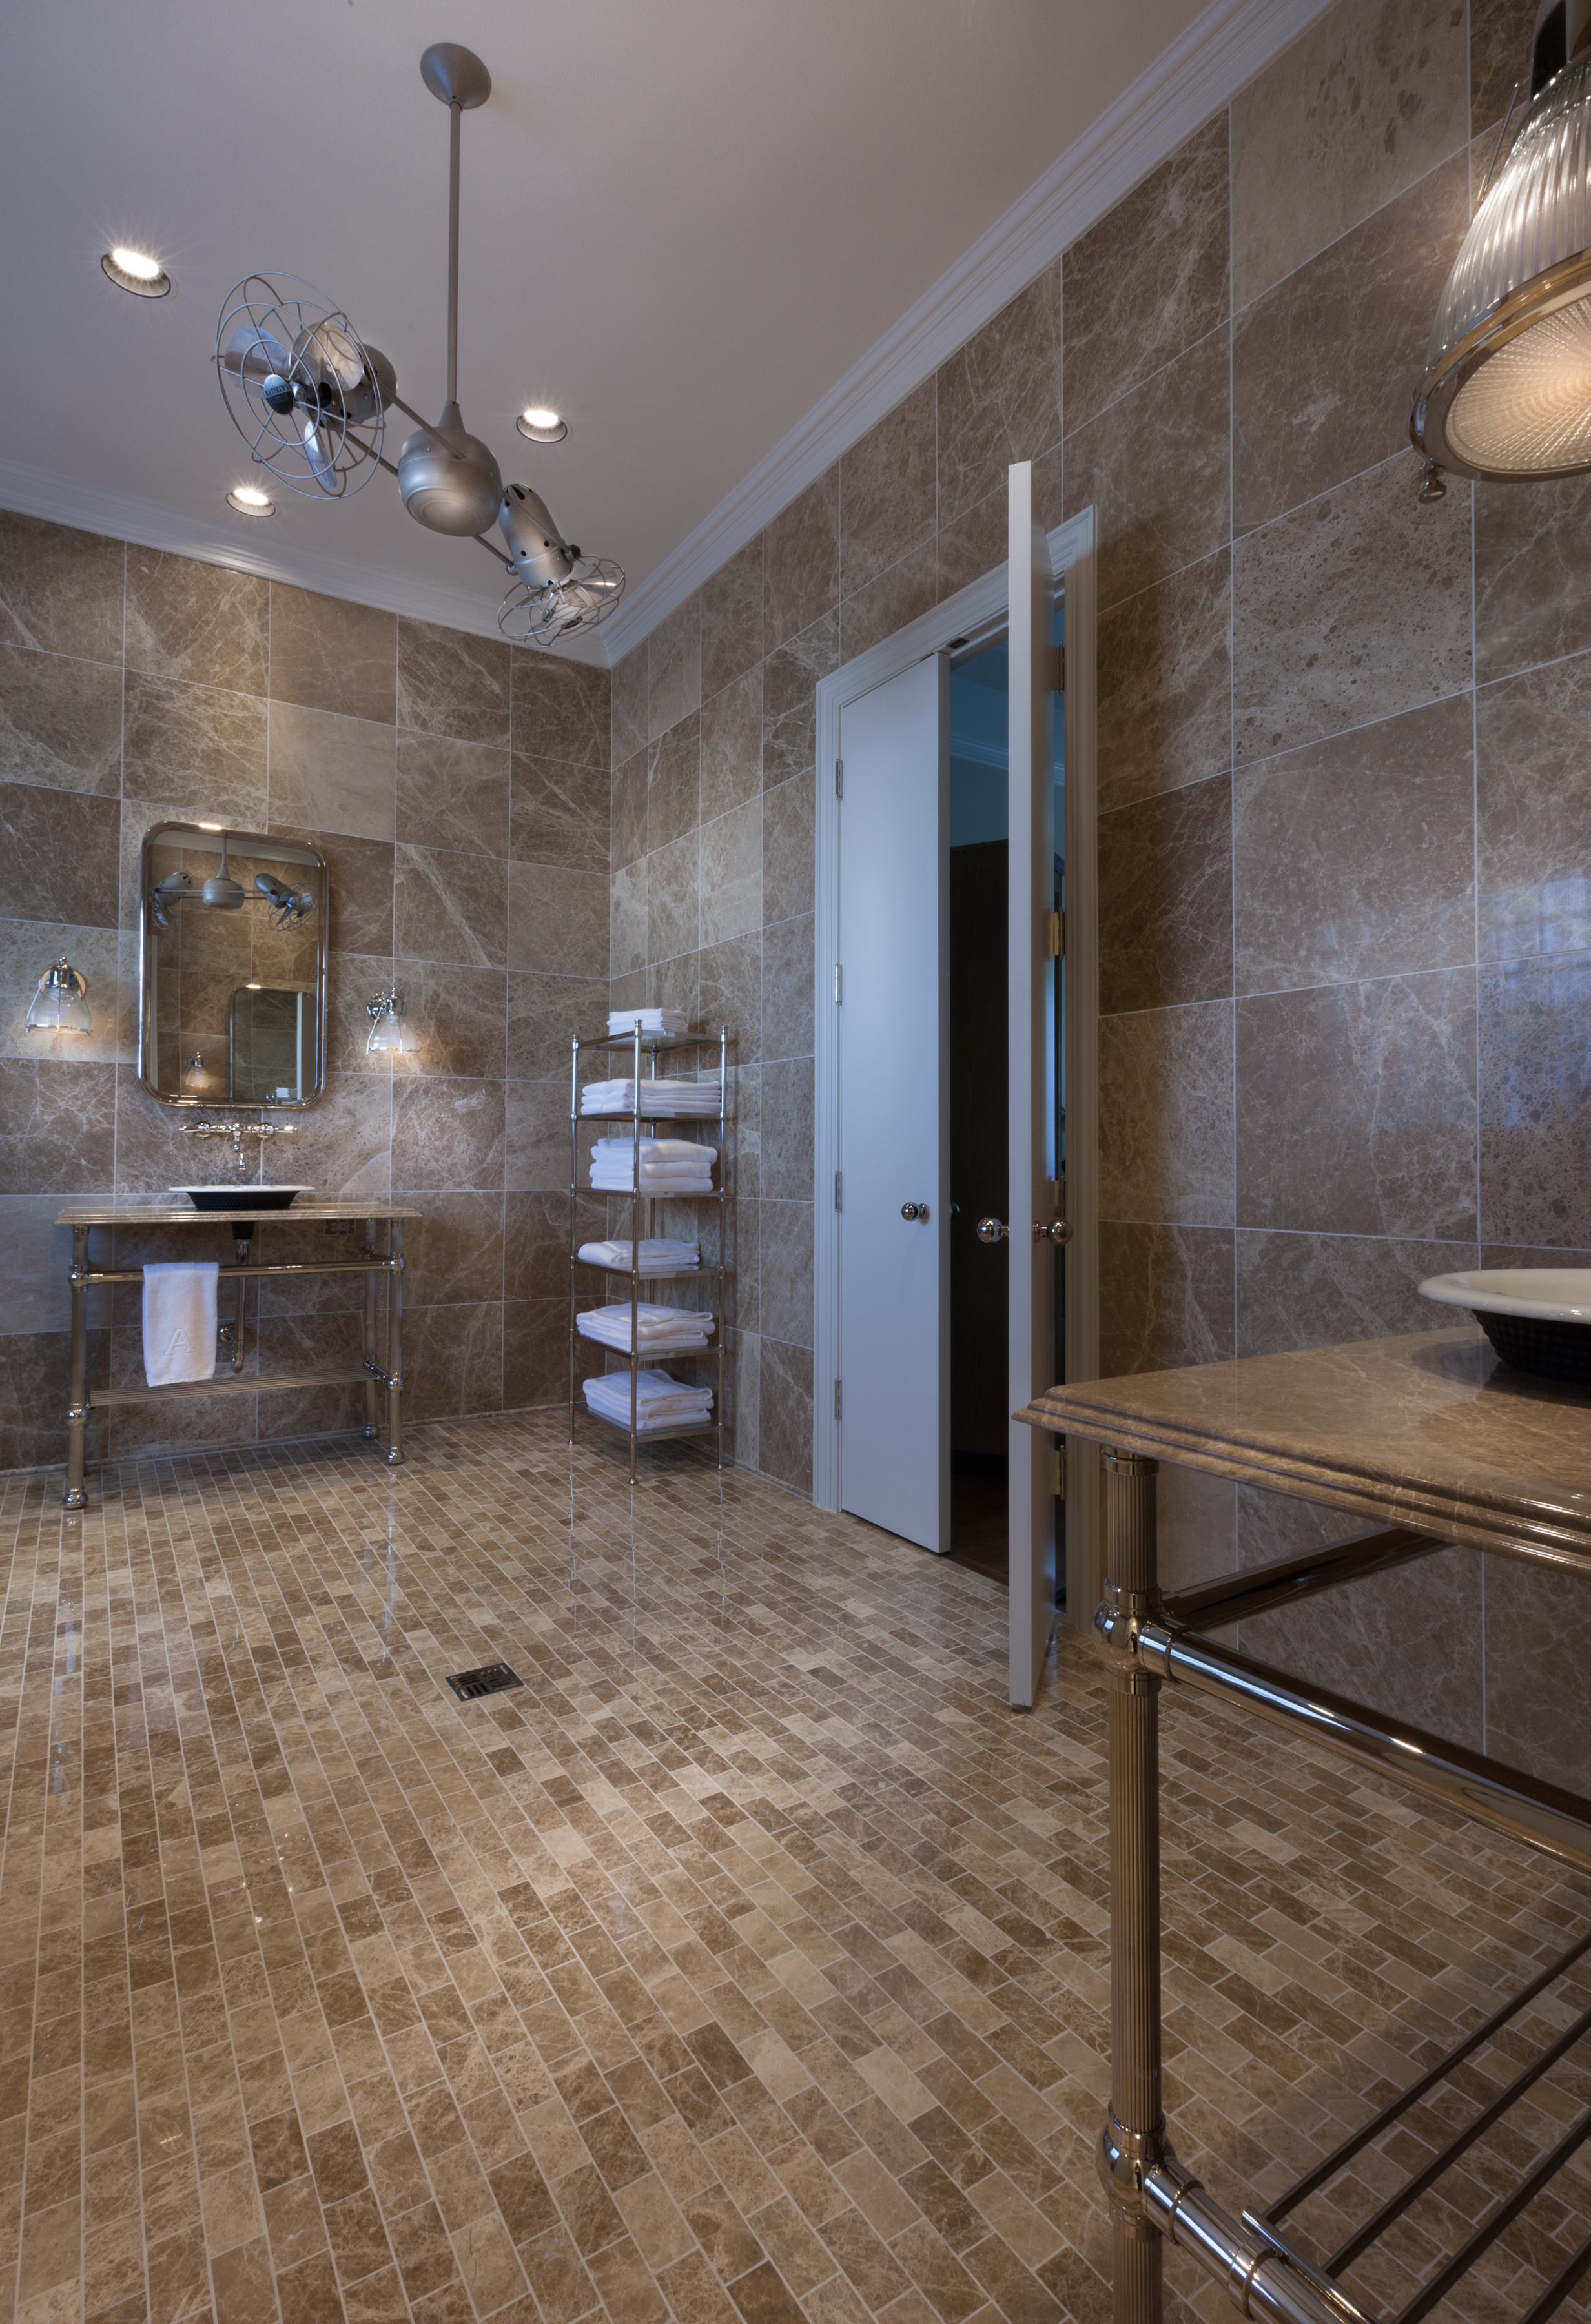
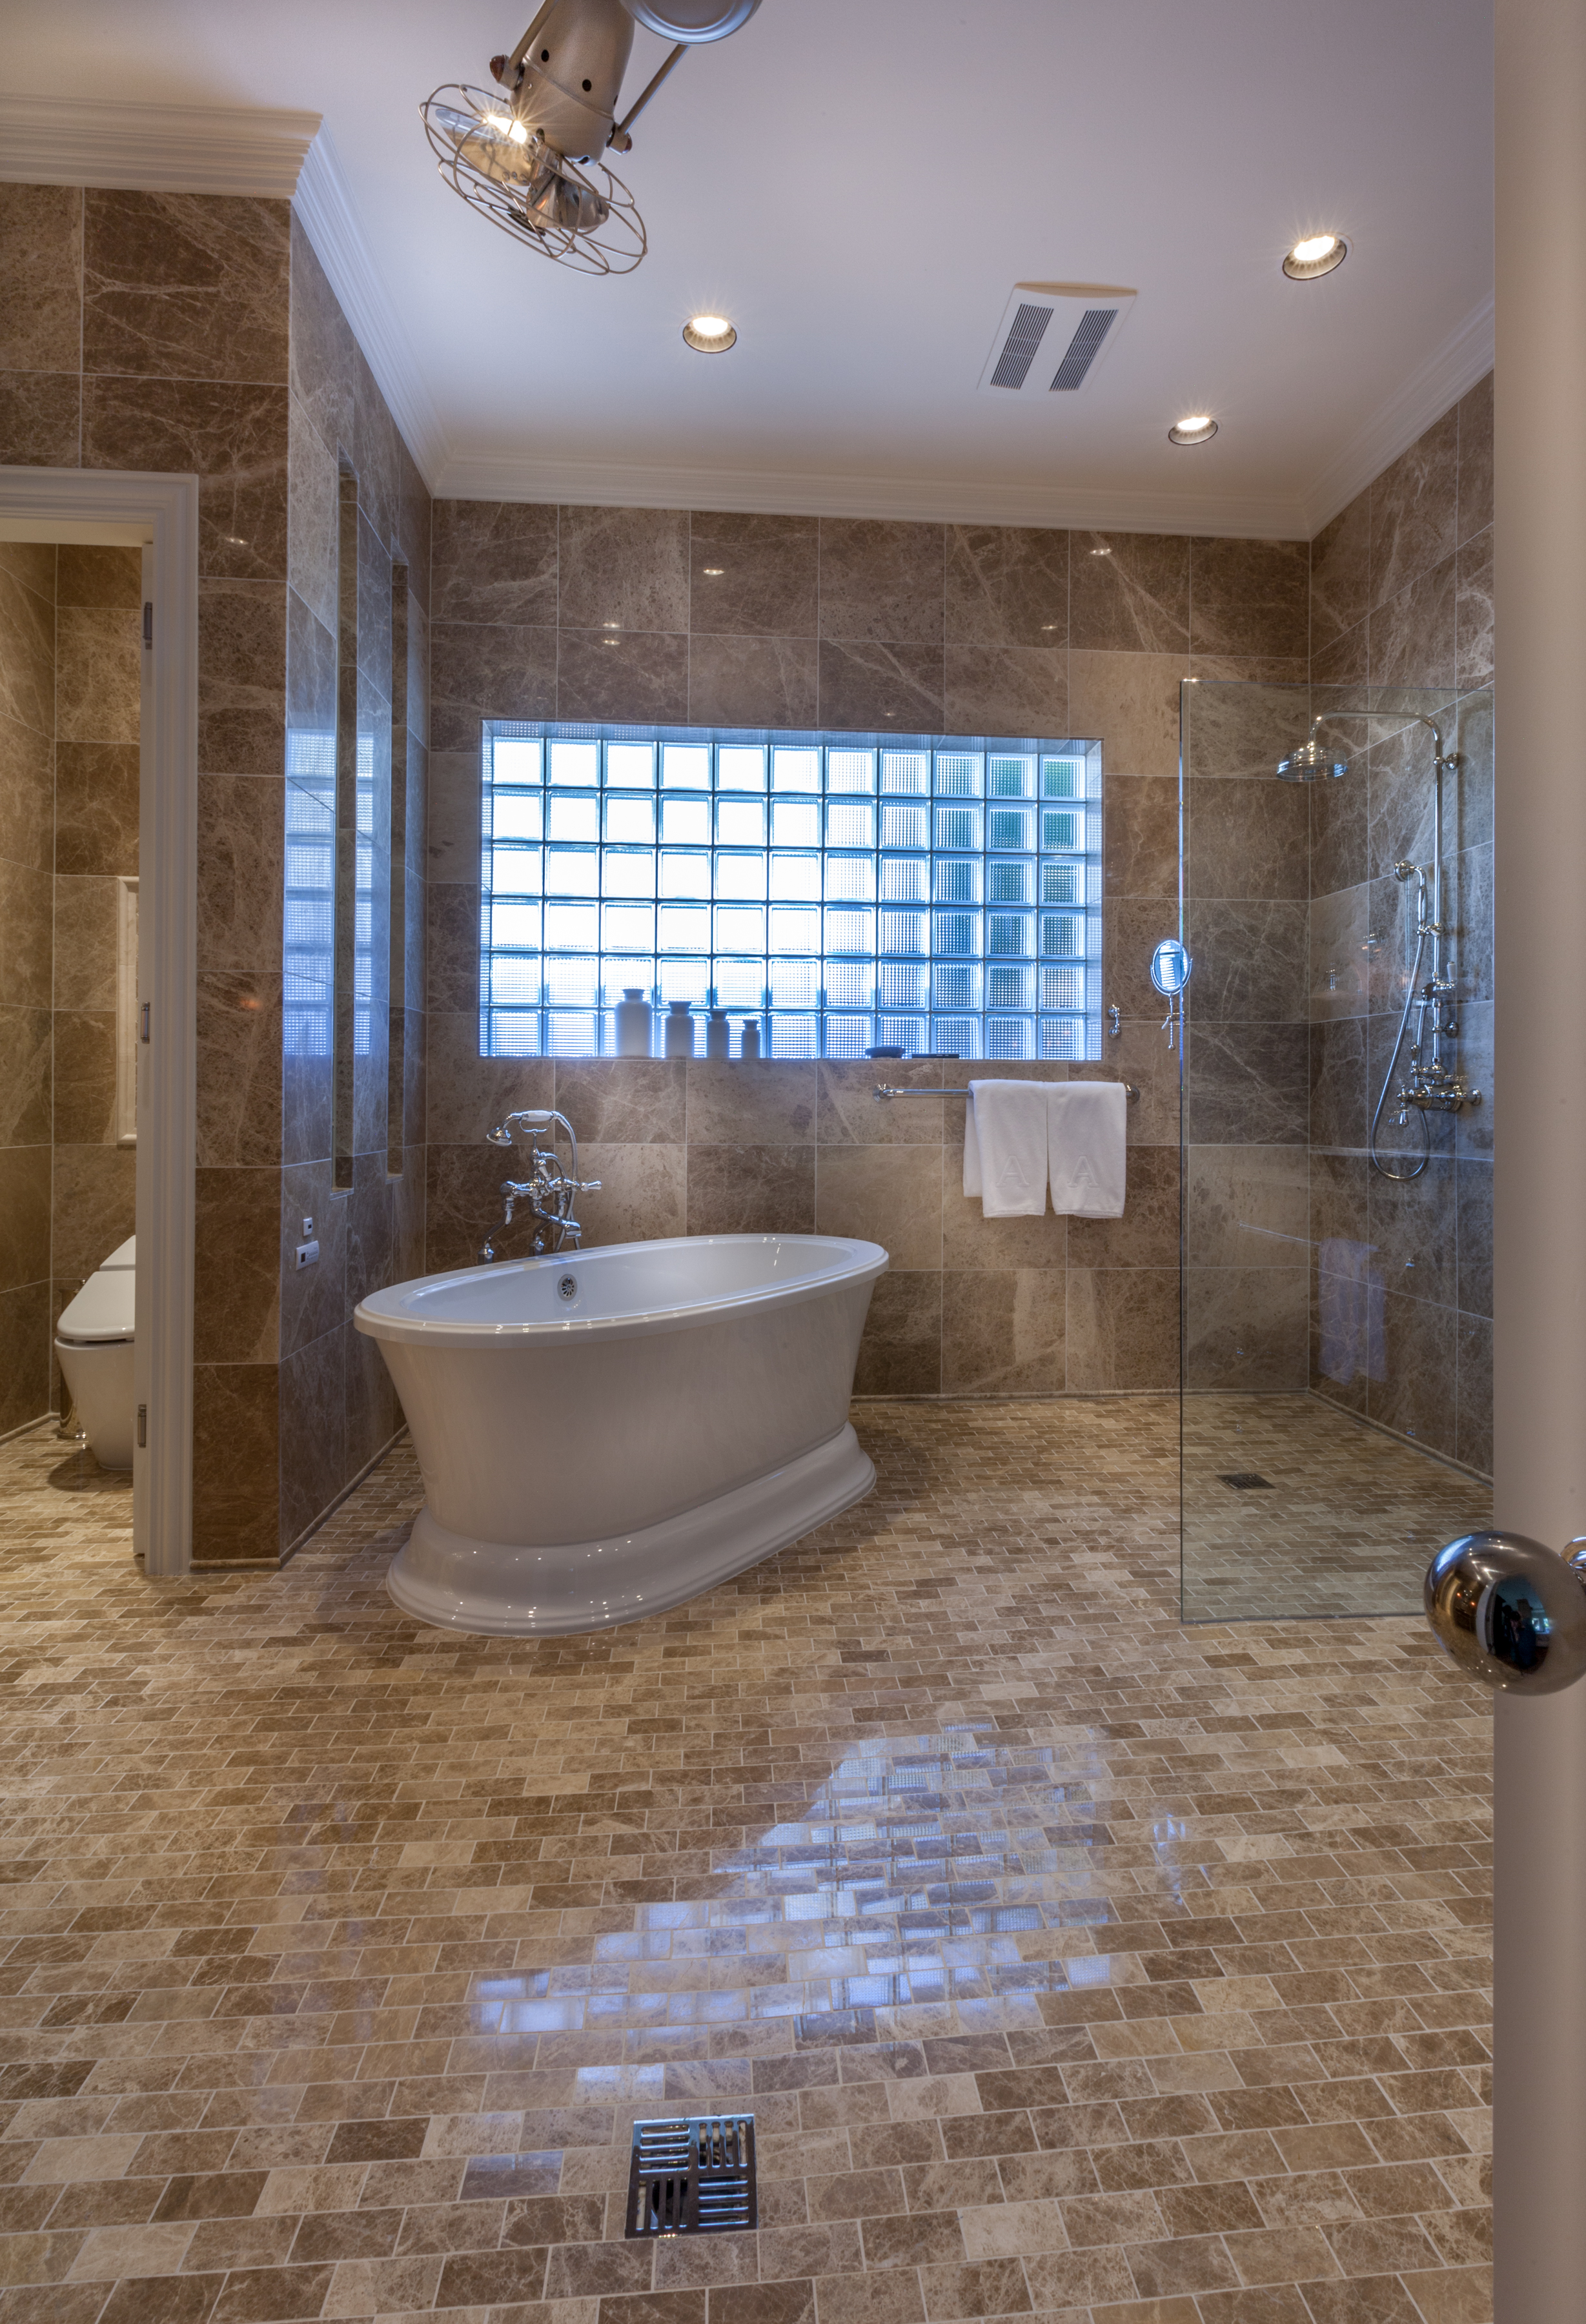
This homeowner approached the remodel of her master bathroom with the desire to create a room that was aging-in-place compliant without having to sacrifice beauty. The result is an elegant bathroom that will service the homeowner well throughout the years with the wide diameters between fixtures, a curbless walk in shower, and a jet tub.

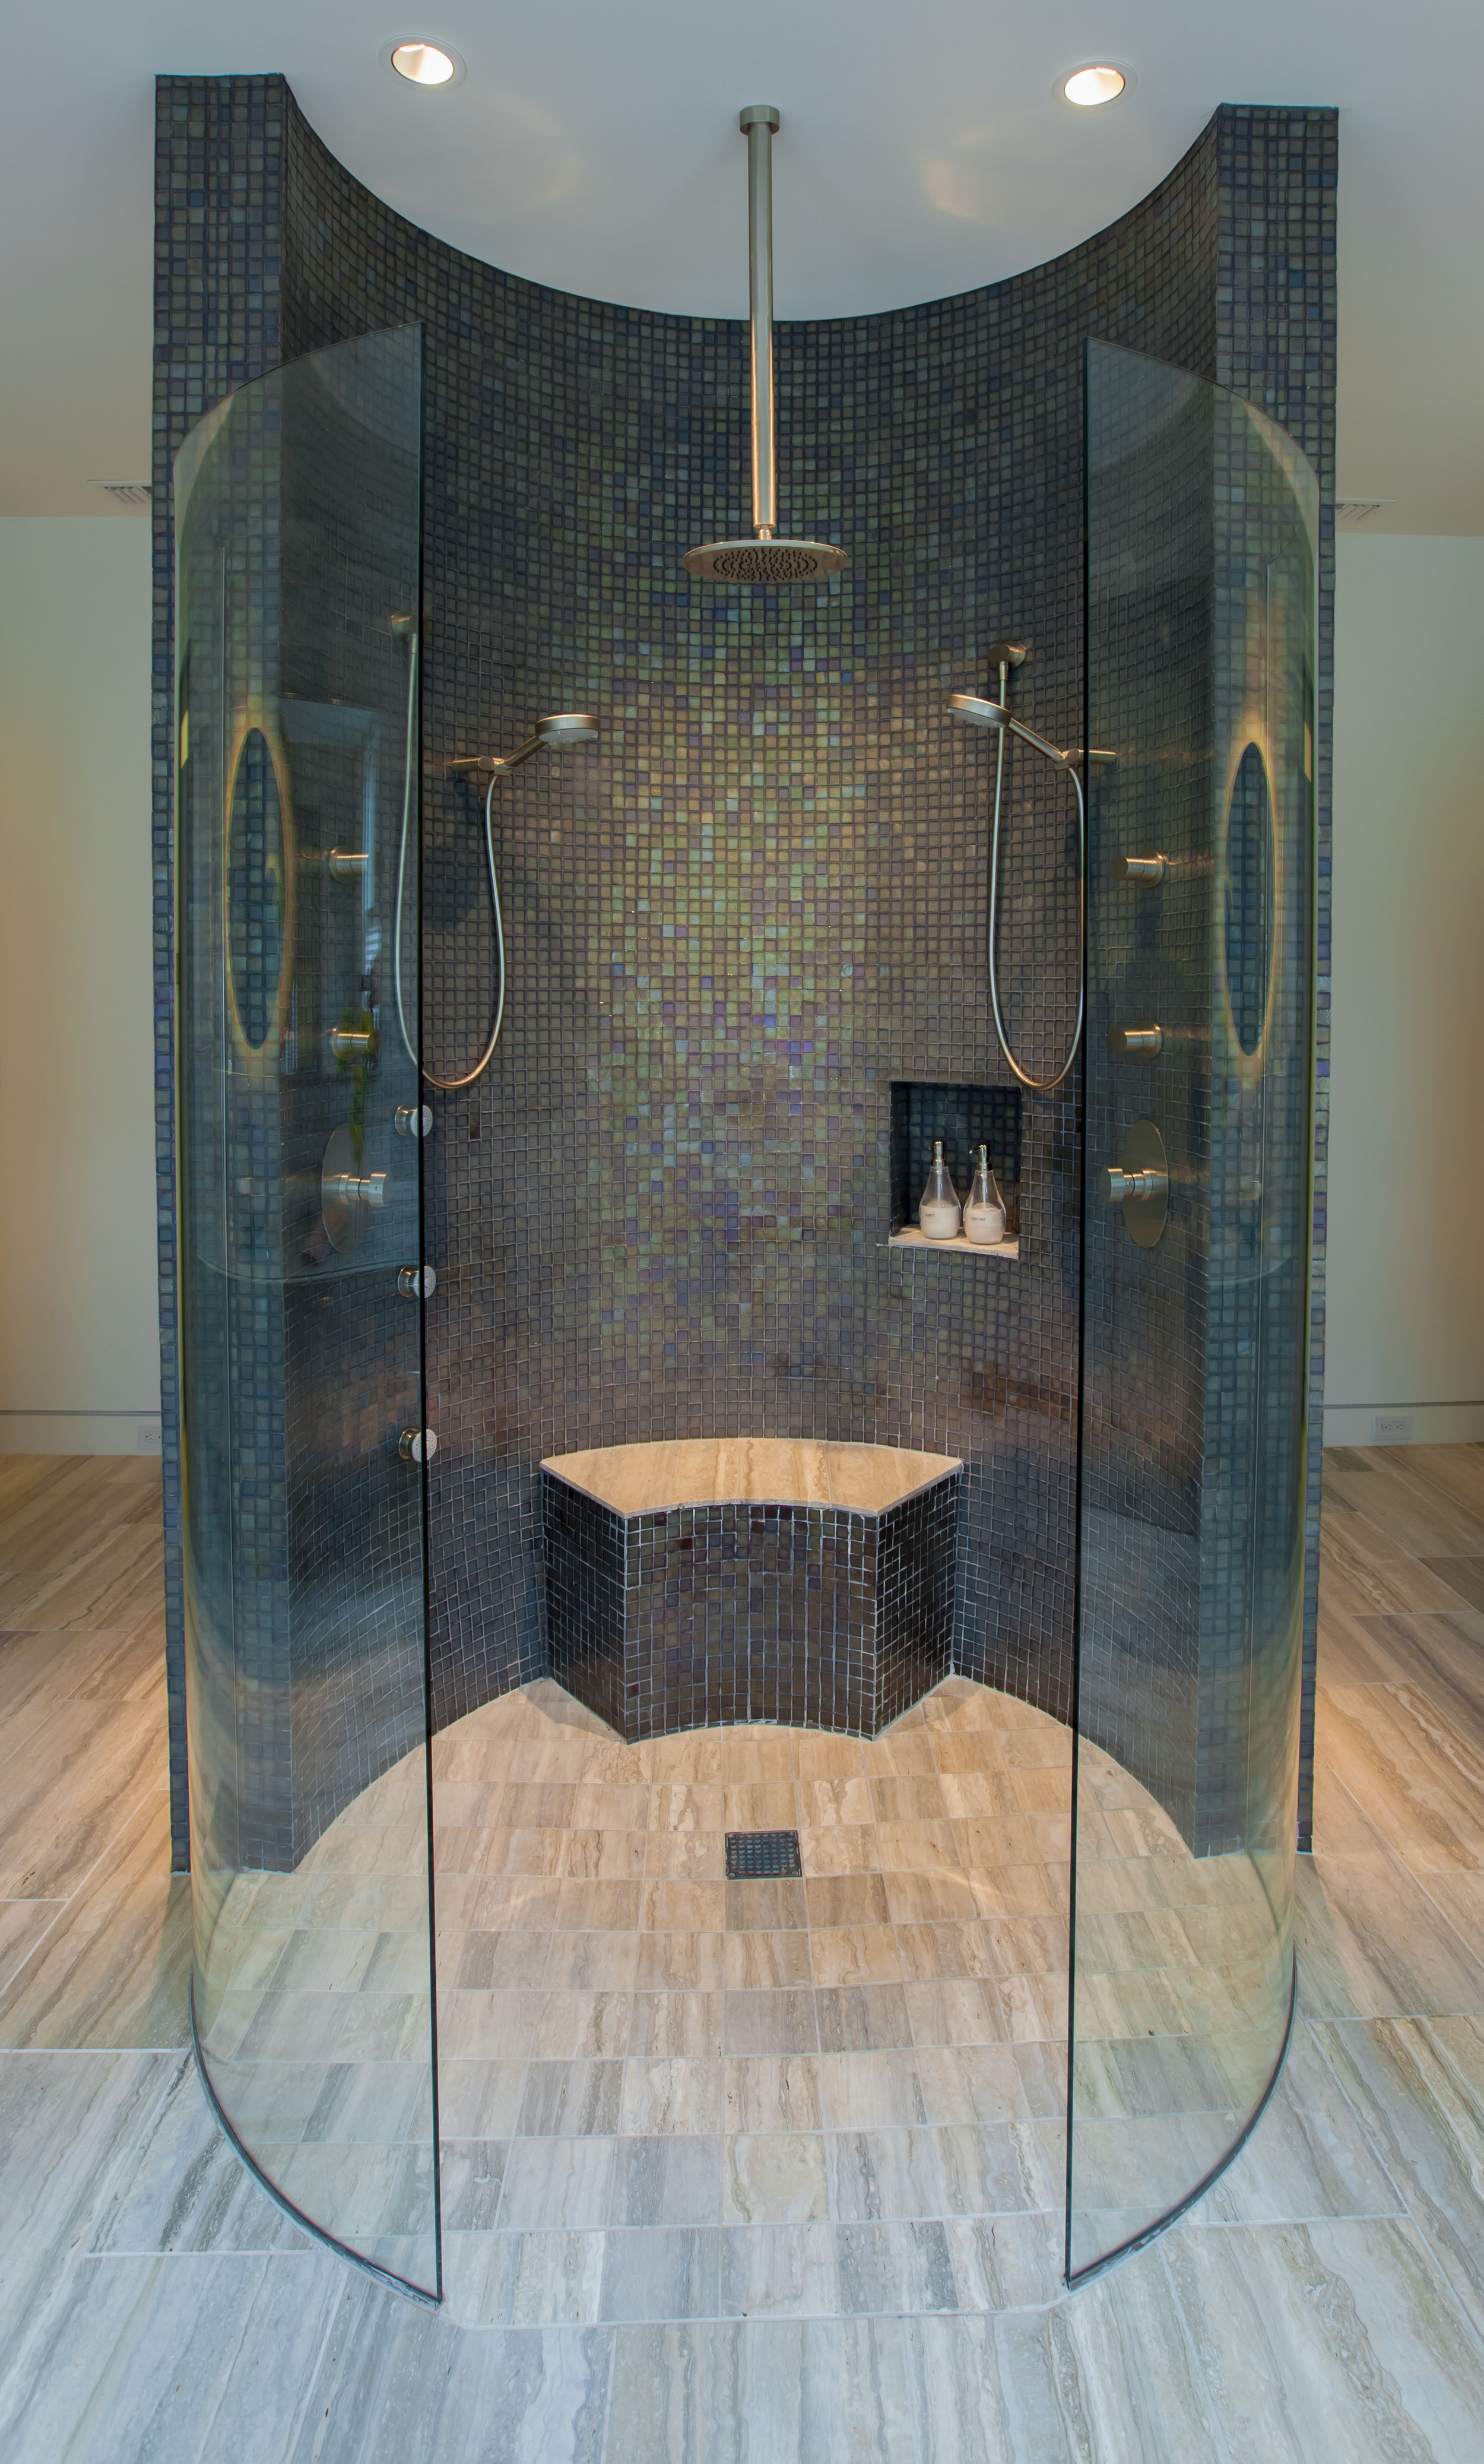
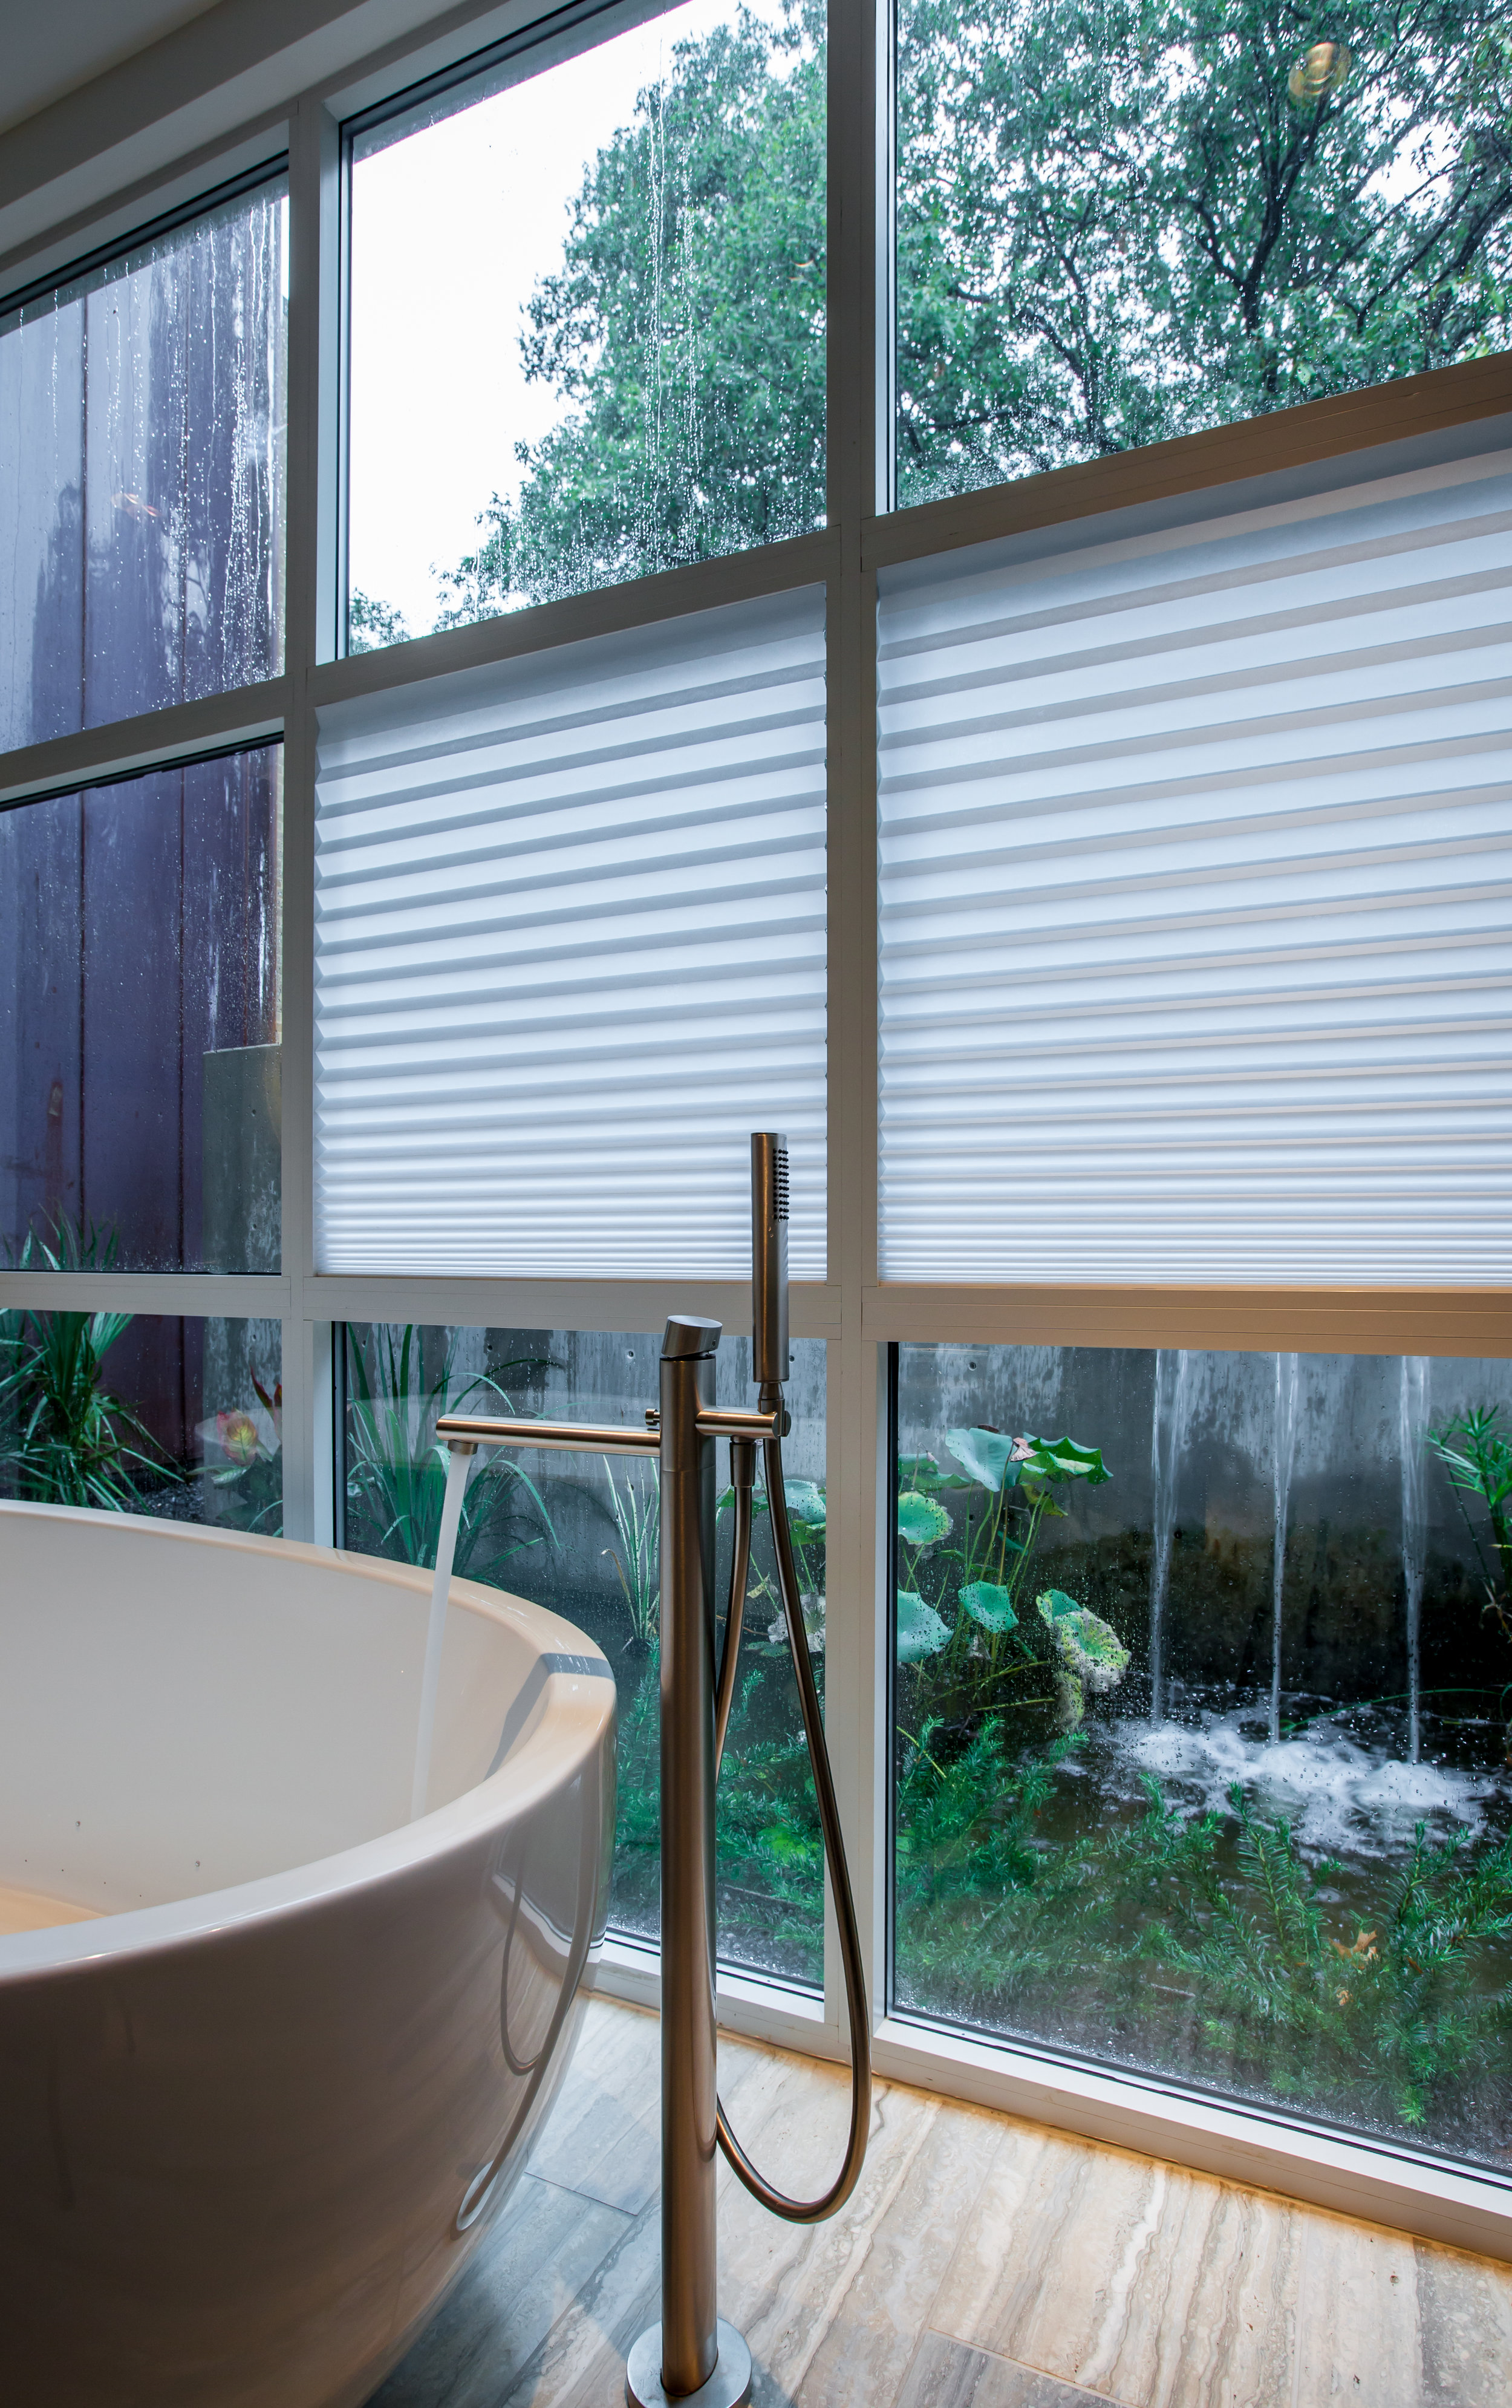
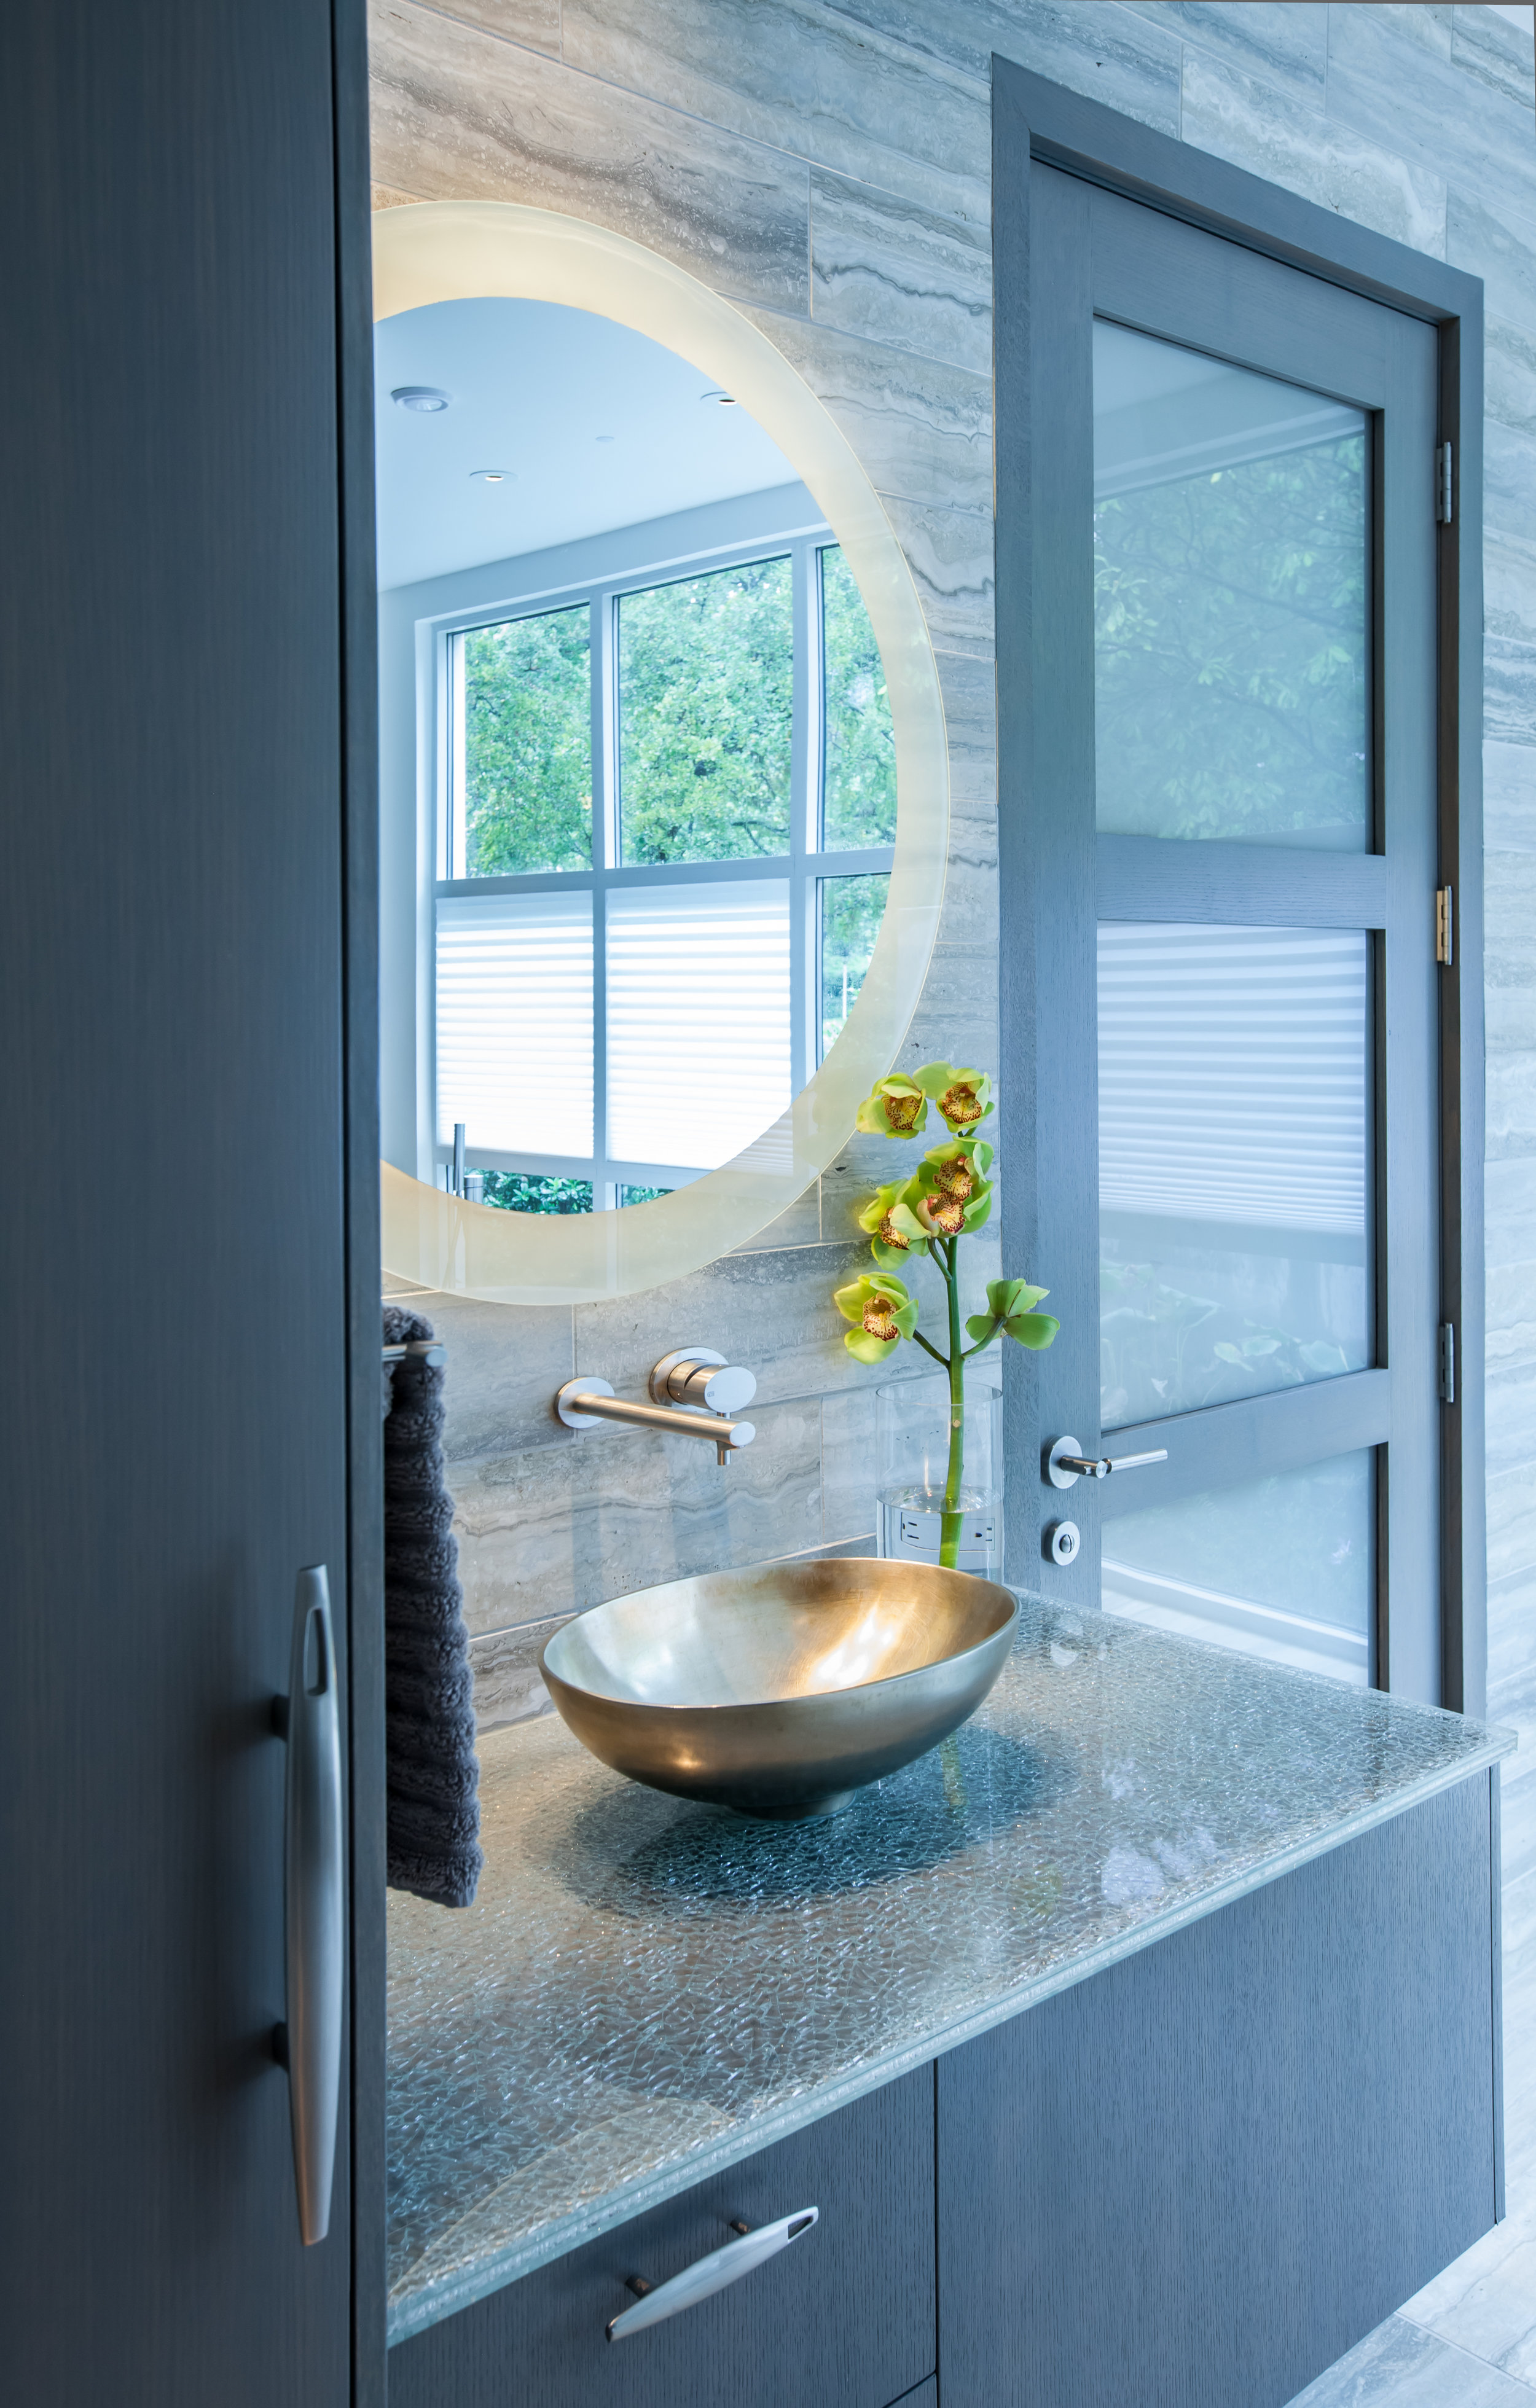
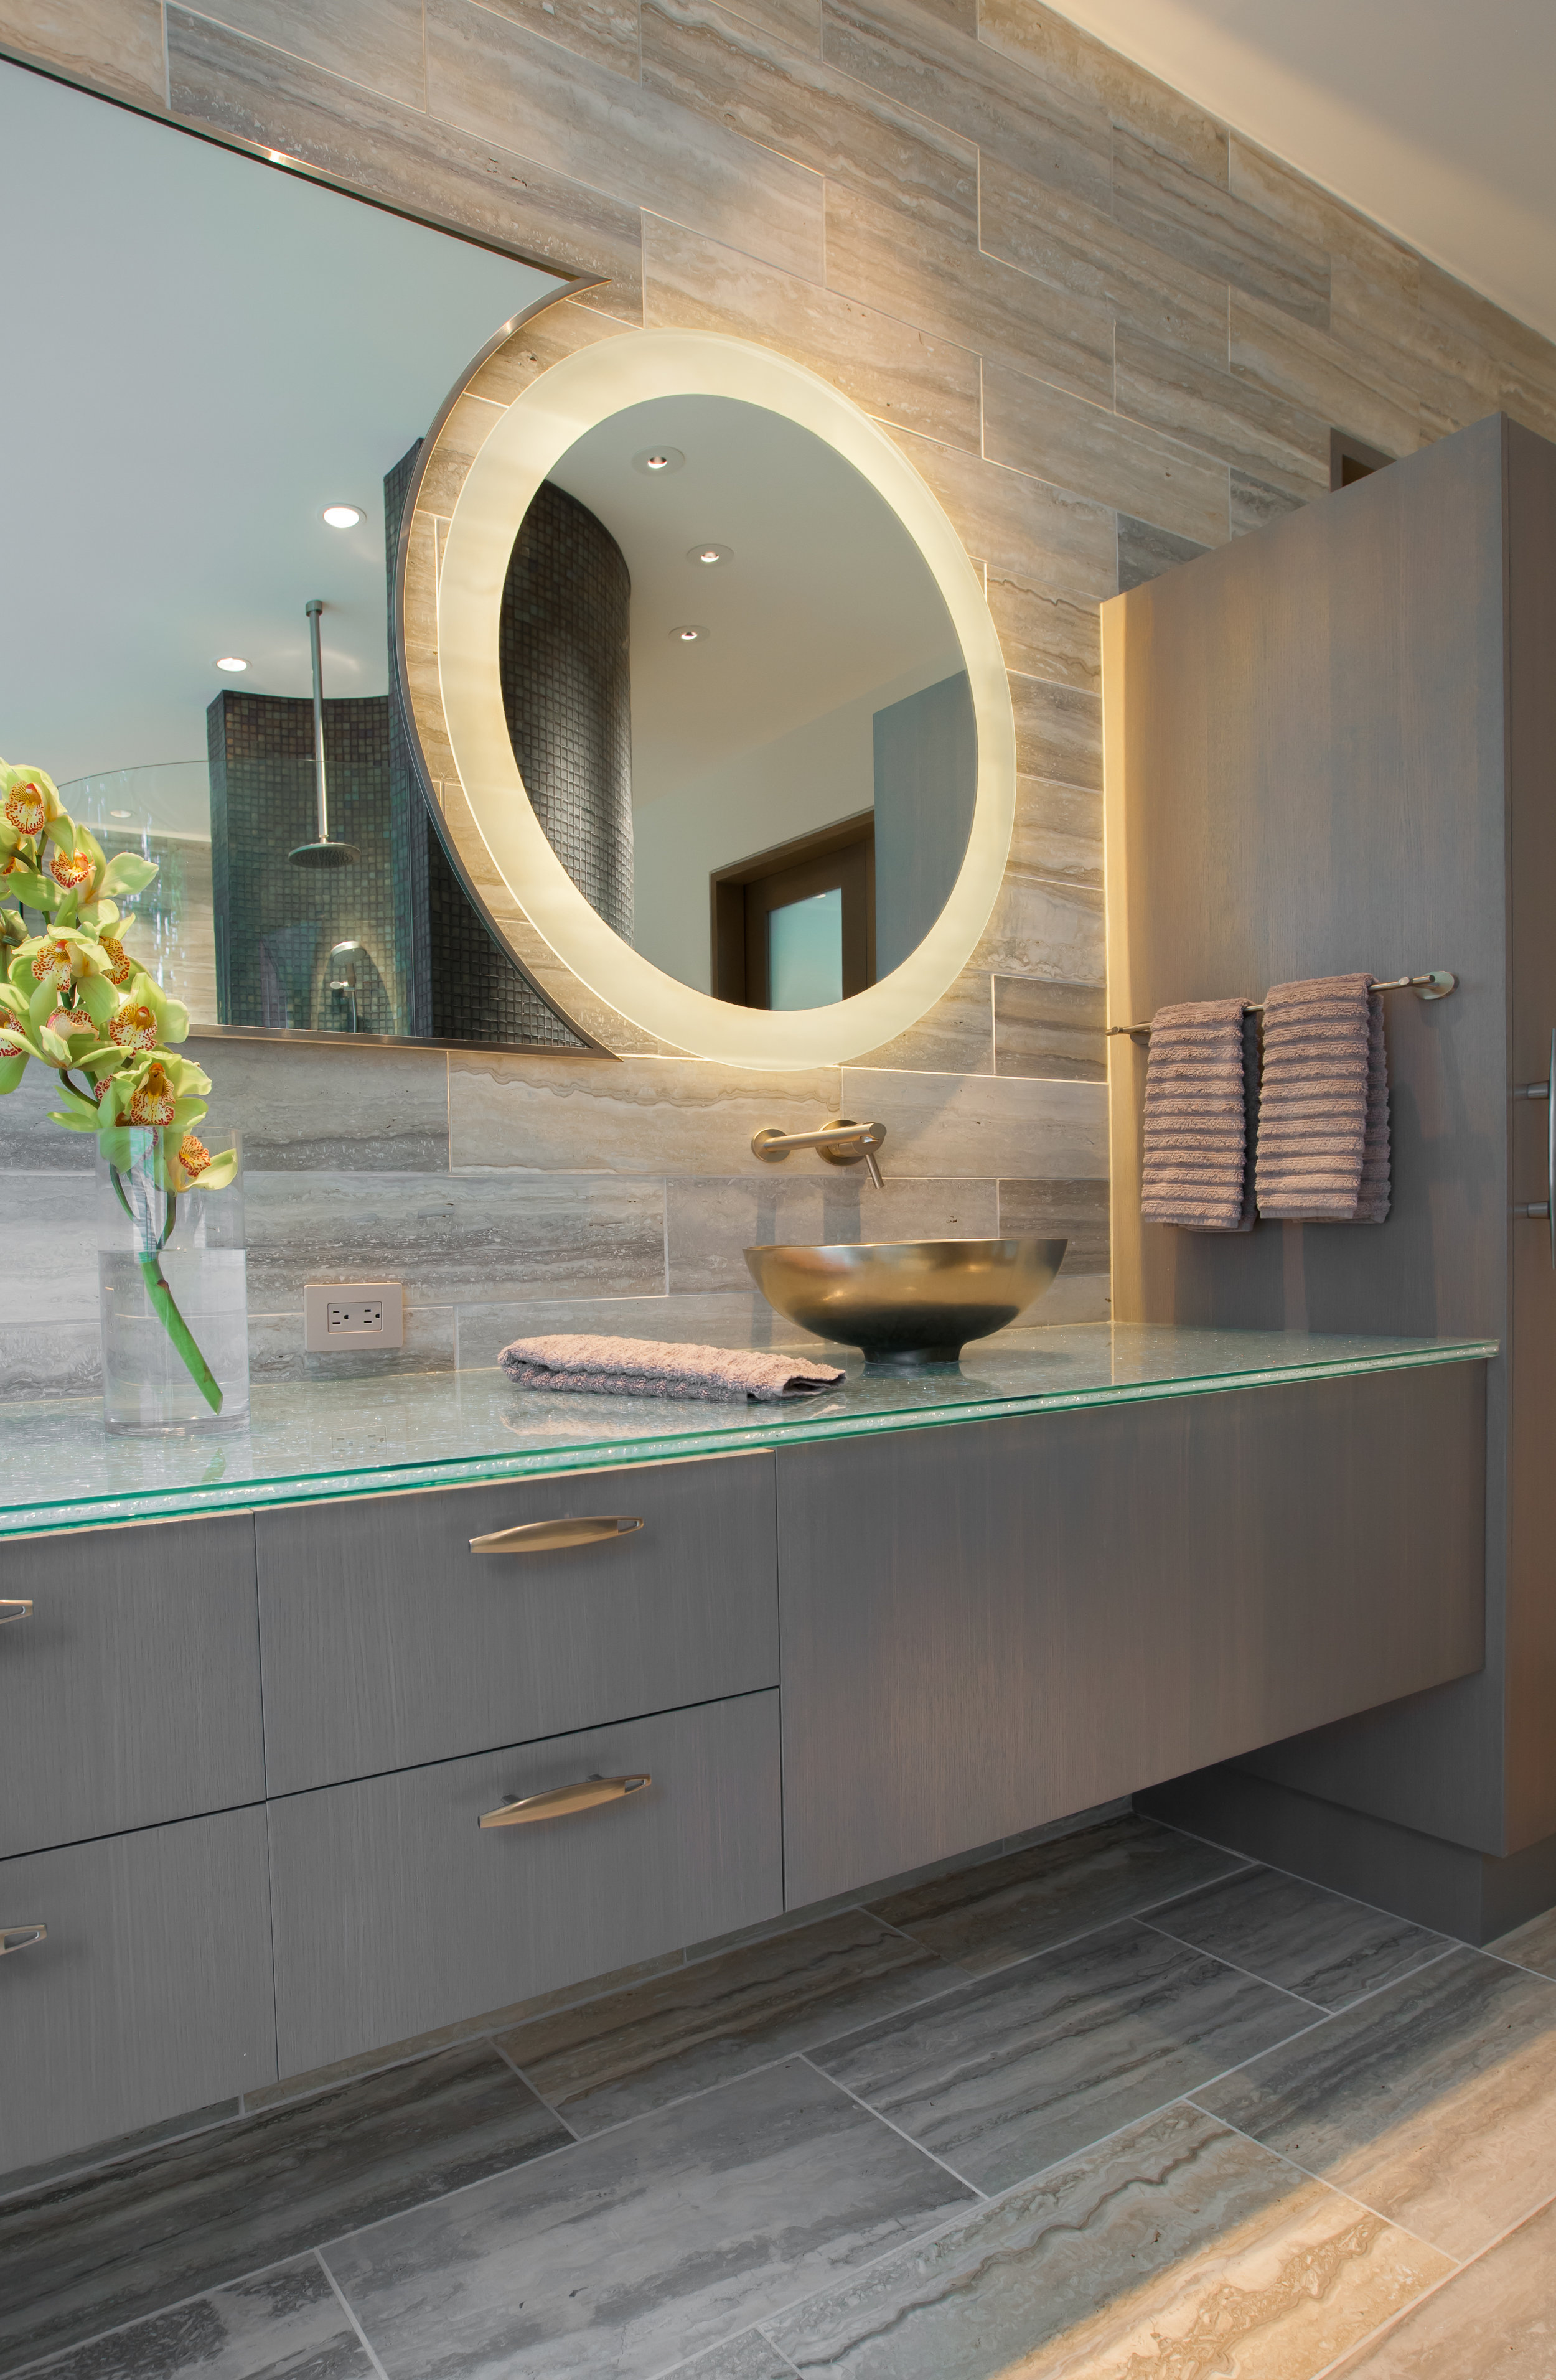
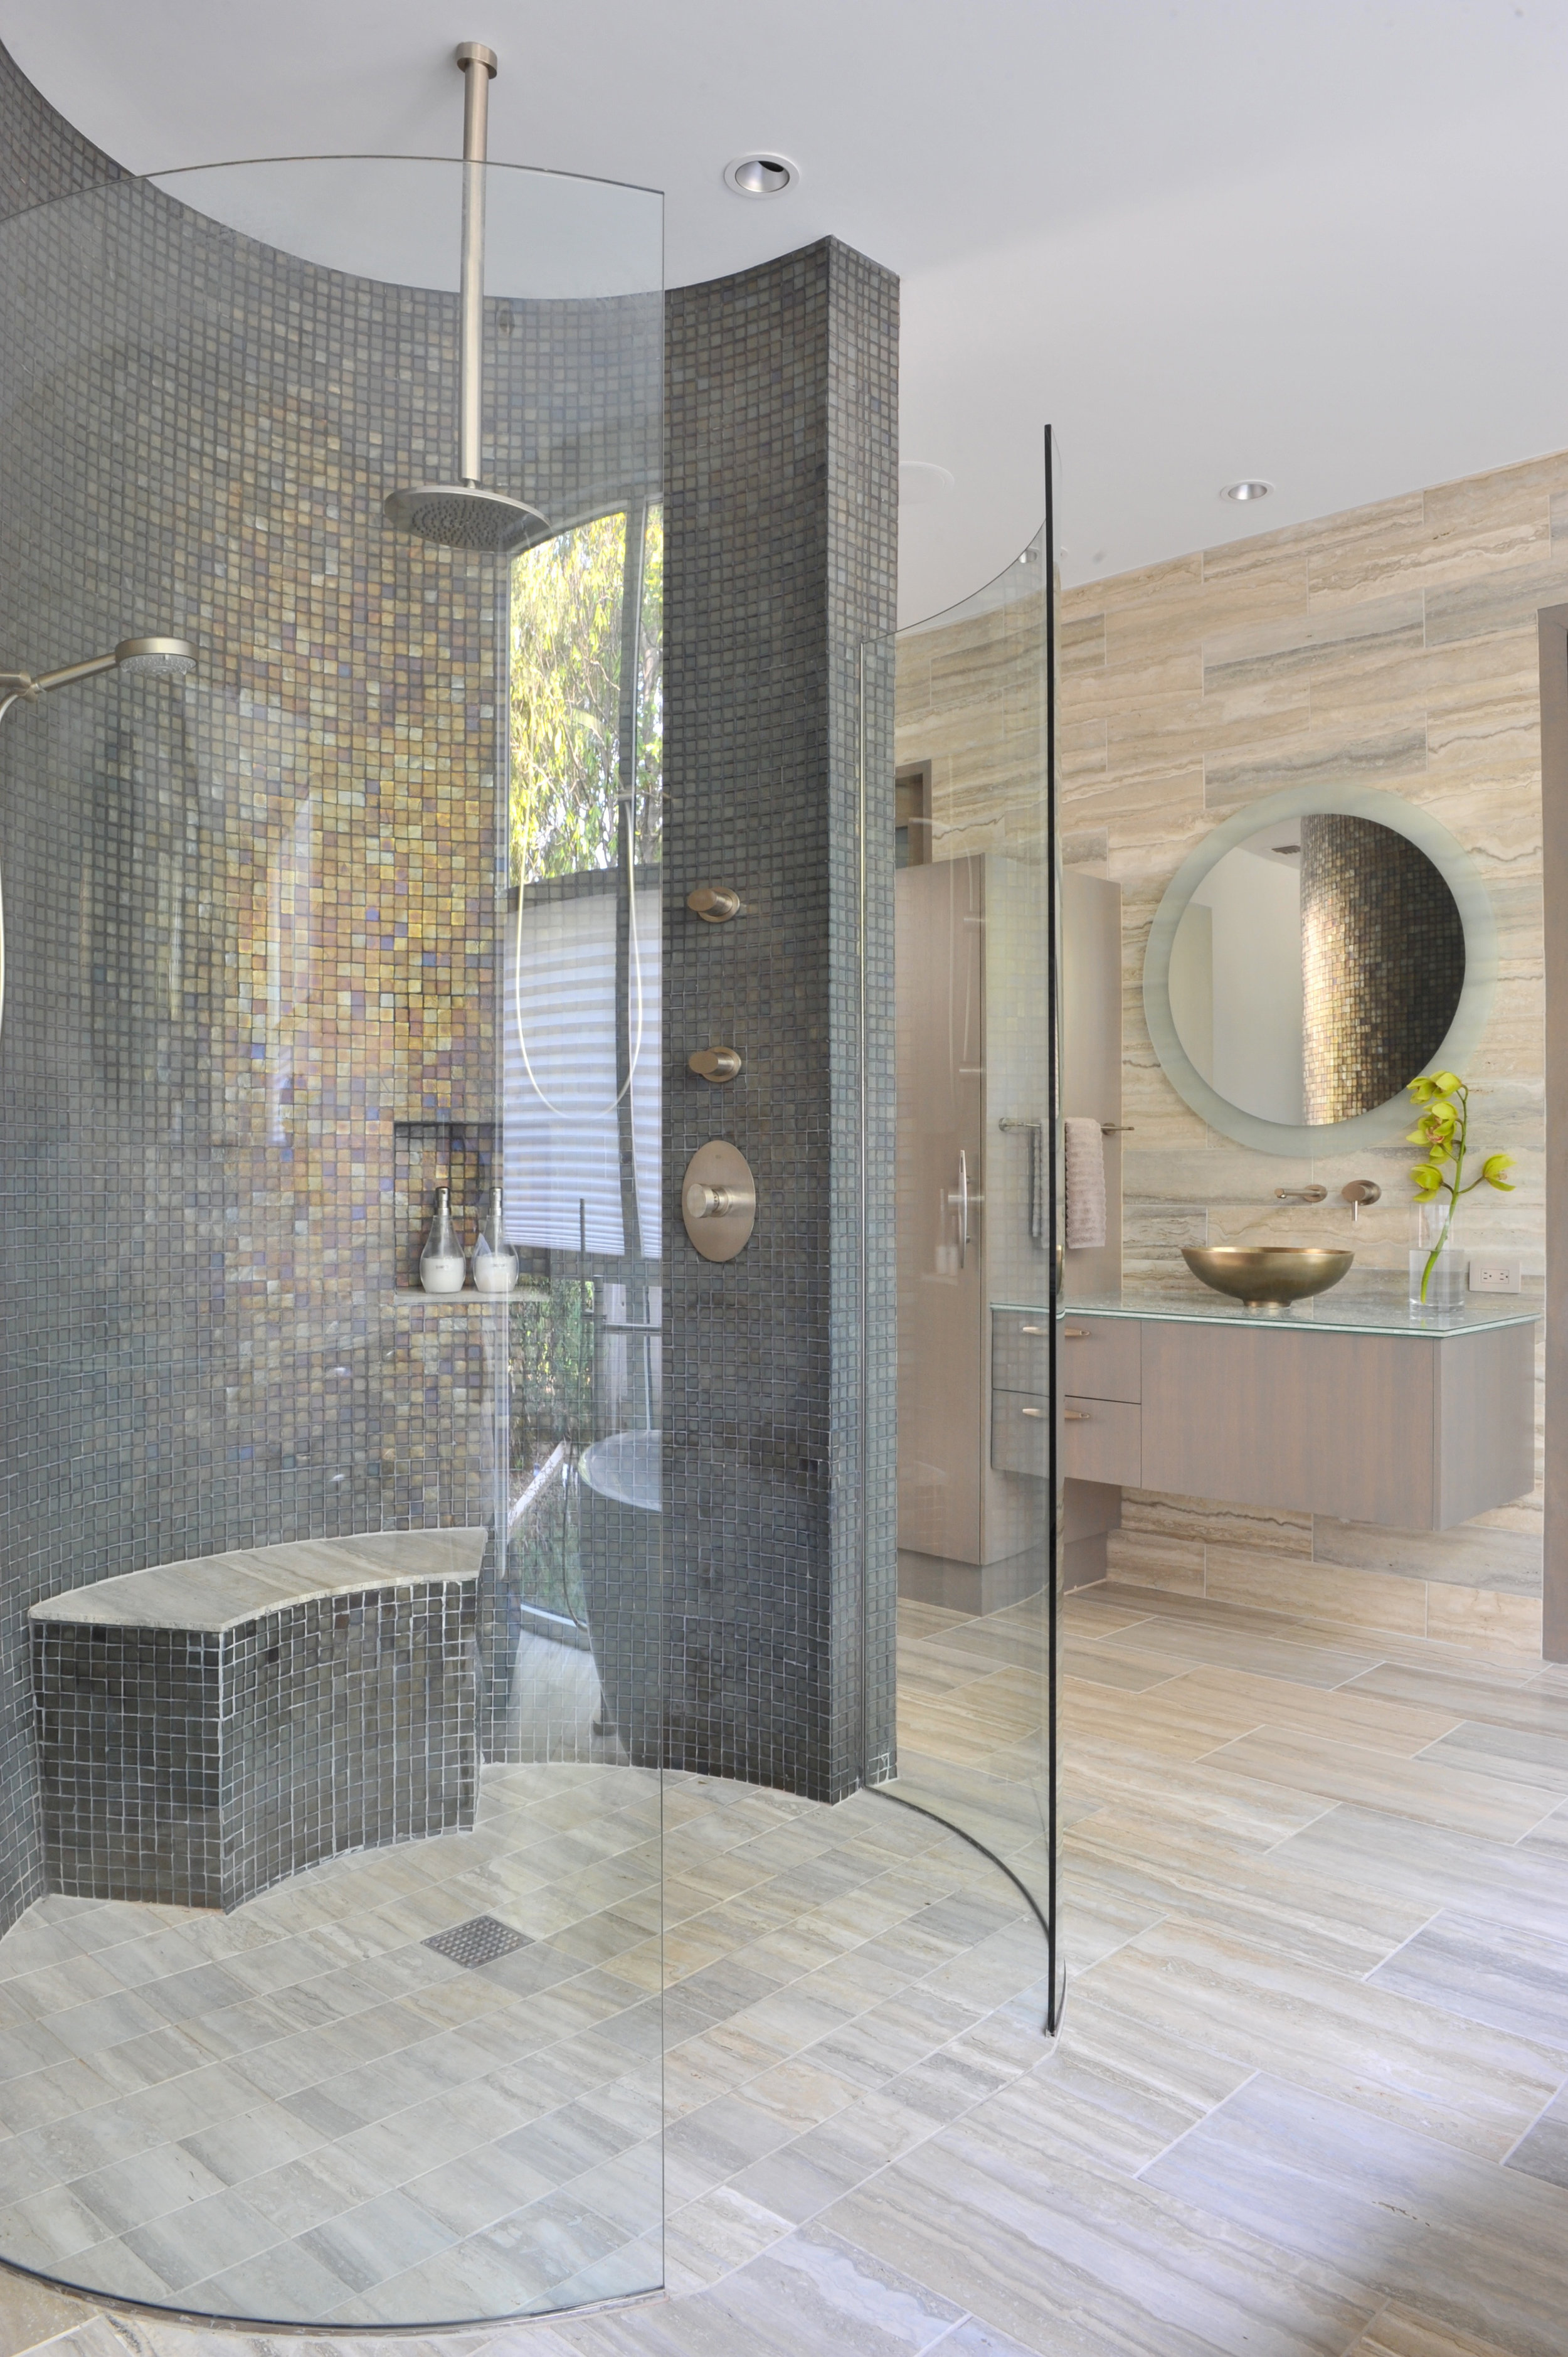
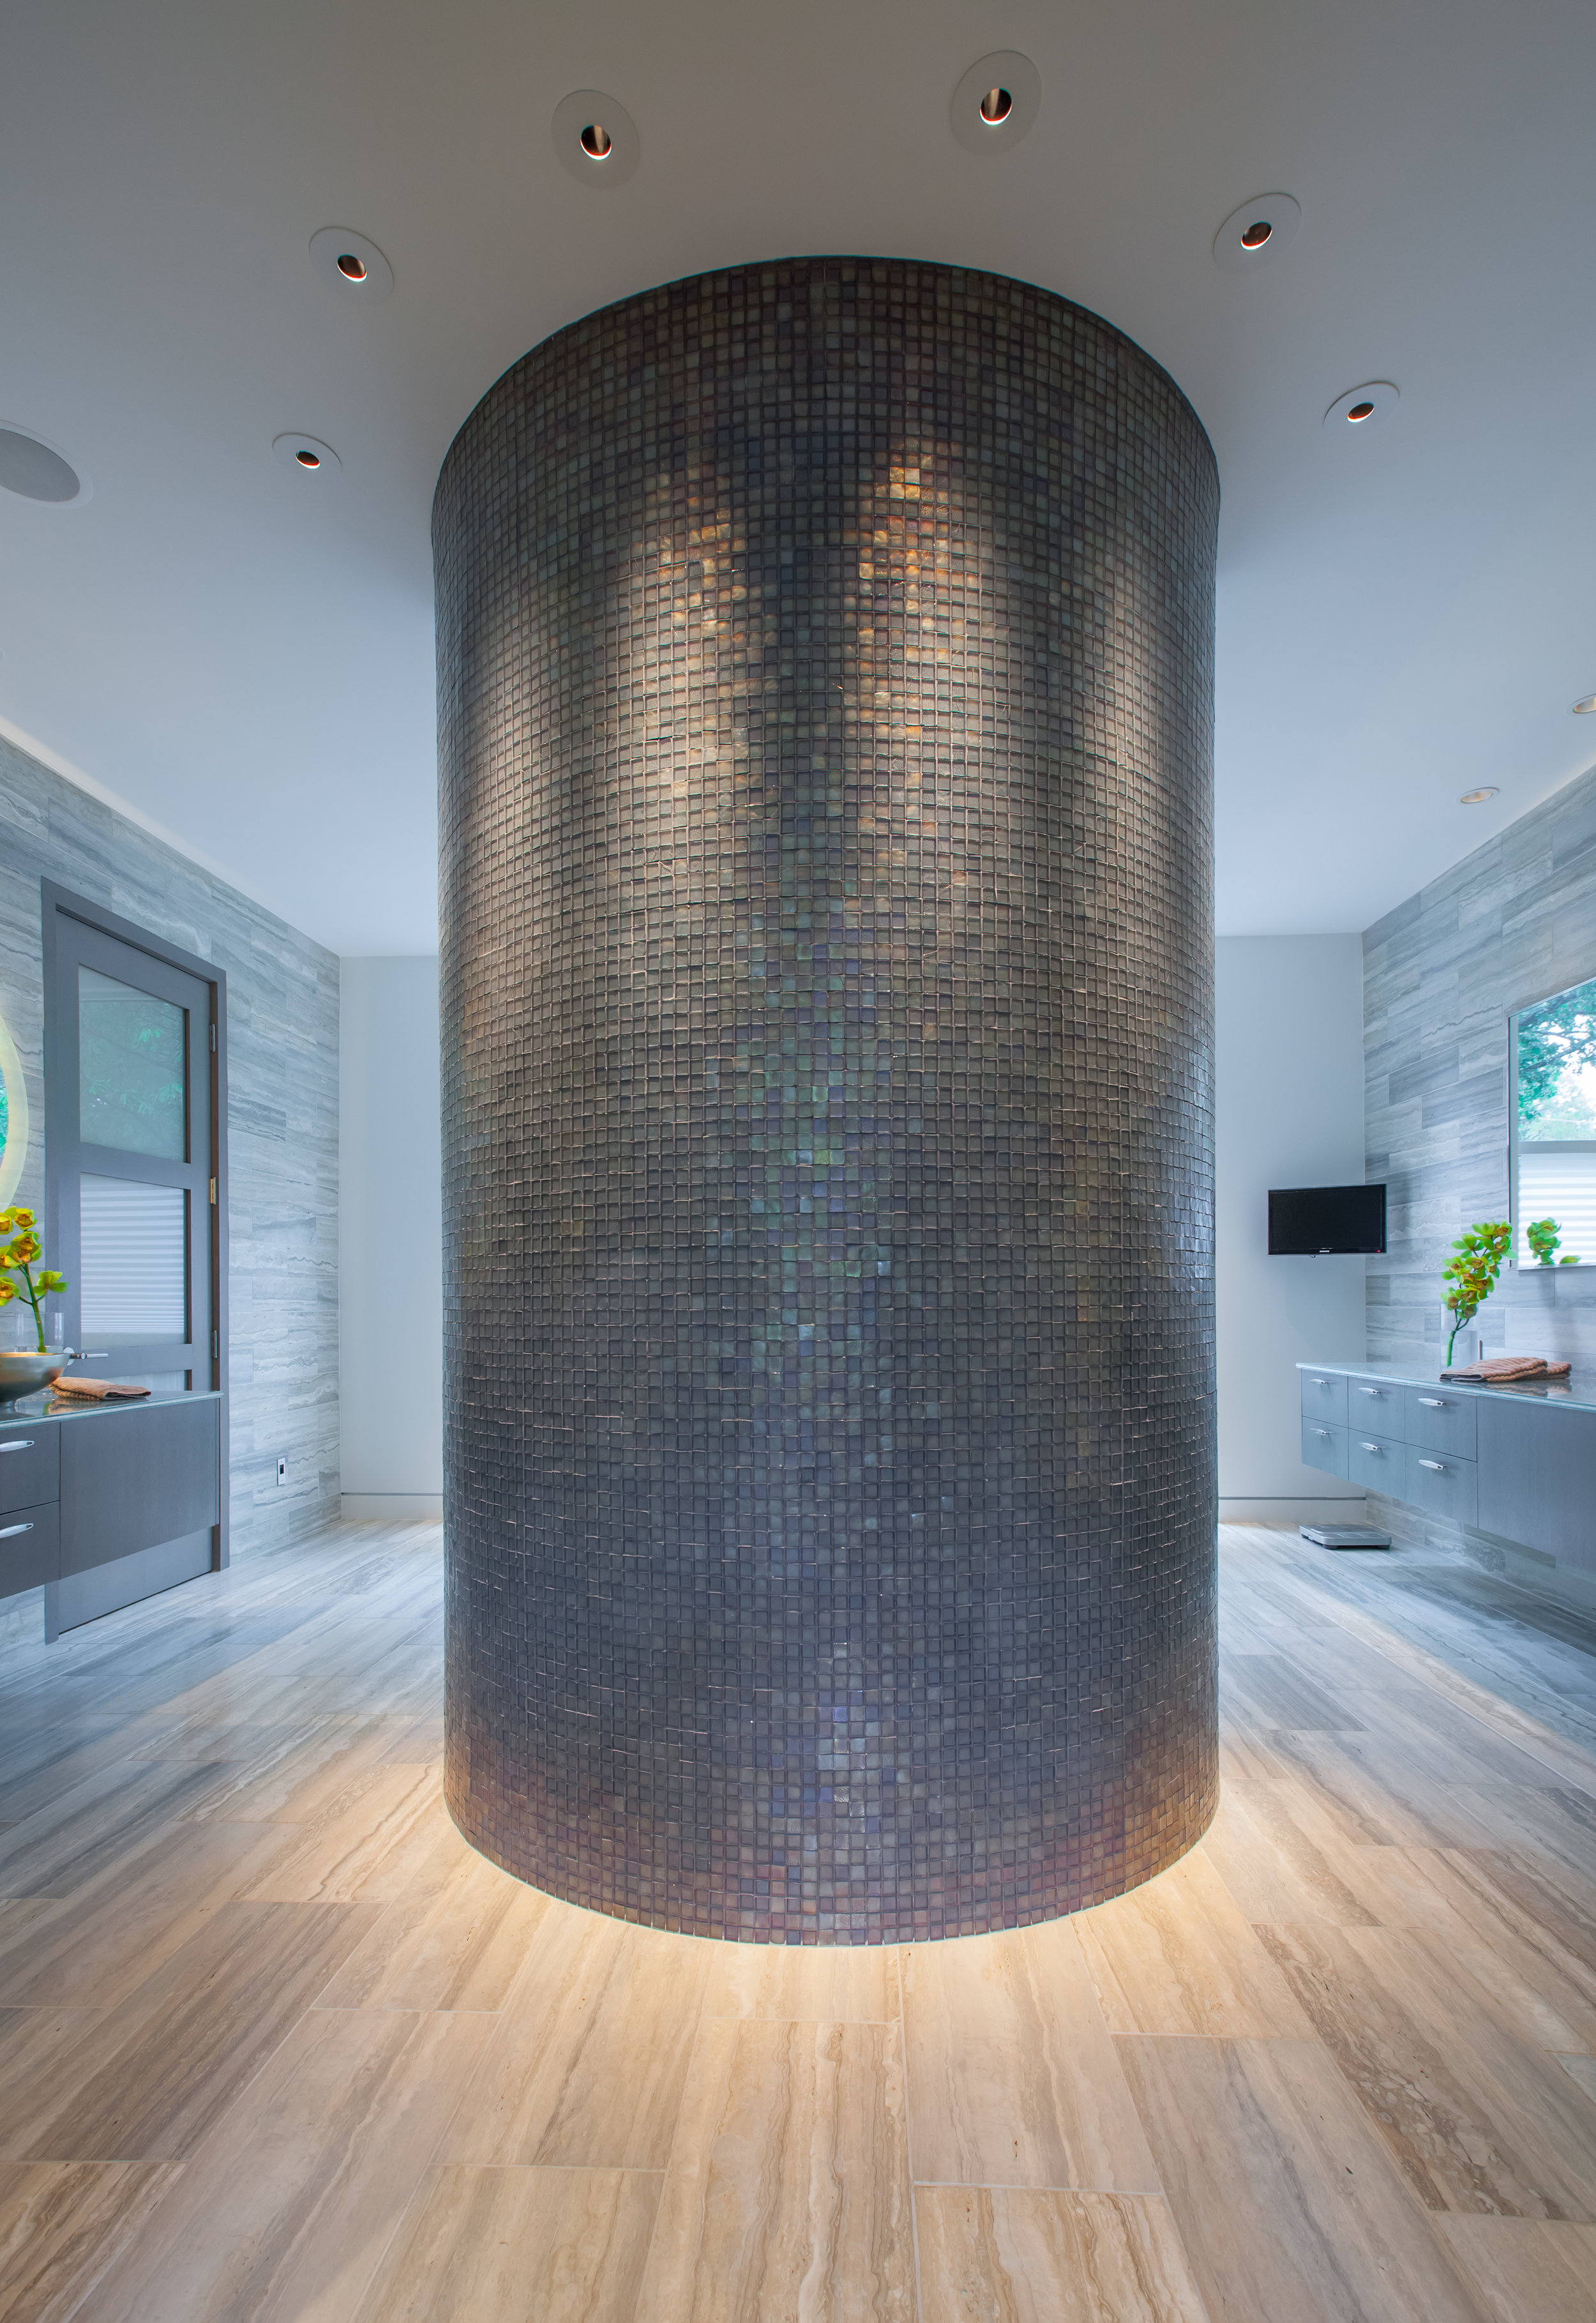
Sleek and stylish, this master bathroom mixes modern and contemporary styles to create a distinctive and original room. The curved wall shower, featuring square mosaic tiles, is the centerpiece of the room. The floating vanities feature laminated cracked glass countertops. Finally, the bathtub overlooks an outdoor water feature to help create a sense of relaxation and ease.

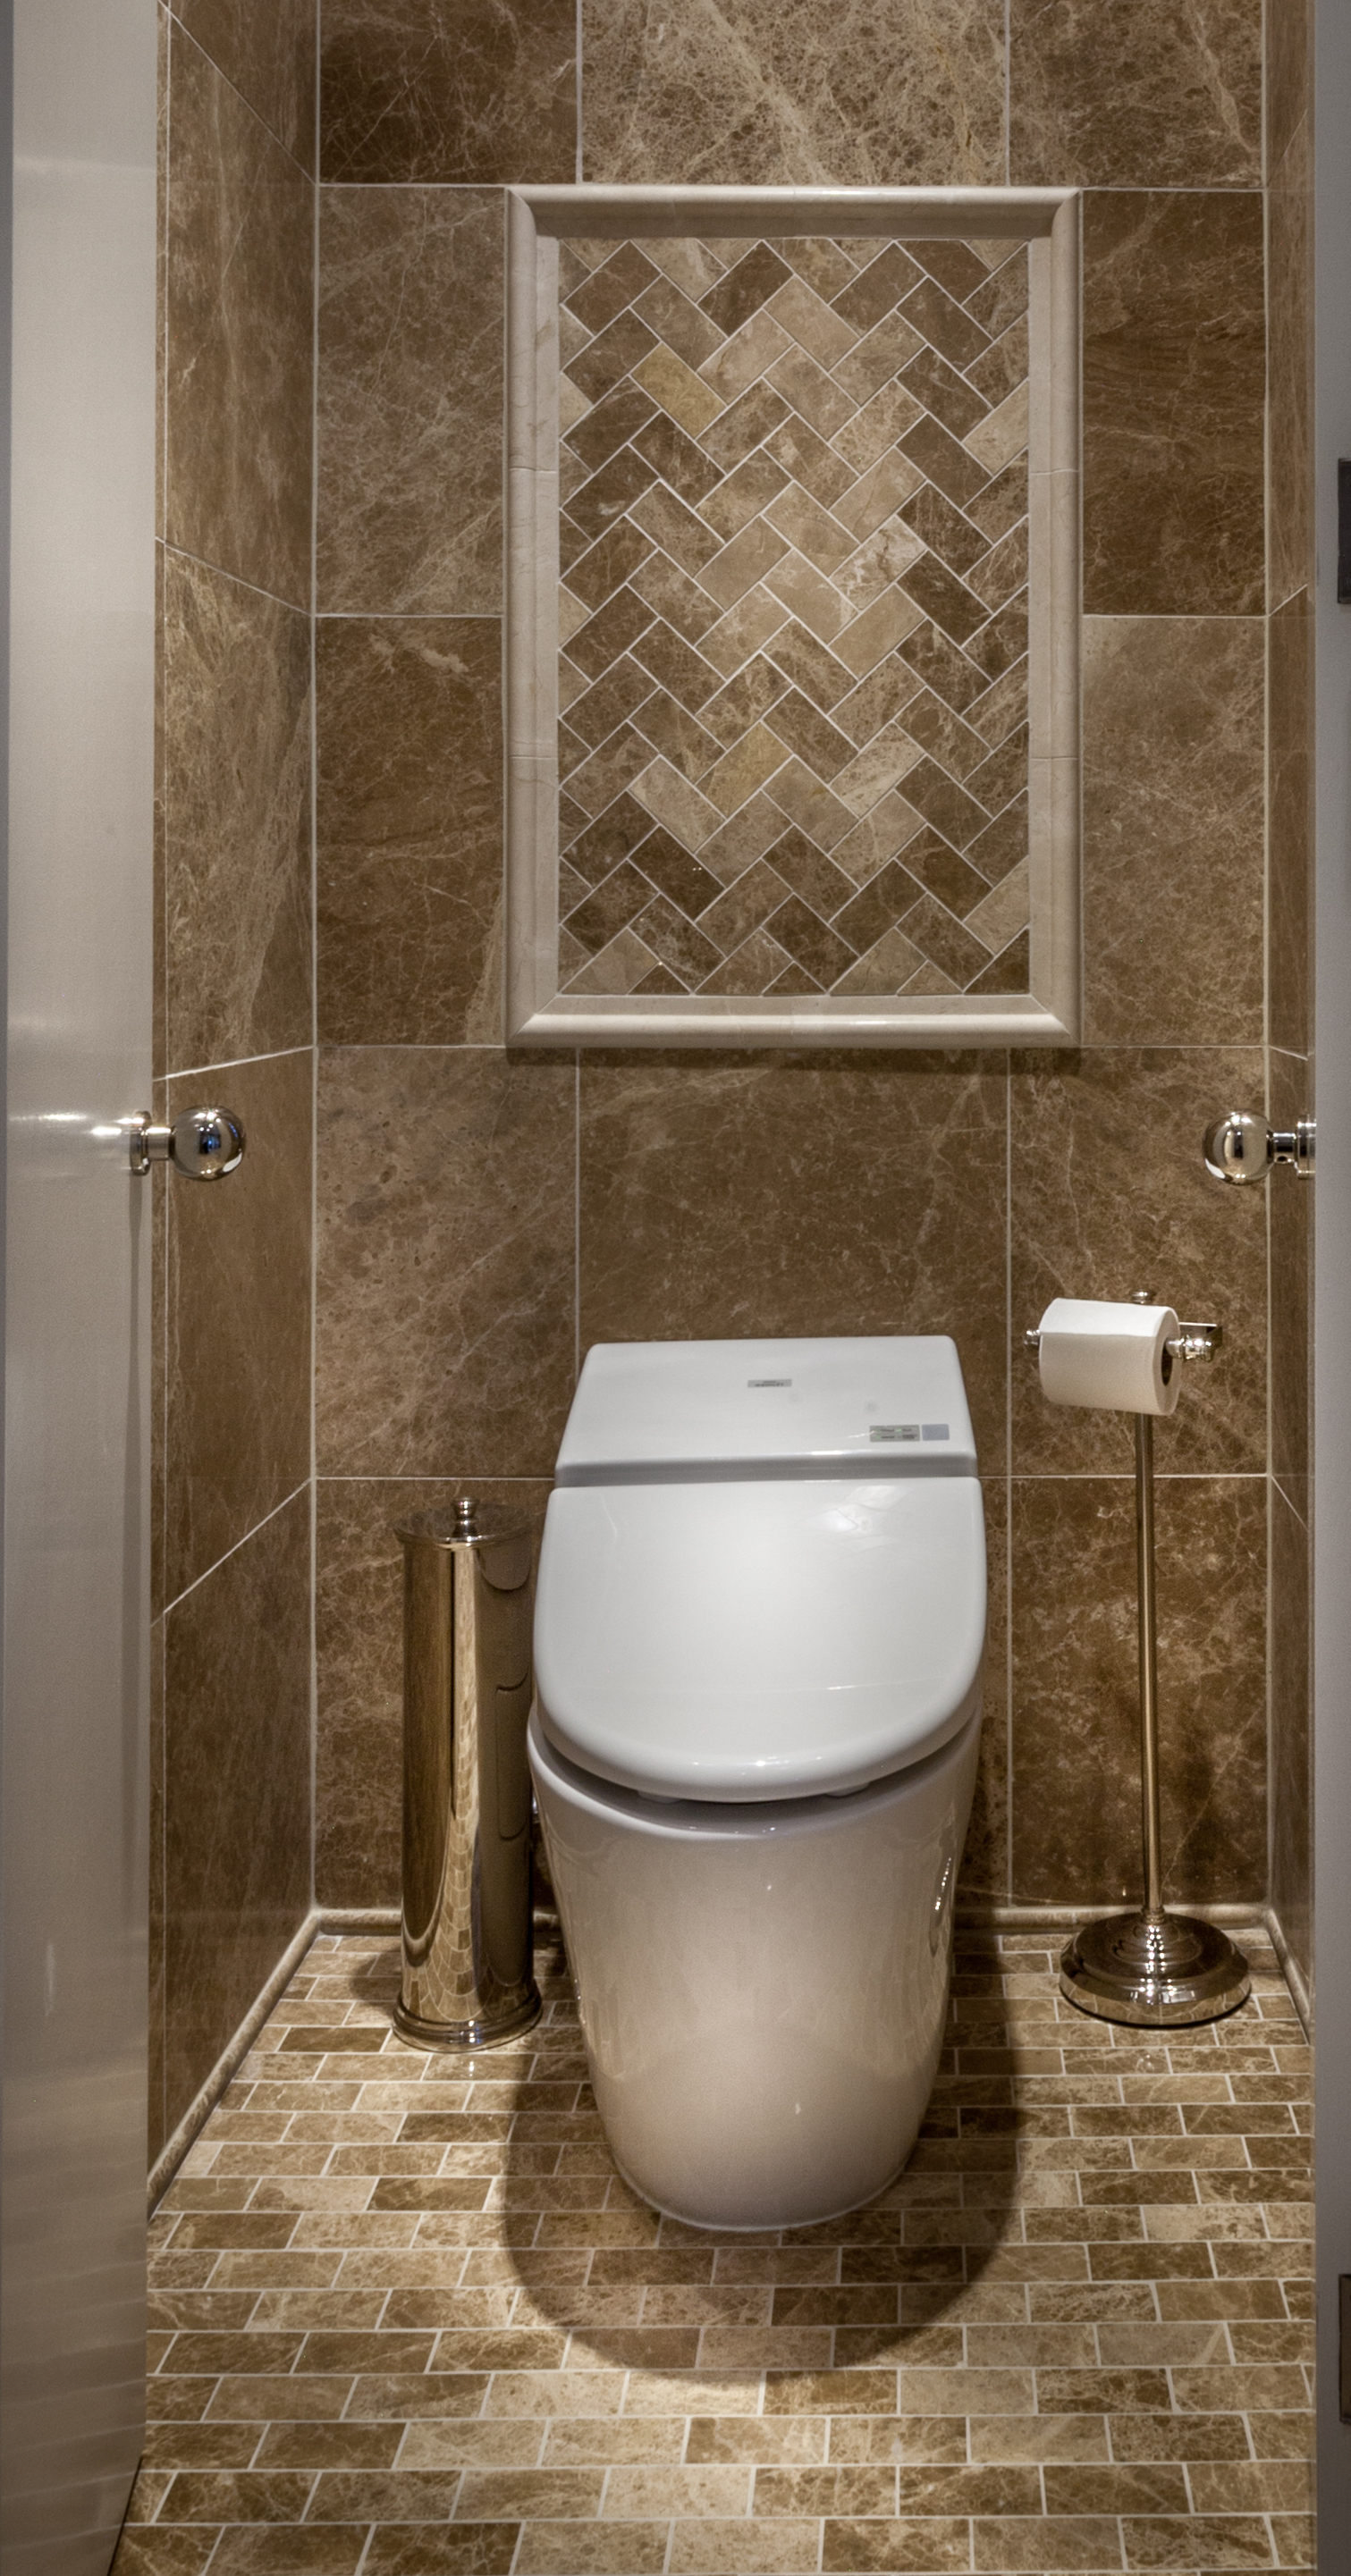
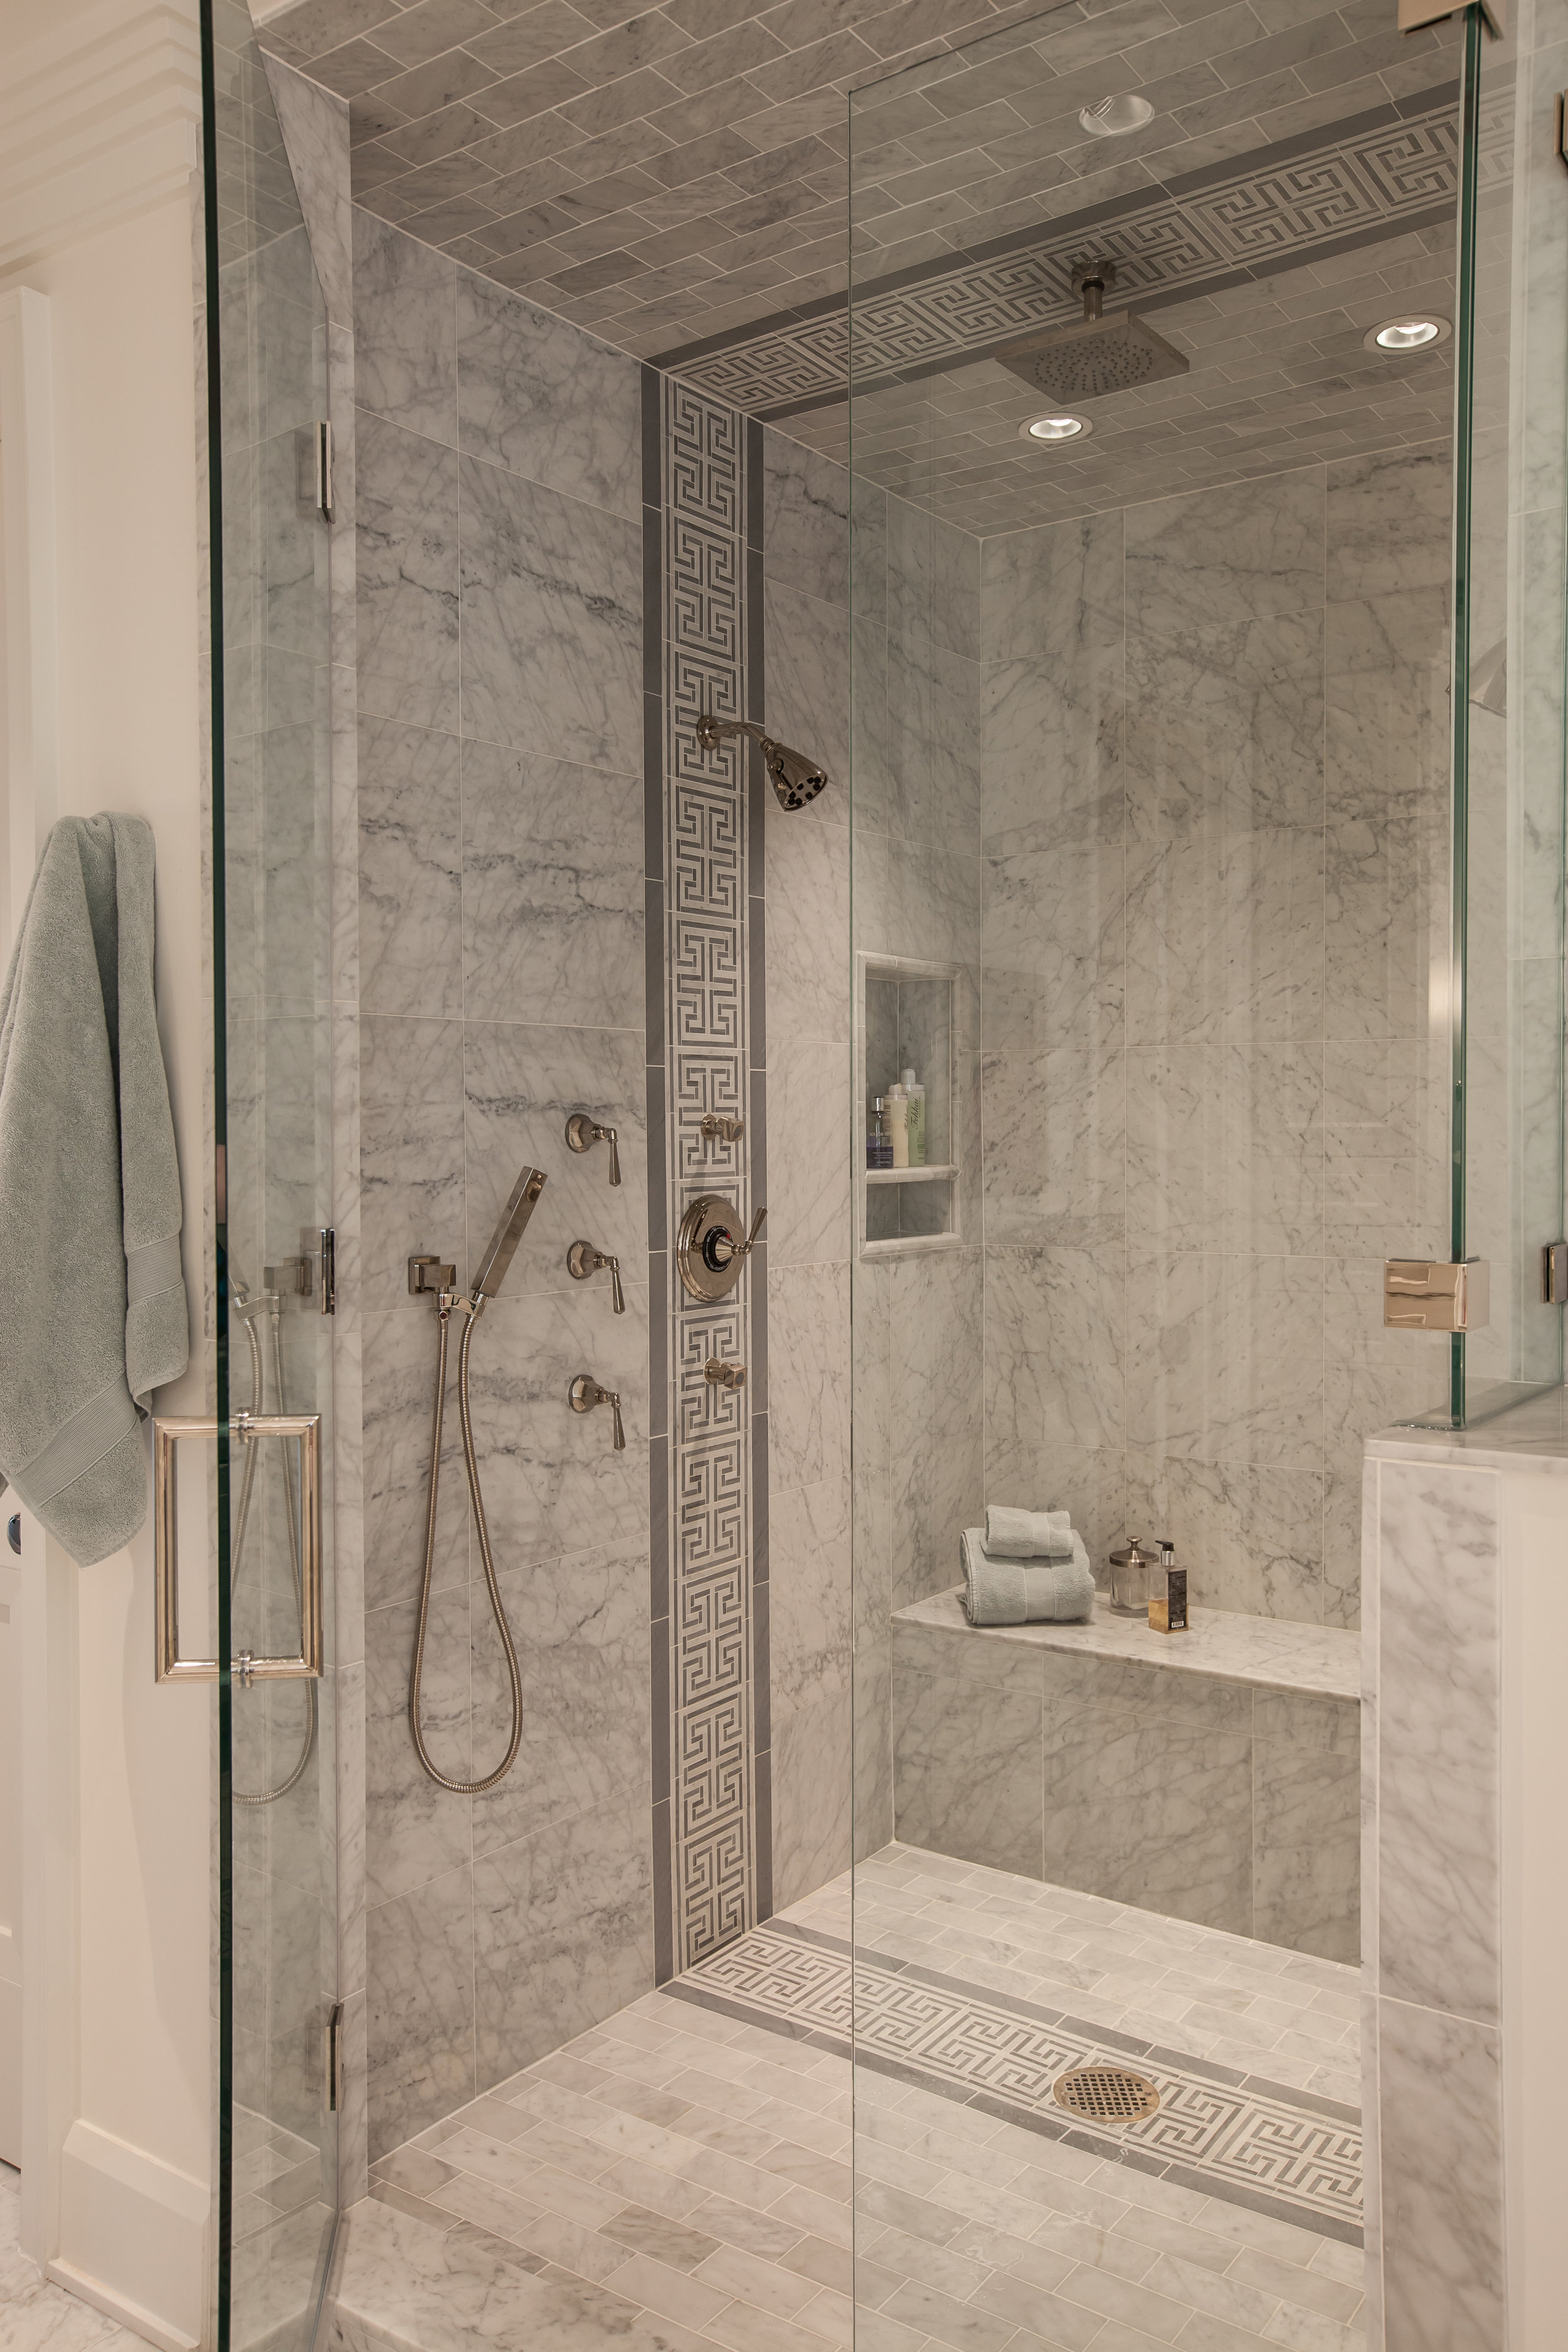
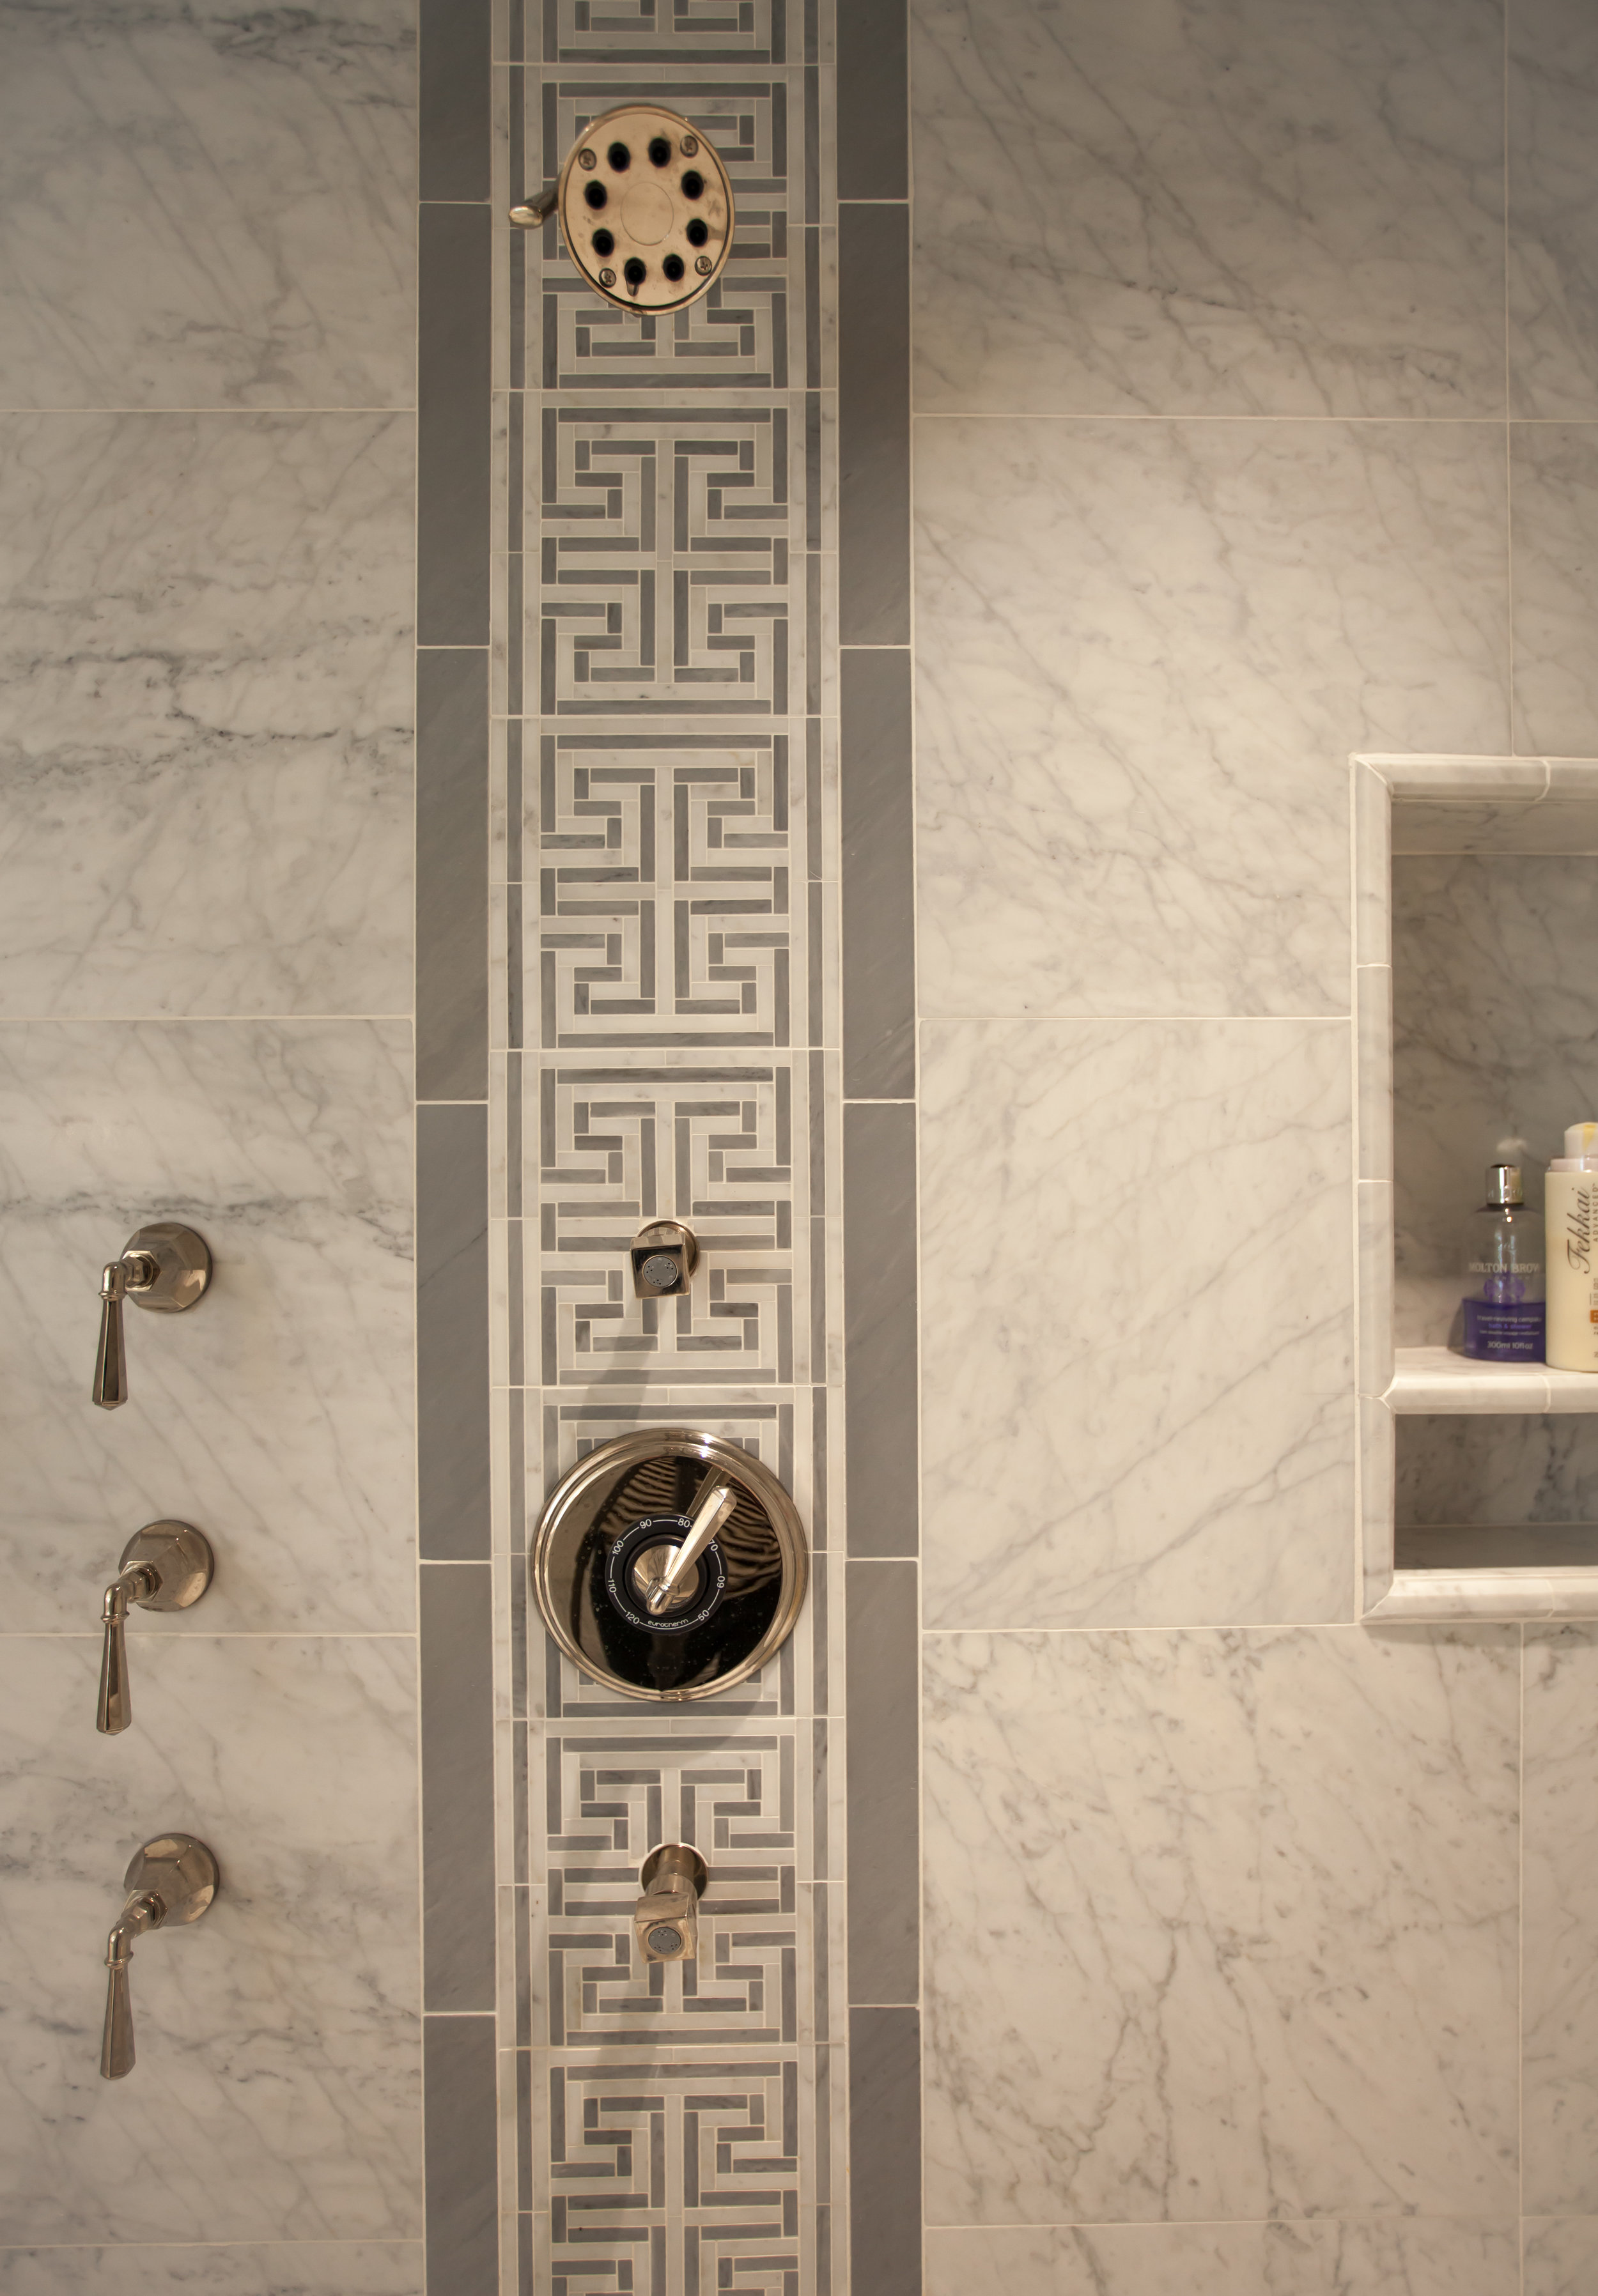
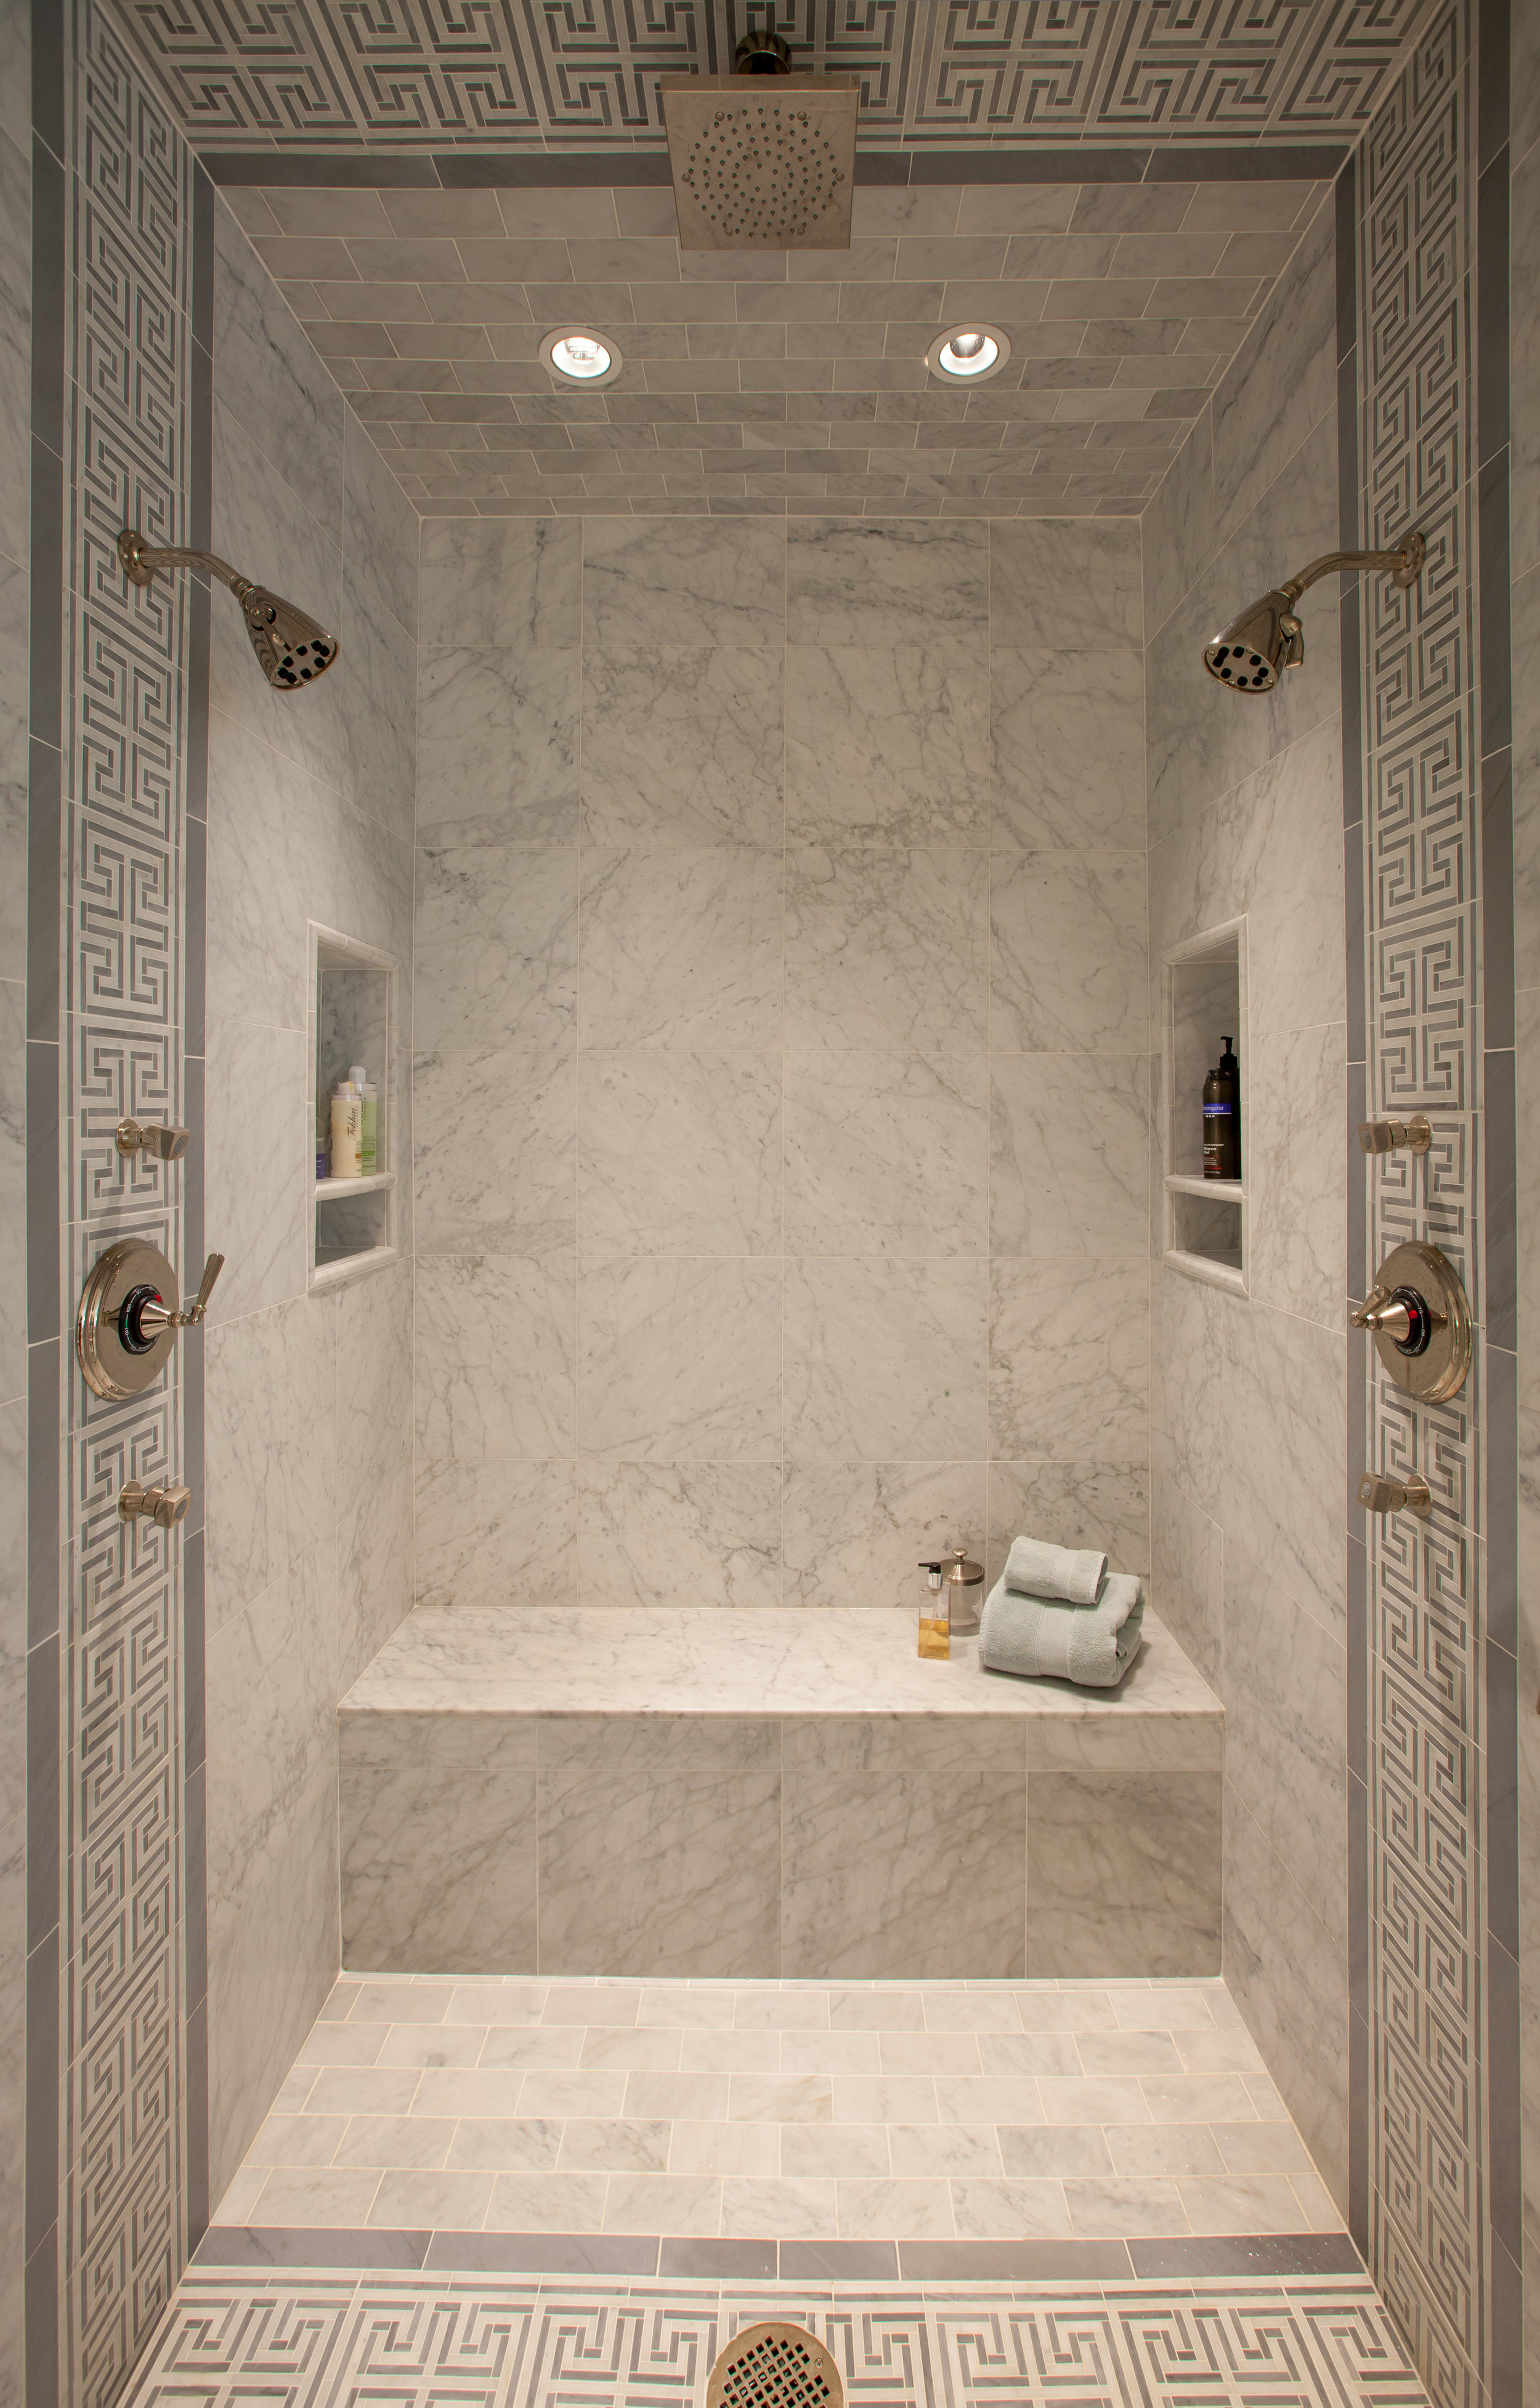
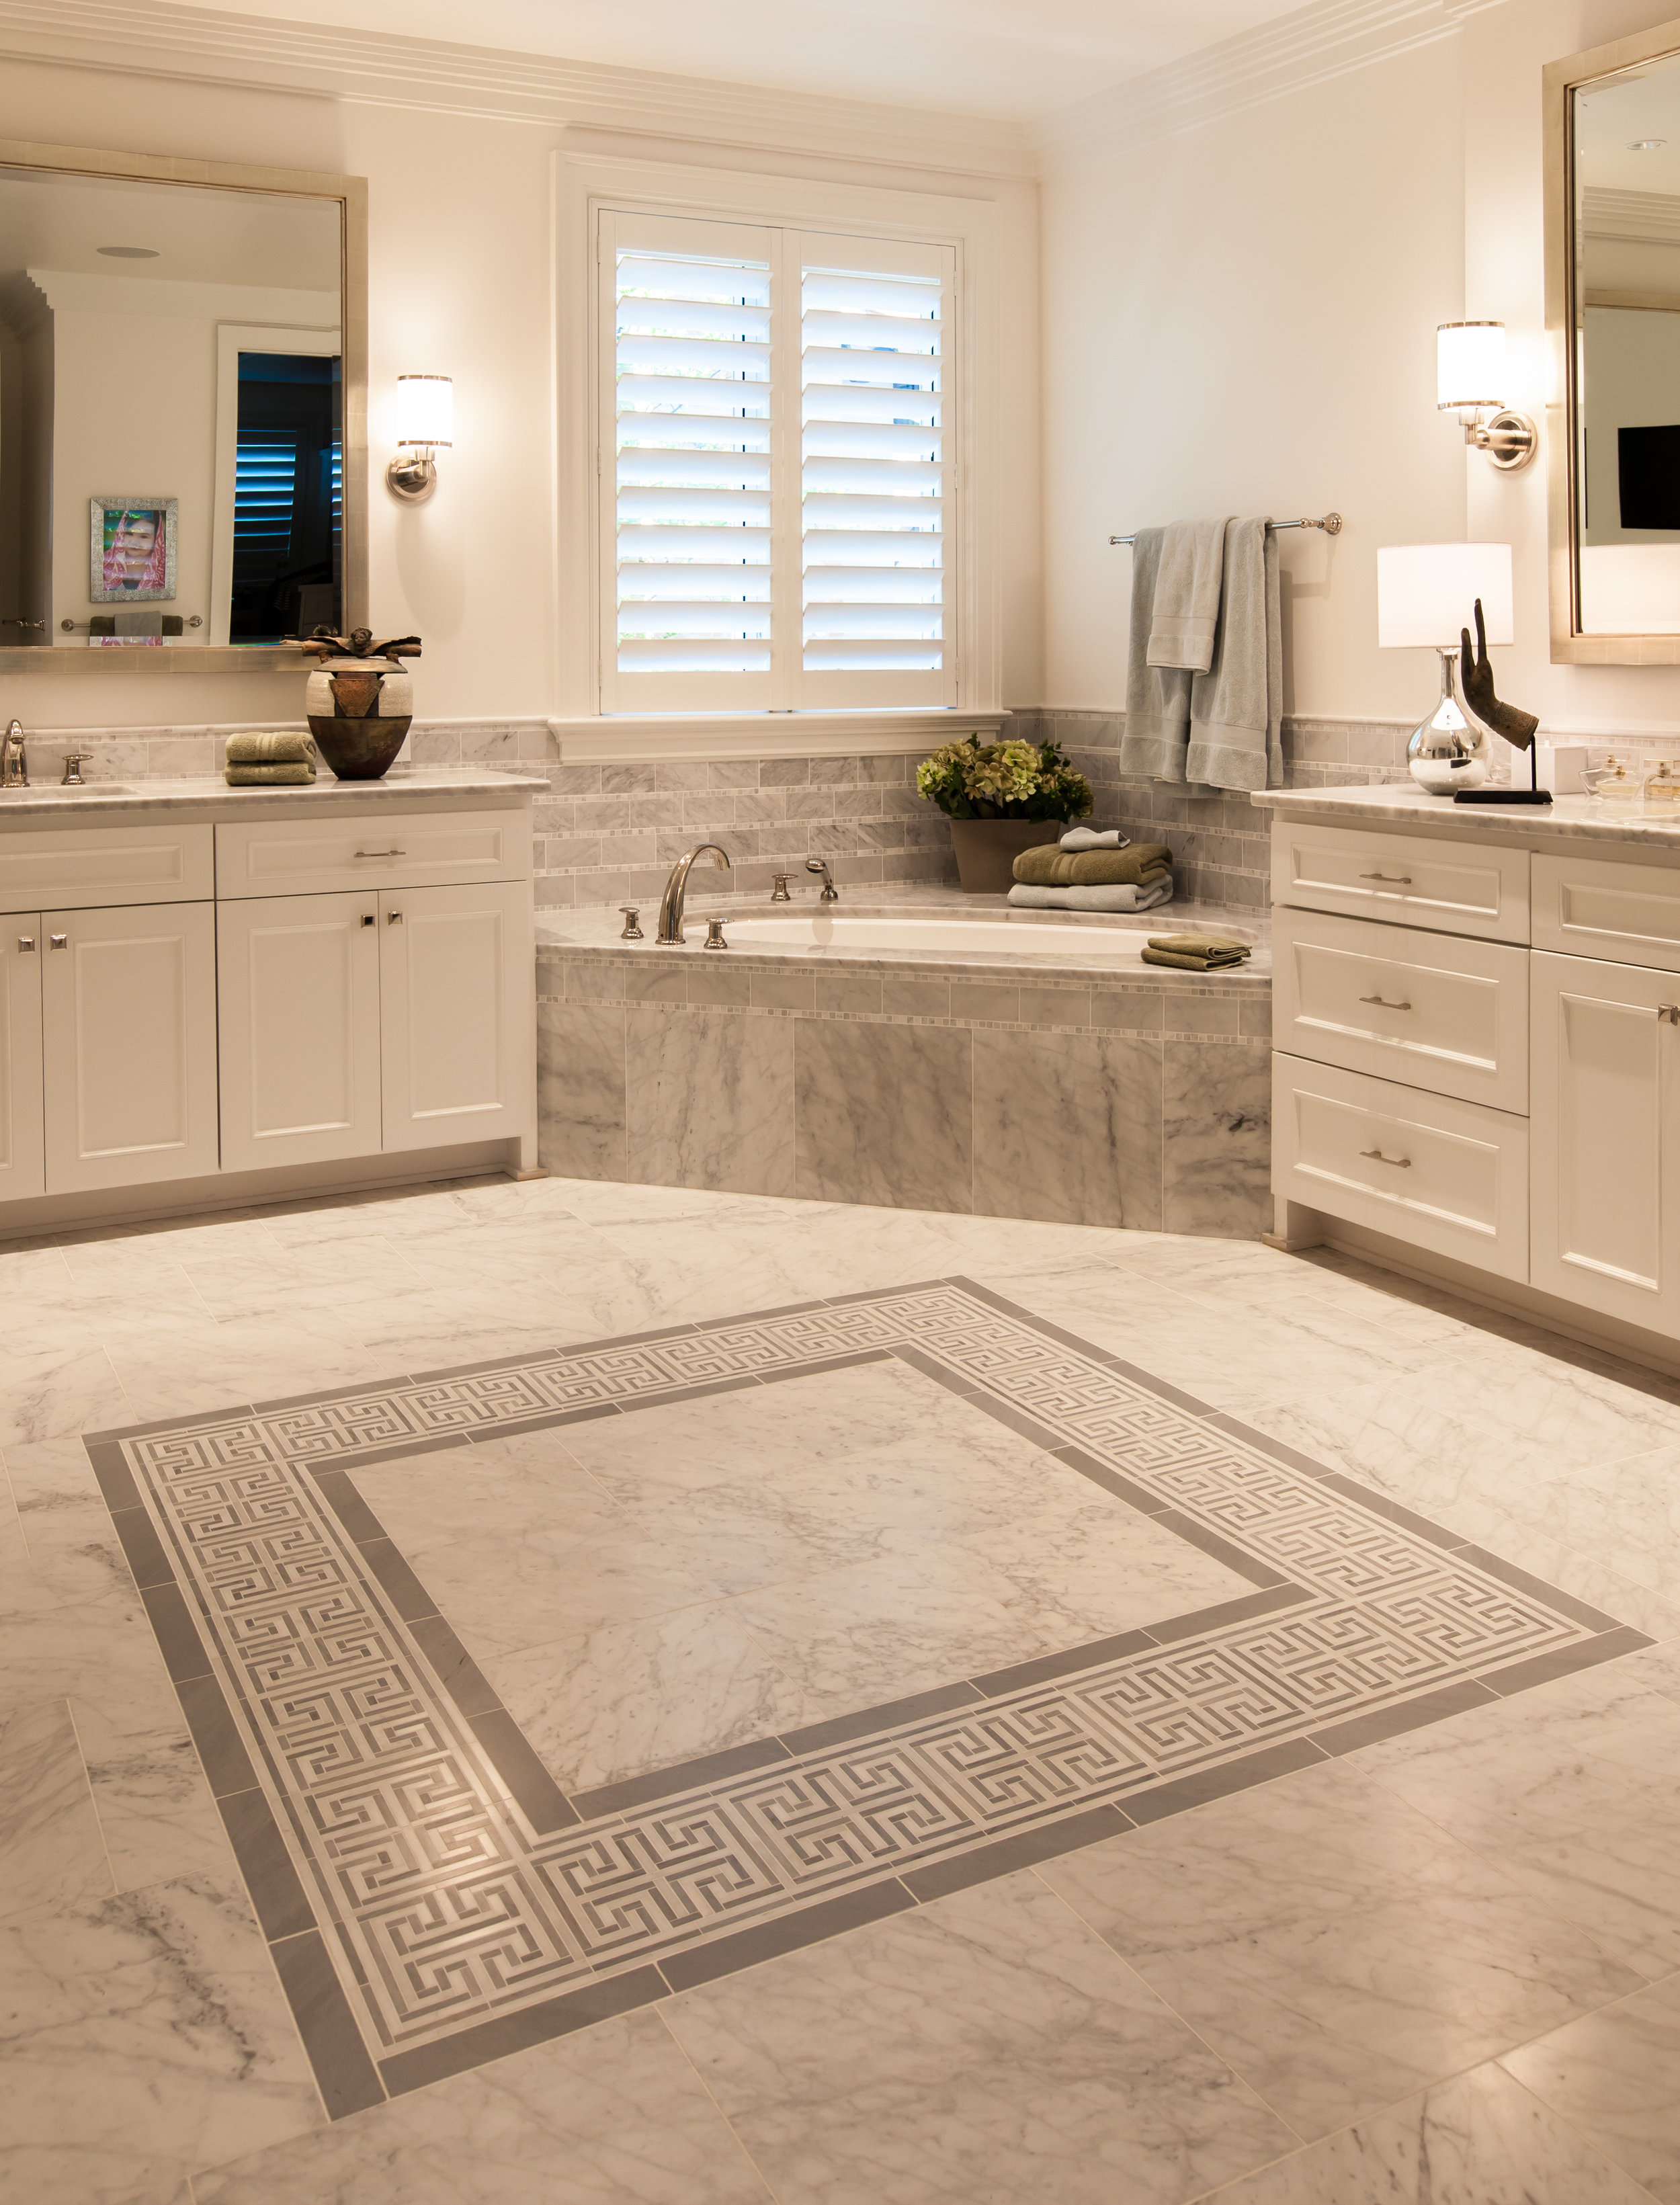
Spa like amenities are popular in master bathrooms, and this bathroom is no exception. From the design to the amenities it presents a room meant for relaxation. The large walk in shower features multiple body jets, dual shower heads, a rain shower head, built in bench, and built in soap niches. Marble design features throughout the bathroom complete the overall look and feel of a spa experience.

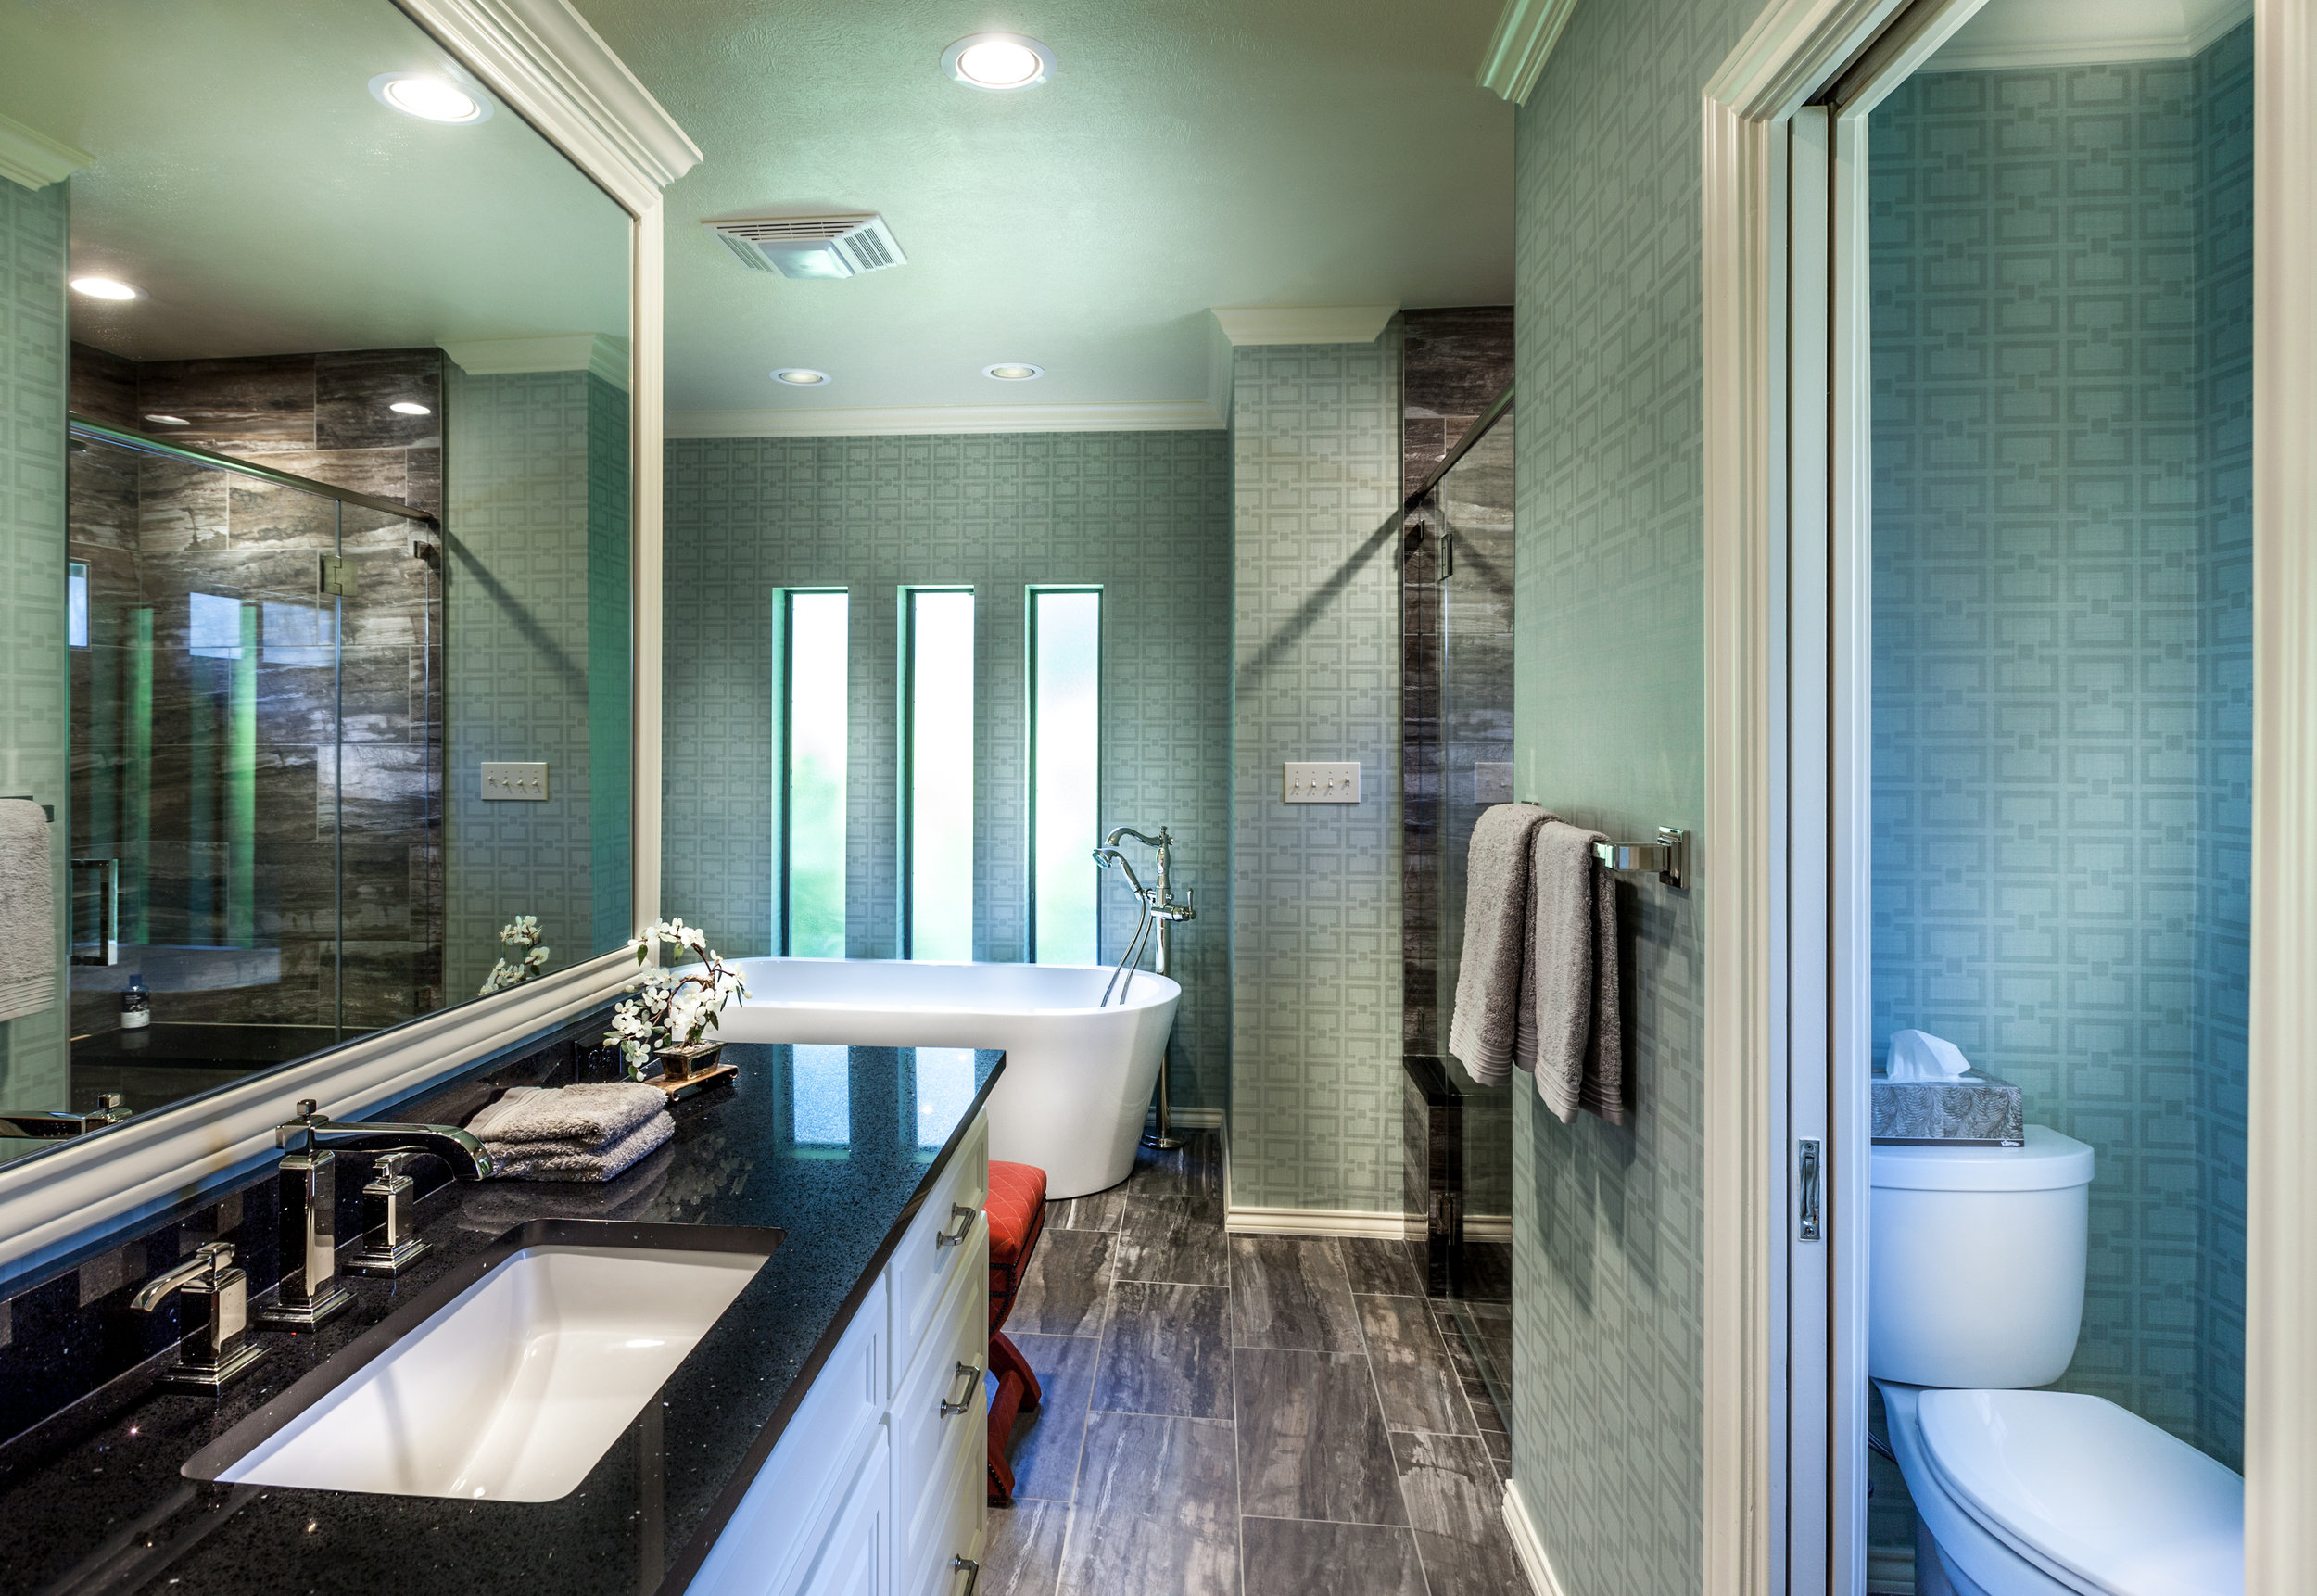
\Prior to the renovation, this bathroom had an outdated look and was not suitable for the aging homeowners. The floor plan of the bathroom did not change but it underwent a major face lift that included replacing most of the room’s amenities. To help make the bathroom more convenient for the owner’s use the old framed in shower was redone to allow for easier access and use.